Caramel Coconut Cream Pie
This coconut cream pie is a step up from any traditional recipe. It’s set with a layer of homemade caramel and rests in a toffee-like coconut graham cracker shell. The classic creamy coconut filling is enriched by a flavorful but thin layer of caramel, giving it a unique twist. It’s an unexpected pairing that just works! This recipe can also be made as a thick pie or a thin tart shown here.
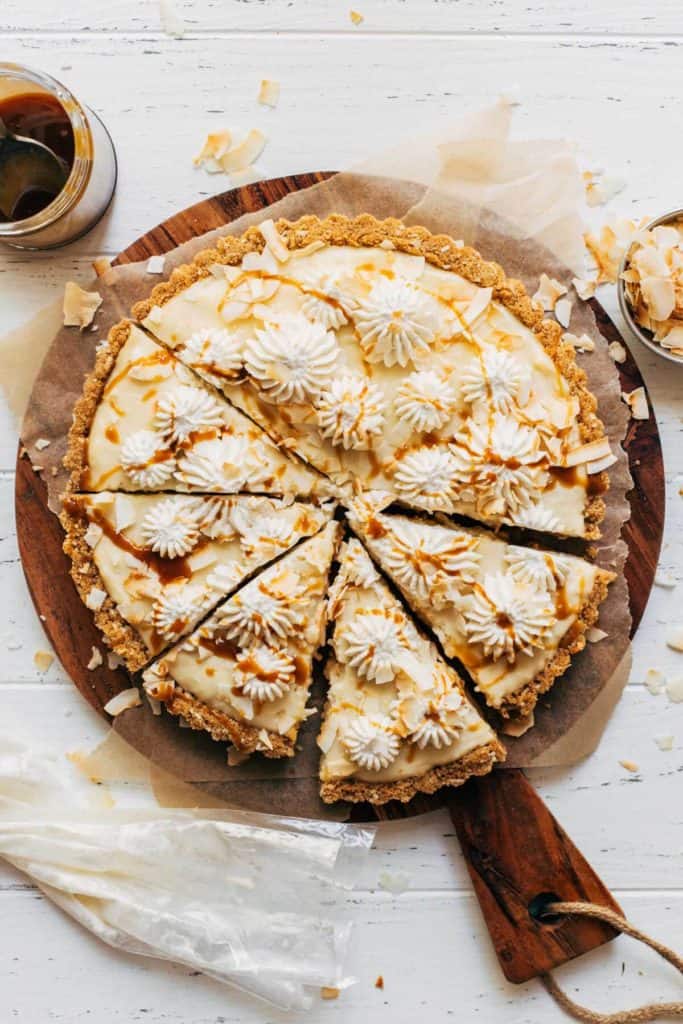
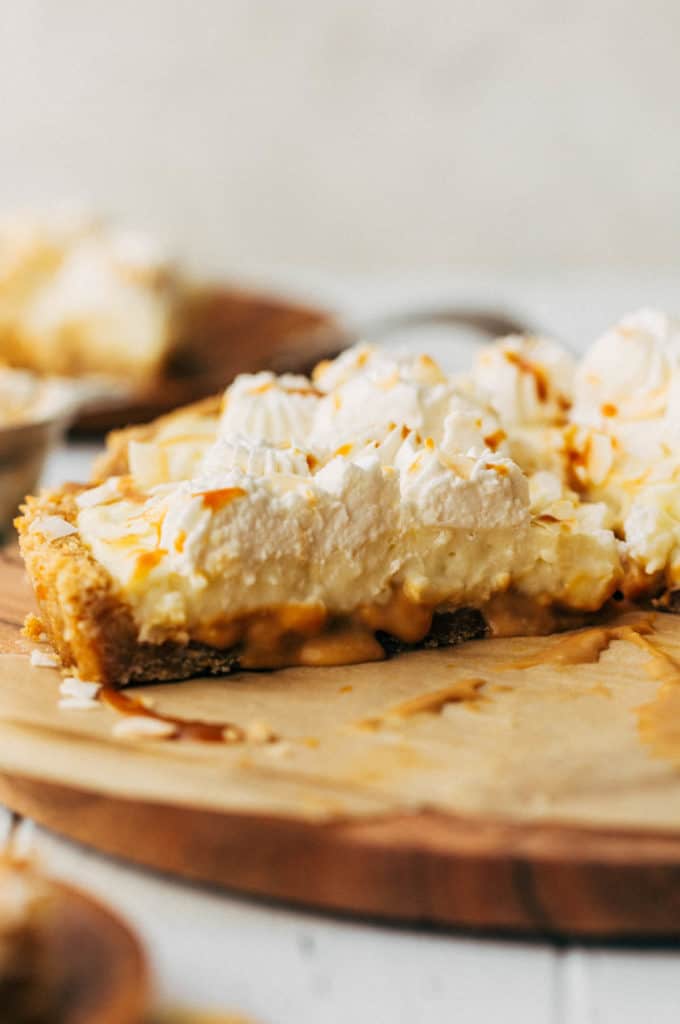
What makes this coconut cream pie so unique?
Trust me, you’ve never had a coconut cream pie like this one. Unlike a traditional recipe that’s all one note, this pie is rich, creamy, and has a medley of different textures and flavors. Here are the three main components that make it so unqiue:
- The Crust – The base is a coconut graham cracker crust that has a slight chew and deep flavor. In contrast to dough-based pie shell, this one is much easier to make and packs so much more depth and texture.
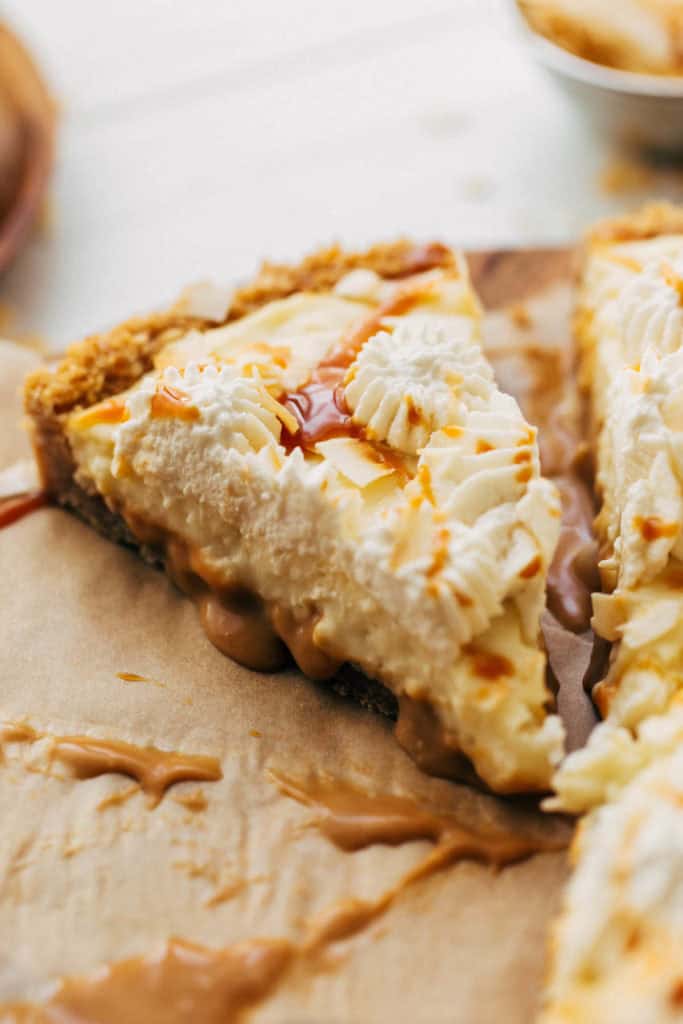
- The Caramel – This thin layer sits at the very bottom of the pie. It doesn’t overpower the coconut, but rather accompanies its light coconut flavor with a dark and rich note. It also provides a bit of chewiness and gooiness to this pie.
- The Coconut Filling – The filling has SO much coconut flavor because it’s made with coconut milk, coconut oil, coconut extract, and sweetened shredded coconut. It’s creamy enough to have a super silky consistency but firm enough to hold together with each slice.
How to make the caramel layer
The caramel layer is quick and easy to make, but it can get a bit tricky if you don’t know what signs to look for along the way. Here are a few tips to make sure it turns out just right:
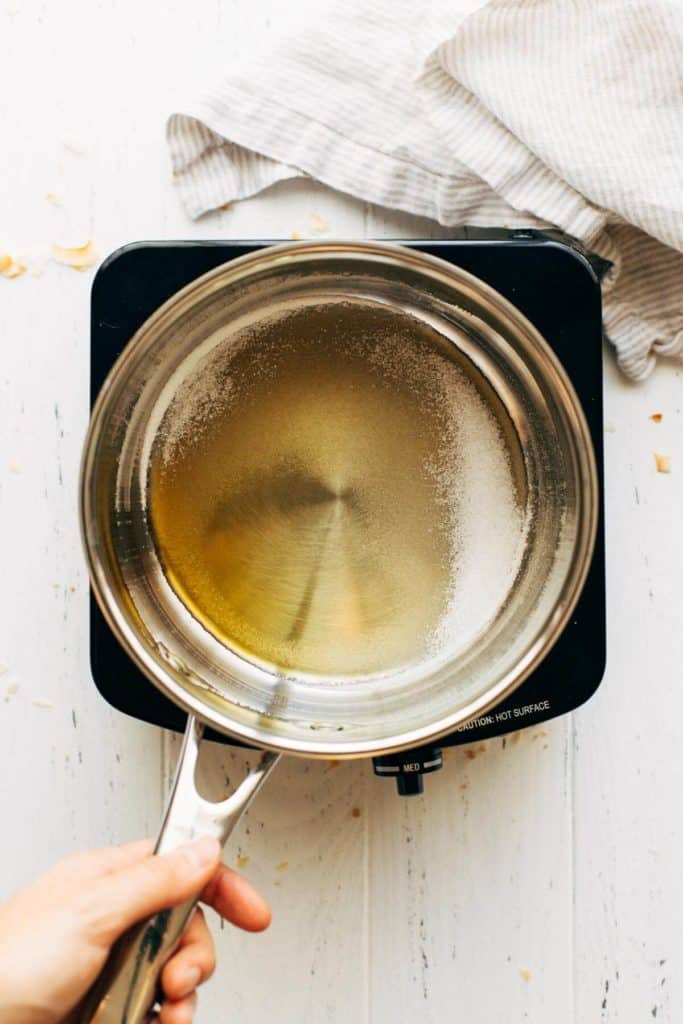
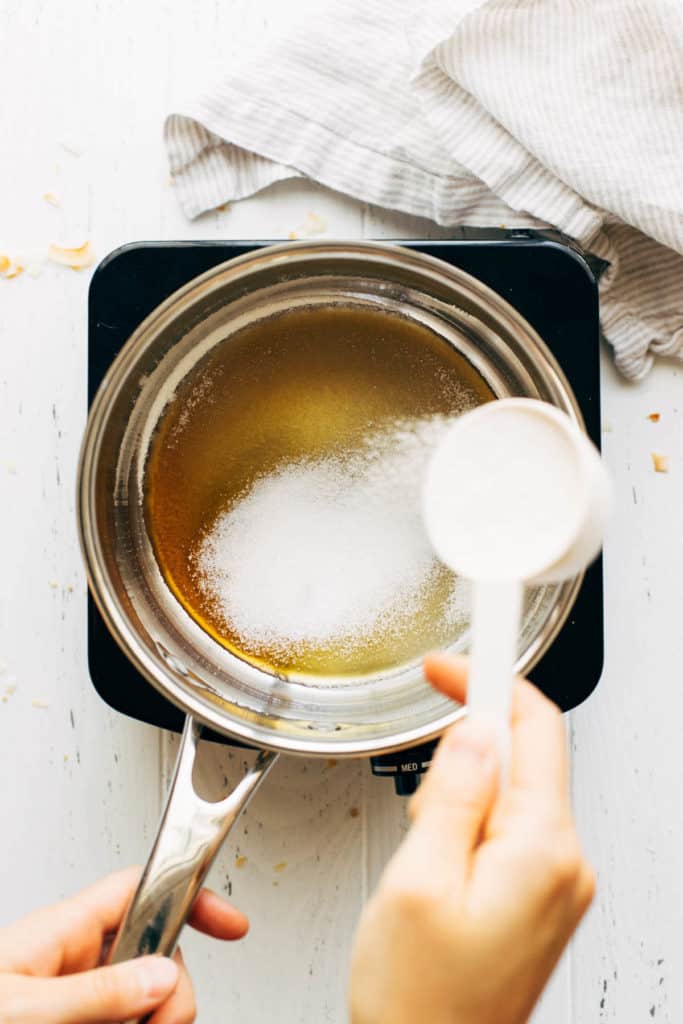
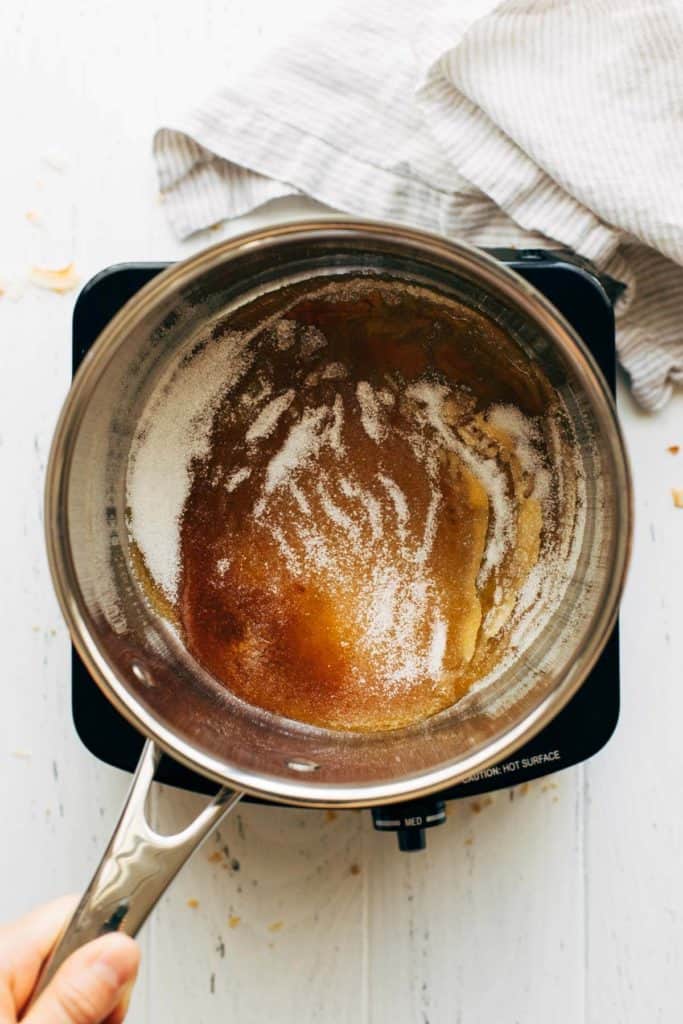
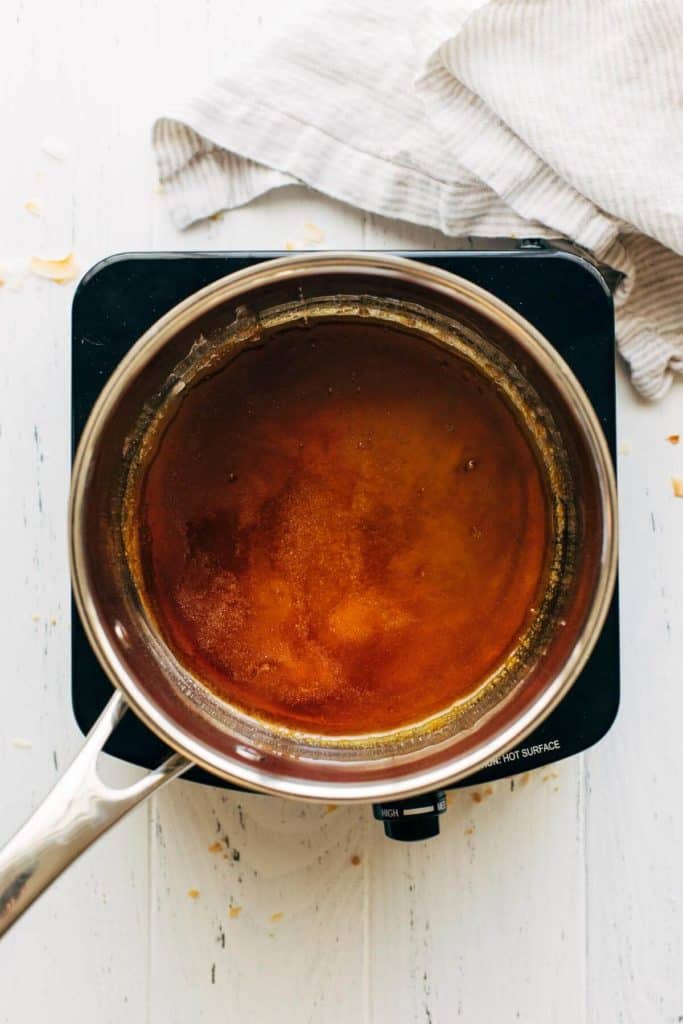
- The Sugar – Let the sugar melt in two thin layers. First sprinkle 1/4 cup of sugar into the base of a saucepan and allow it to melt all by itself. You can shake the pan to level it out but that’s it. Once it’s just about melted, sprinkled another 1/4 cup layer and shake the pan again to even it out. Just sit and watch the sugar melt, but do not stir. You can continue to gently shake the pan every so often to make sure the sugar melts in an even layer. Once it turns to a dark amber color and all the granules are melted, remove from heat.
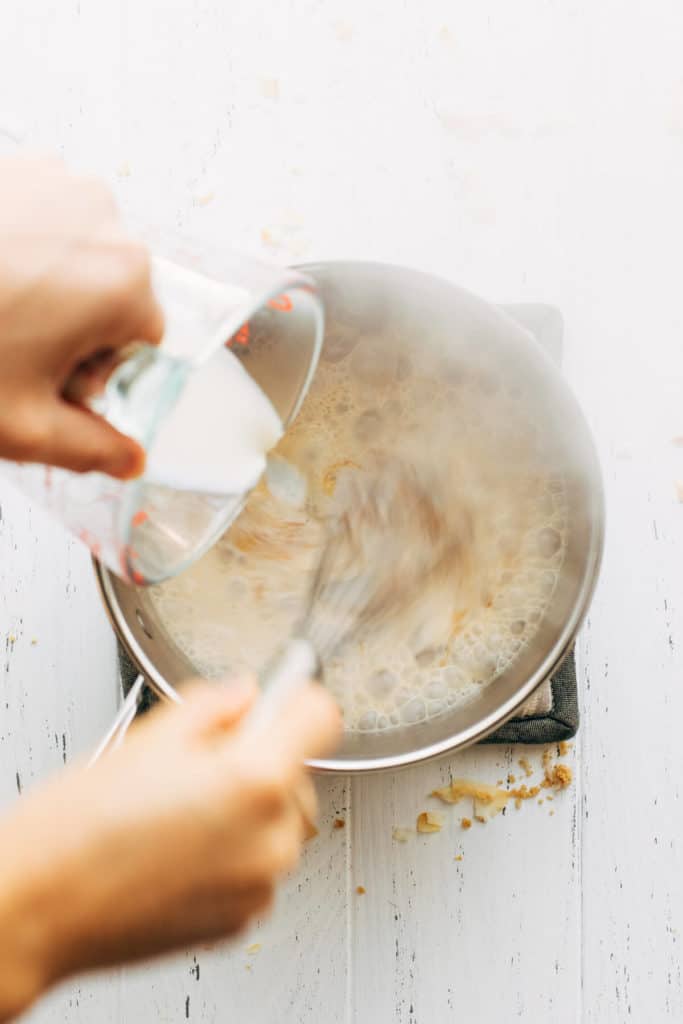
- The Cream – Since the sugar is piping hot, adding cold cream to it will make the sugar clump and seize up. To prevent this, heat the cream in the microwave for 1 minute. It should come out steaming and bubbling hot. With the sugar now off heat, slowly pour in the hot cream as you quickly whisk the two ingredients together. You may get a couple clumps of sugar but that’s ok.
- The Butter – For the same reason, make sure the butter is at room temperature before mixing into the caramel. If it’s too cold, the caramel will clump up.
- Heating – Return to heat once everything is mixed in. Allow the caramel to bubble for 2 minutes, no more no less. If you go too far, the caramel will harden and become too firm once chilled. If too little, the caramel won’t hold together.
Troubleshooting your caramel:
Help! I did everything as instructed but the caramel still clumped up – A few clumps are ok, as those will melt when you reheat the caramel. But if it’s a total lost cause, here’s what could have happened. If you poured in hot cream but the caramel still seized up, the caramel may have been too hot. If you know your stove top runs really hot, melt the sugar on medium-low. If you know it takes a long time to heat up, run it just a hair above medium heat. It’s not a race, so take your time to melt the sugar.
On the opposite end, the sugar may not have dissolved completely before mixing in the cream. Make sure you can no longer see any granules, but also don’t let the sugar reach a bubble before mixing in the cream. It’s a delicate balance, so it’s best to take it slow and wait until your pot looks like the one above – a dark amber color. Also use your nose as you’ll be able to smell the difference between browned and burnt.
How to achieve a creamy and flavorful coconut filling
The real star of the show is this lush coconut cream filling. It’s also easy to make, but requires a few extra tips to ensure it comes out smooth and flavorful:
- Slowly mix in the liquid – To the pot of sugar, cornstarch, and salt, slowly pour in a bit of liquid at a time and mix until smooth before adding more. Dumping in all the liquid at once will give you a lumping filling.
- Coconut milk – Shake the can of coconut milk before use. Coconut milk tends to separate, where the solids float to the top and the liquid sinks to the bottom. To ensure you’re getting a bit of both, shake the can and then pour out 1/2 for the filling.
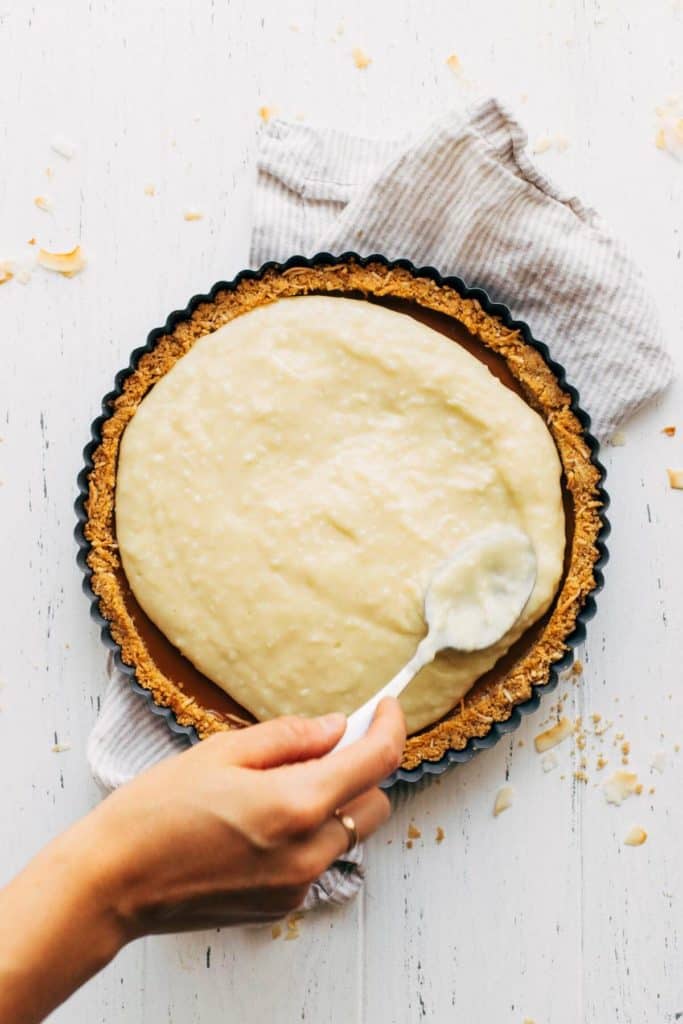
- Heating – It’s ready when the mixture becomes thick, like the constancy of pudding. It should be thin enough to easily pour on top of the caramel layer but not too thick to where it doesn’t spread and glide across the surface.
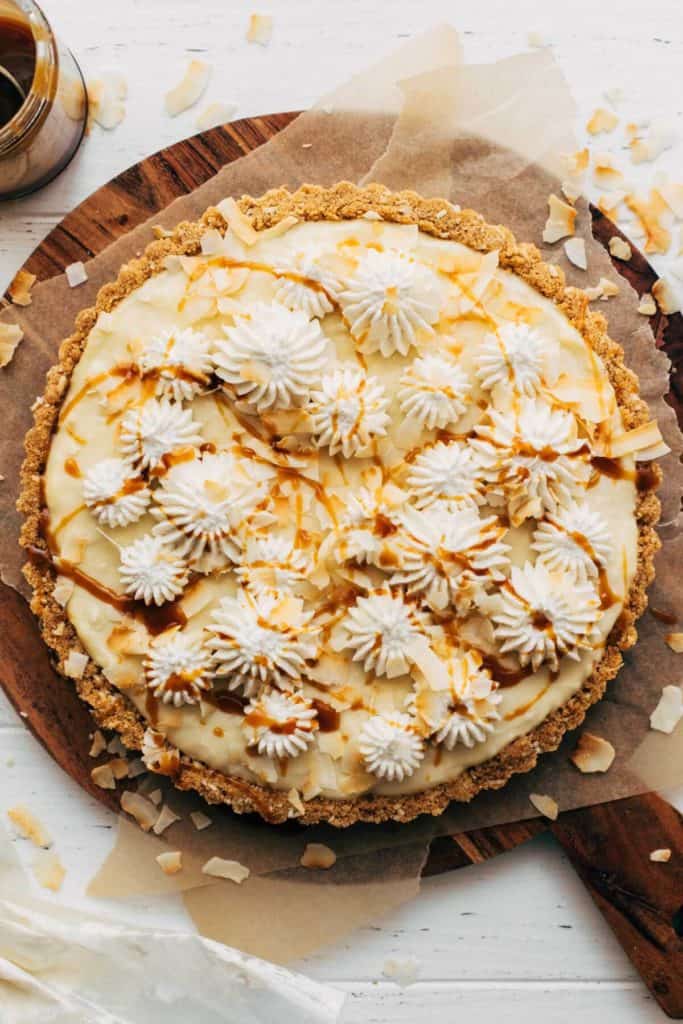
Can I make this in a pie dish?
Yes! The crust and the caramel recipes remain the same, but double the coconut filling. Here’s what that looks like:
- 4 large egg yolks
- 1 13.4 fl oz can full fat coconut milk
- 2 cups whole milk
- 6 tbsp cornstarch
- 2/3 cup granulated sugar
- 1/2 tsp salt
- 2 tsp vanilla extract
- 1 tsp coconut extract
- 4 tbsp melted coconut oil
- 1 cup sweetened shredded coconut
Do I have to bake the pie shell?
Yes, don’t skip this step. Heating the sugar allows it to crystalize, thus creating a more stable and firm crust.
How to serve and store
This pie is best served chilled, after it’s had at least 4 hours in the refrigerator. When slicing, make sure to use a sharp knife and apply some extra pressure when you get to the crust.
To store, cover in plastic wrap or place in a pie case and keep it in the refrigerator for up to 5 days.
For more pie recipes, check out my:
- Brownie Turtle Pie
- Pecan Crusted Cinnamon Pie
- Brownie Bottom Nutella Pie
- Salted Peanut Butter Chocolate Pie
Make sure to tag me @butternutbakery on Instagram and comment below if you make this Caramel Coconut Cream Pie. To pin this recipe and save it for later, you can use the button on the recipe card or on any of the photos above. Happy baking!
Print
Caramel Coconut Cream Pie
- Total Time: 50 minutes + 4 hours chilling
- Yield: 8-10 slices
Description
Rich coconut cream pie set with a layer of homemade caramel and incased in a toffee-like coconut graham cracker crust.
Ingredients
Coconut Graham Cracker Crust
- 3/4 cup (70g) sweetened shredded coconut
- 1 1/2 cups (140g) crushed graham crackers
- 2 tbsp granulated sugar
- 2 tbsp light brown sugar
- 1/2 cup (110g) unsalted butter, melted
Caramel
- 1/2 cup (100g) granulated sugar
- 1/3 cup (80ml) heavy cream
- 4 tbsp unsalted butter, sliced and room temp
- 1/4 tsp salt
Coconut Cream
- 2 large egg yolks
- 1/2 13.4 fl oz can full fat coconut milk*
- 1 cup (250ml) whole milk
- 3 tbsp cornstarch
- 1/3 cup (75g) granulated sugar
- 1/4 tsp salt
- 1 tsp vanilla extract
- 1/2 tsp coconut extract
- 2 tbsp melted coconut oil
- 1/2 cup (50g) sweetened shredded coconut
Whipped Cream
- 3/4 cup (185ml) heavy cream, chilled
- 2 tbsp powdered sugar
- Toasted coconut flakes (optional topping)
Instructions
Crust
- Preheat the oven to 350F. Combine all of the ingredients in a bowl and press into your 9″ tart pan using the bottom of a measuring cup. Make sure it covers the bottom and sides of the pan. (See recipe notes if using a pie dish).
- Bake for 10 minutes then allow it to cool before filling.
Caramel
- While the pie shell bakes, prep the ingredients. As it cools, make the caramel.
- To a medium saucepan over medium heat, sprinkle 1/4 cup of sugar in an even layer on the bottom of the pan. Don’t stir it, just let it melt untouched. You can give the pan a little shake if you need to even out the sugar but do not touch otherwise.
- Once it’s just about completely melted, sprinkle on the remaining 1/4 cup of sugar in an even layer on top. Give the pan a shake to even it out if needed and allow it to melt untouched once more.
- If you’re noticing some spots are melting more than others, give the pan a gentle shake to disperse those spots. Otherwise, just let it sit and melt until it reaches a deep amber color. Just before it reaches that point, place the heavy cream in the microwave for 1 minute, it should be steaming and piping hot.
- Remove the sugar from the heat and place onto something that will keep the pot in place as you whisk, like a hot pad or towel. Don’t turn off the burner just yet.
- Simultaneously whisk in the cream as you slowly pour it into the hot sugar. You’ll want to whisk fast, but also be aware of any steaming or sputtering during this process.
- If you’re left with a few sugar clumps, that’s ok. But if it’s completely seized up, check my troubleshooting notes in the blog post above.
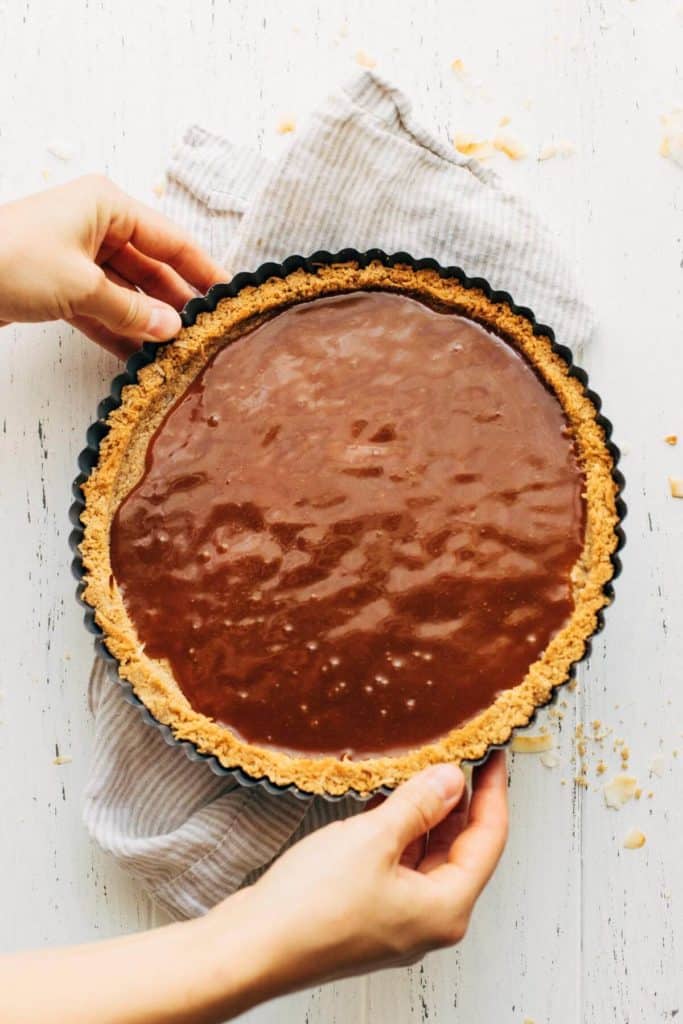
- Mix in the butter and salt and return to heat. Allow it to bubble for 2 minutes (no more, no less). Pour into the cooled shell, reserving about 3 tablespoons to drizzle on top of the pie later.
- Place the pie into the freezer to allow the caramel to firm up. Only add the coconut cream layer once the caramel is somewhat firm to the touch.
Coconut Cream
- In a medium-sized bowl, whisk the egg yolks and set aside.
- In a saucepan, whisk together the cornstarch, sugar, and salt. Slowly pour in the milks and whisk over medium heat.
- Heat for 8-10 minutes, or until the mixture starts to bubble and thicken. Simultaneously pour half of the mixture into the bowl of egg yolks and whisk to prevent any clumps. Pour the yolk/coconut mixture back to the pan with the rest of the filling and continue to heat and whisk for another 5 minutes, or until it becomes thick like pudding.
- Remove from heat and mix in the extracts, oil, and shredded coconut.
- Allow the mixture to cool for 10-15 minutes. Then pour it over the firm caramel layer and chill uncovered for at least 4 hours. If you plan on chilling overnight, cover the pie with plastic wrap after an hour to prevent it from drying out.
Whipped Cream
- Add the cold cream and powdered sugar to a stand mixer with the whisk attachment. Whisk on high speed until thick and firm.
- Pop the pie out of the tart pan (if using). Add the whipped cream to the top of the chilled pie and sprinkle on some coconut with a drizzle of the extra caramel. Enjoy!
Notes
Pie vs Tart – This recipe is made for a 9″ tart pan. If you prefer to use a 9″ pie dish, keep the recipe the exact same but double the coconut cream pie filling. I’ve left those measurements within the blog post above.
Coconut Milk – Make sure to shake the can before use. You can eyeball half a can or weigh out 6.7 fl oz. And if you’re not sure where to find canned coconut milk, it’s typically in the Asian food section at any major grocery store.
- Prep Time: 40 minutes
- Cook Time: 10 minutes
Join Our Community

Meet Jenna
I’m the creator, baker, and photographer behind Butternut Bakery. Here I share desserts for every diet because I believe everyone should have a chance to indulge!

This recipe was absolutely delicious! I had some leftover bourbon caramel sauce I’d made for another recipe and it came together perfectly with this! The crust was fantastic!!! I did add a little salt. I could just eat that! I opted for the tart version and it was a perfect amount of filling to whipped cream ratio. Would definitely make again! Wish I could share the photo!