BEST M&M Cookies
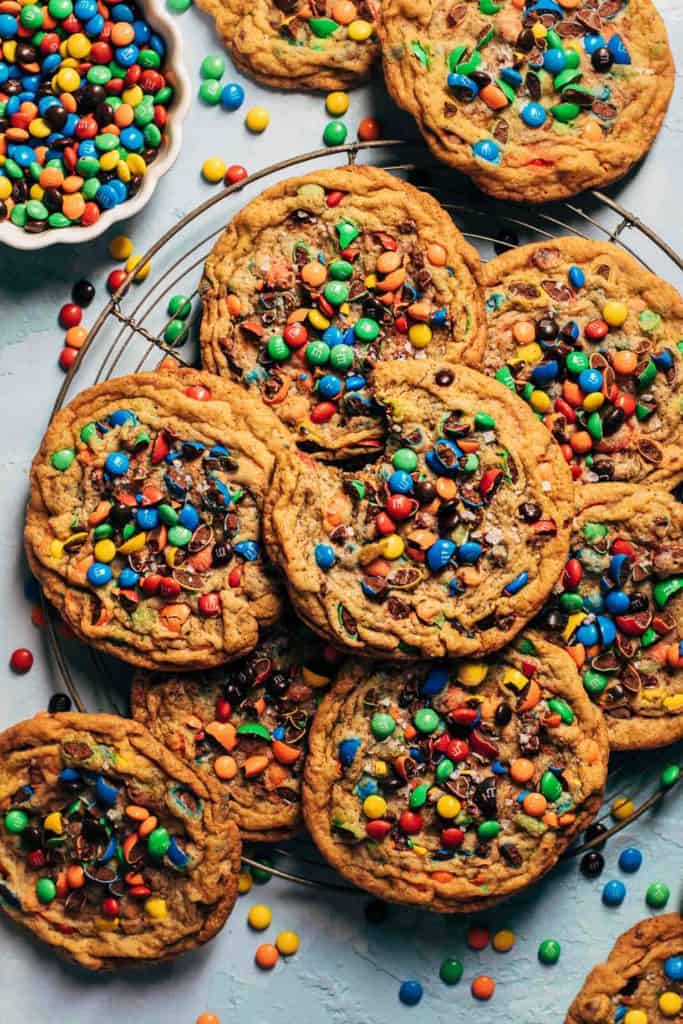
This is hands down the BEST M&M cookie recipe. They’re so buttery and chewy with loads of M&Ms throughout. By using both mini and crushed original M&Ms, there’s the perfect ratio of cookie to candy in every bite. This recipe also requires zero down time, so they’re ready to bake right after mixing!
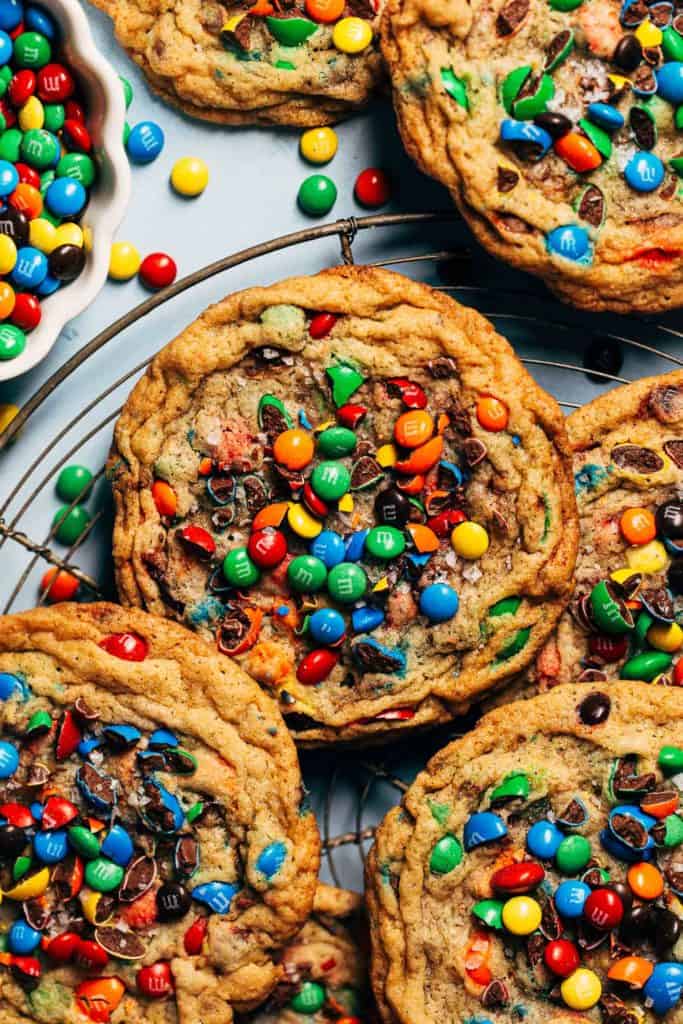
What makes these the BEST M&M cookies?
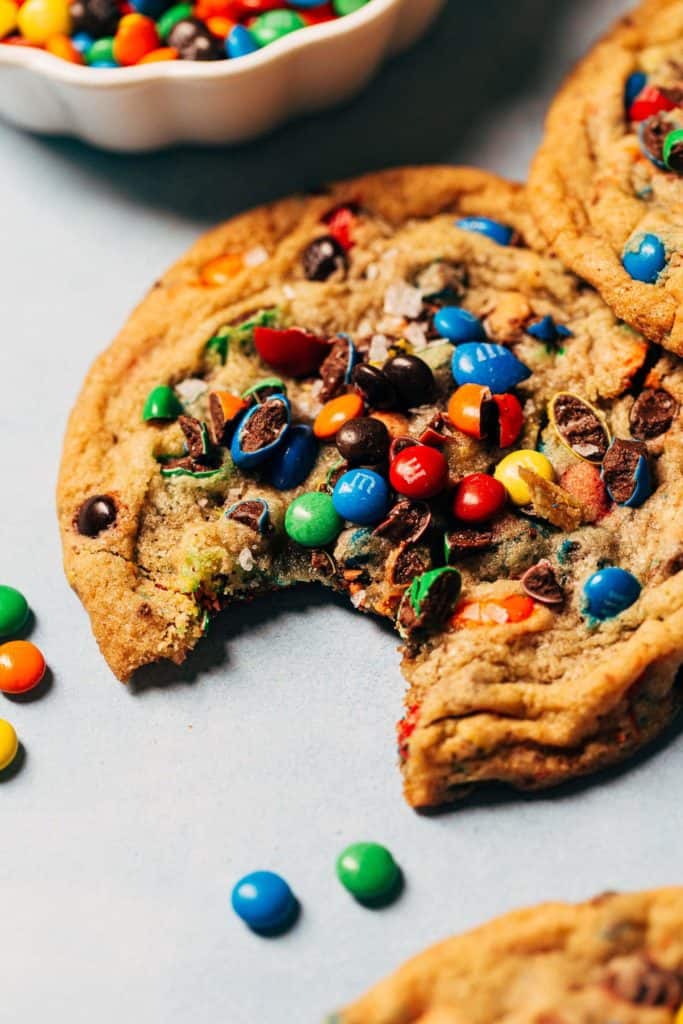
This is one of those cookie recipes that leaves me nearly speechless after the first bite. When sinking your teeth into these cookies, you’re met with a light crunch of both the M&Ms and the golden crisp edges. Keep going and you’ll meet a tender and buttery center that should be savored as the very last bite.
It’s also perfectly balanced, as these cookies aren’t too sweet. With the loads of milk chocolate M&Ms in this recipe, it would be very easy to go overboard. But the additional of a bit a sea salt on top, and the right ratio of granulated and brown sugar gives these cookies just the right amount of sugary milk chocolately goodness.
Last but not least, these cookies are also SO easy to make. The dough is mixed just like any other, but does not require any refrigeration. Just mix, scoop and bake!
Tips for making perfect M&M cookies
I know I said this recipe is quick and easy, and they most definitely are, but there are a few things you should know before starting. This is just to ensure they turn out JUST right!
- Properly measure the flour – I say this in every post, and for good reason. It’s the number one reason why most recipes fail, especially for cookies. If there’s too much flour, the cookies will turn out dry, cakey, and will not spread properly. If you can, measure the flour with a food scale. Otherwise, to ensure you use the exact amount needed, gently spoon the flour into your measuring cup and level if off with a flat edge. If you scoop directly into the flour container, it packs it down into the cup which could leave you with 1/4 cup or more of added flour.
- Room temperature butter – Leave the butter out at room temperature for a couple hours before starting this recipe. It’s very important to use softened room temperature butter because this will build the base of the cookie dough. When mixing softened butter with sugar, the granules push tiny air pockets into the butter. This allows the heat from the oven to freely flow throughout the cookie, creating an even spread. Above all, if the butter is TOO soft or warm, the cookies will spread too much. If the butter is too cold, the cookies won’t spread enough.
- 2 sugars are better than 1 – There’s a reason why I choose to use both light brown sugar and granulated sugar in this recipe, so don’t make any substitutions. The molasses in the light brown sugar is what gives these cookies that soft but chewy texture. On the other hand, granulated sugar is what gives you that golden and crisp ring around the edge. Utilizing both sugars is what gives you a well rounded cookie, one that’s soft in the middle and chewy on the outside.
- Mixing speeds – There are two levels of mixing when it comes to cookies – high for a long period of time, and low for a short period of time. Mix on medium-high speed for all of the wet ingredients. This includes the butter and sugar, followed by the addition of eggs. Each step should be mixed for a good 2-3 minutes as this provides a strong structure to the cookie. After the dry ingredients are added, mix on low speed for as short a period of time as possible. RIGHT when the dry ingredients are mixed in, stop mixing. Over mixing will lead to a tough cookie which we definitely do not want.
Why use two different types of M&Ms?
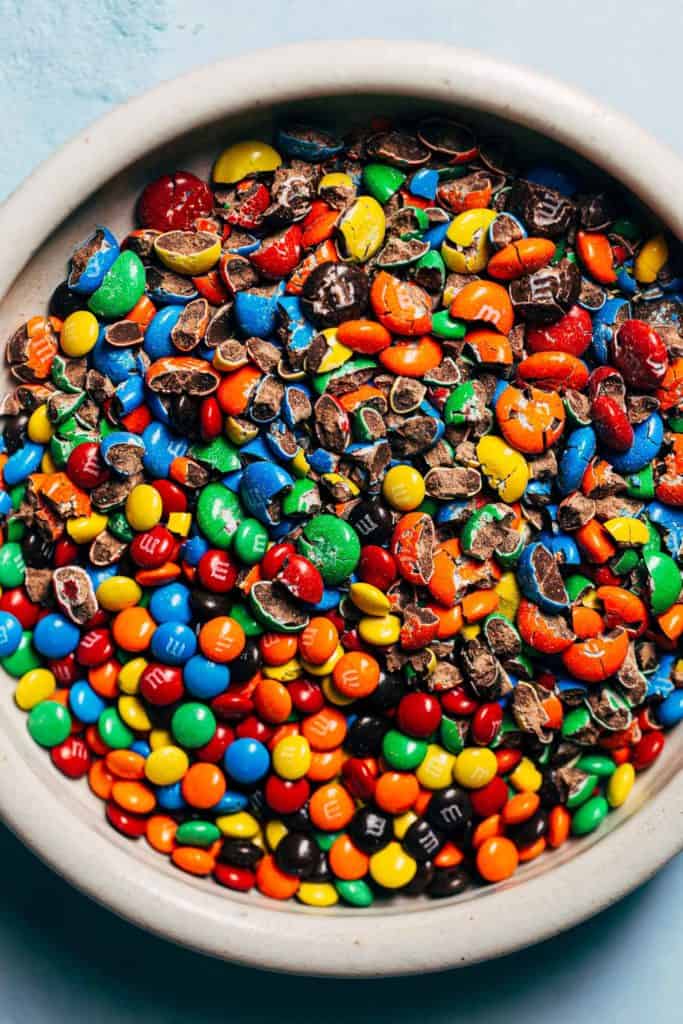
For this M&M cookie recipe, I use a mix of mini and original M&Ms. This is what gives the best M&M to cookie ratio, as the mini M&Ms are able to scatter evenly across each cookie, while the original M&Ms provide a stronger crunch and flavor.
But the original M&Ms can be a bit too clunky in these cookies. That’s why they’re roughly crushed before mixing into the dough. This just provides a more uniform spread of M&Ms throughout the cookies.
Can I use flavored M&Ms?
If you want to get funky with this cookie recipe, there are TONS of different M&M flavors out there. I definitely encourage throwing in whichever flavors you like! But I suggest only swapping the original M&Ms and keeping the mini M&Ms as is, since these help the cookie to M&M ratio. Otherwise, try out the coffee, cookies & cream, or peanut M&Ms in place of the original M&Ms, as long as they’re also crushed.
Can you freeze the cookie dough?
Yep! In fact, I have some in my freezer right now. These cookies hold up very well in the freezer and can be baked straight from frozen. First, scoop the dough and let it chill in the refrigerator for a couple hours just to firm up. Then toss the cookie dough balls in to a freezer-safe ziplock back and freeze for up to 2 months.
To bake, follow the same instructions but add on a couple additional minutes to ensure they bake all the way through.
How to store M&M cookies
Once baked, keep the cookies in an air tight container at room temperature. They’re extra chewy once they’ve cooled completely, but if you prefer a more buttery and crisp cookie I recommend heating a cookie for about 10 seconds in the microwave before eating.
They will keep at room temperature for about 5-7 days.
For more of the BEST cookie recipes, check out my:
- BEST Chocolate Chip Cookies
- Soft & Chewy Sugar Cookies
- Peanut Butter Chocolate Chip Cookies
- White Chocolate Macadamia Nut Cookies
- Bakery Style Chocolate Chip Cookies
Make sure to tag me @butternutbakery on Instagram and leave a review below if you make these M&M cookies. To pin this recipe and save it for later, you can use the button on the recipe card, the buttons above or below this post, or on any of the photos above. Happy baking!
Watch how to make the best M&M cookies:

M&M Cookies
- Total Time: 45 minutes
- Yield: 16 large cookies
Description
These are the BEST M&M cookies! They’re buttery, chewy, and loaded with both mini and crushed M&Ms. There’s also no down time, just mix and bake.
Ingredients
- 1 cup unsalted butter, room temp
- 1 cup (220g) light brown sugar, packed
- 1/2 cup (100g) granulated sugar
- 2 large eggs, room temp
- 2 tsp vanilla extract
- 2 1/4 cups (290g) all purpose flour
- 1 tsp salt
- 1 tsp baking soda
- 1/2 tsp baking powder
- 3/4 cup original M&Ms, plus more for sprinkling on top
- 3/4 cup mini M&Ms, plus more for sprinkling on top
- Flaky sea salt, for sprinkling on top
Instructions
- Preheat the oven to 350F and line a large baking sheet with parchment paper.
- In a medium-sized bowl, whisk together the flour, salt, baking soda, and baking powder and set aside.
- Fill a ziplock bag with the original M&Ms and seal shut. Use a rolling pin and wack the M&Ms to roughly crush into smaller pieces. Set aside.
- In a mixing bowl using a hand or stand mixer with the paddle attachment, mix together the butter and sugars. Mix on medium-high speed for 2-3 minutes or until light and fluffy.
- Scrape down the bowl and mix in the eggs one at a time on medium-high speed. Once combined, scrape down the bowl and mix for another good 2-3 minutes, followed by the vanilla.
- Scrape down the bowl again and mix in half of the dry ingredients on low-medium speed. Once almost combined, mix in the rest of the dry ingredients again on low-medium speed. Careful not to over mix.
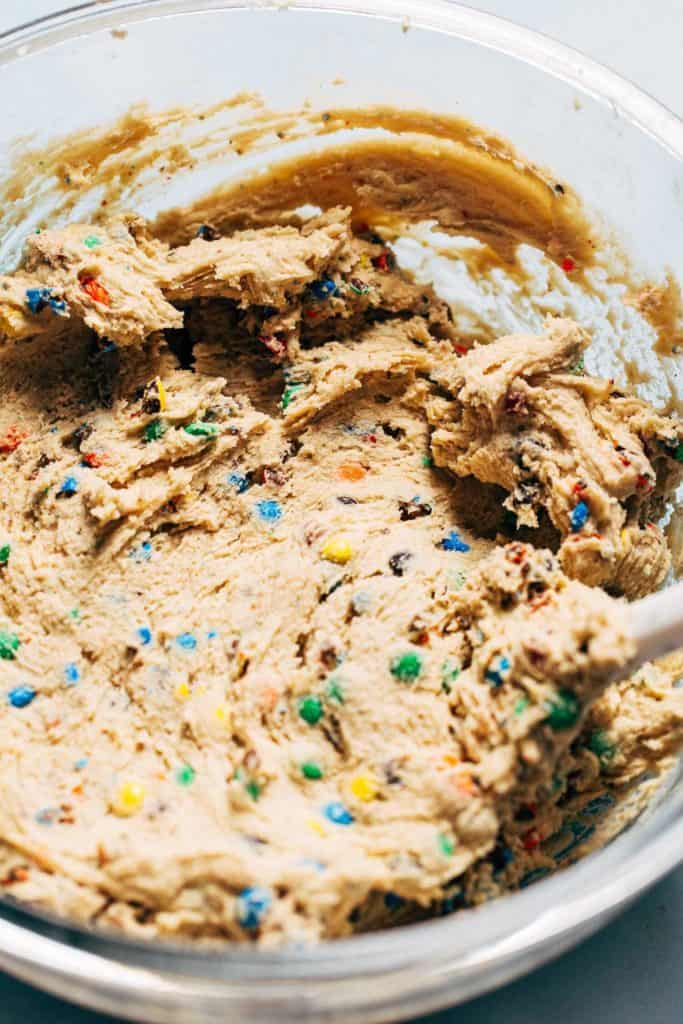
- Pour in the crushed and mini M&Ms and use a rubber spatula to gently fold into the dough. Again, careful not to over mix.
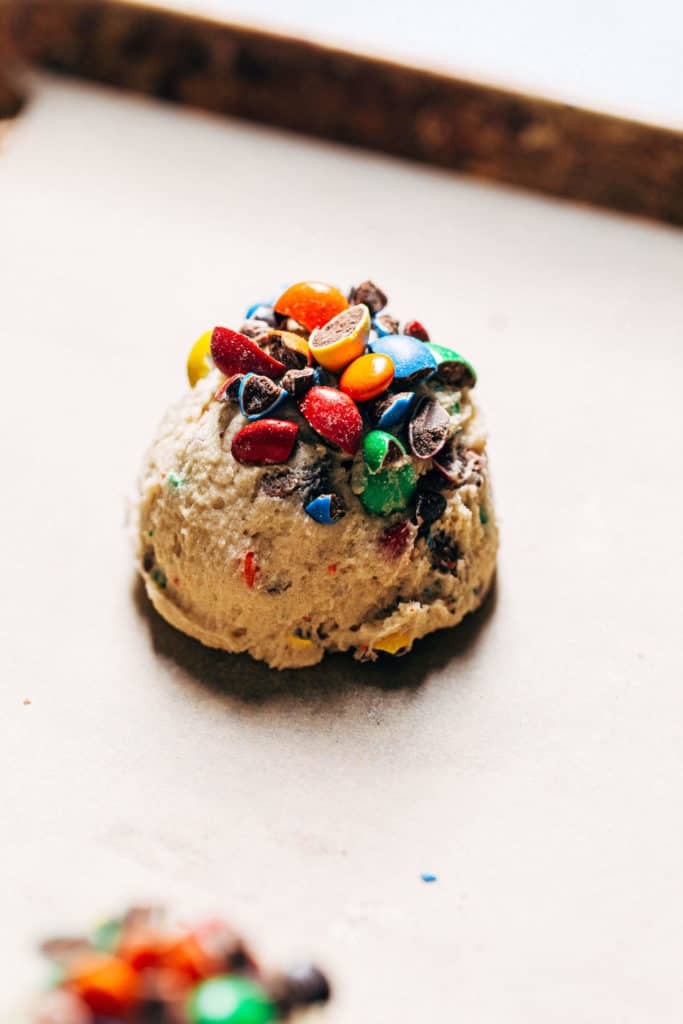
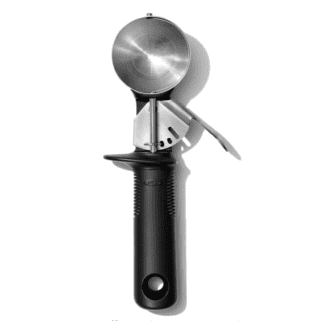
- Using a large 2 oz cookie scoop, or 1/4 measuring cup, scoop the dough out onto the baking sheet. Only bake about 4-5 cookies at a time and space them well apart as they spread quite a bit.
- Top with more M&Ms (see picture in post as to what this should look like), and bake for 12-15 minutes. They’re ready when the edges are lightly golden and the center is pale, puffed, and slightly underdone. Right when they’re pulled from the oven, use a fork to nudge in around sides of the cookies. This will give you crisp and wrinkly edges.
- Sprinkle the cookies with even more M&Ms and a pinch of sea salt (both optional but recommended).
- Transfer to a cooling rack and allow the cookies to cool for about 15 minutes. Then dig in!
Equipment
 Buy Now →
 - Prep Time: 30 minutes
- Cook Time: 15 minutes
Join Our Community

Meet Jenna
I’m the creator, baker, and photographer behind Butternut Bakery. Here I share desserts for every diet because I believe everyone should have a chance to indulge!


I never made M&M cookies before this recipe and this will be the only M&M recipe I ever make. I made these for Christmas at work and my coworkers, vendors, and I really enjoyed them. 10/10
I know the choc chip cookies were not it for me but these M&M cookies were PERFECT. The chewy factor was on point. I didn’t have time to bake them the same day I made the dough so I had to chill them, but they still baked up perfectly the next day. I also appreciated how these didn’t taste artificial like many M&M cookies I’ve tried. I printed the recipe and will def use it as a go to. Thanks for sharing.
I made this recipe and it turned out wonderful. The next day I doubled the recipe and brought them into work for my team and they were gone before 9AM, they could not get enough. This is a fantastic recipe as is, no substitutions needed.
These were amazing! I ended up prepping the dough, scooping the cookies, then left them in the fridge overnight which I think really took them to the next level – they are wonderfully chewy! The flaky sea salt is a MUST, but i oddly have to say I prefer the ones without the m&ms sprinkled on top after baking.
Thanks for a great recipe!
I subbed BMR gf flour and these turned out so good. They were a crowd favorite!
Delicious! This recipe is perfection! The texture of these cookies are amazing – love the combo of crunchy mini m&m with crushed normal sized m&m. Crispy edges and chewy center, so good.
Hi Jeanna, I loveee this recipe and wanted to ask if I was able to make a bigger batch and potentially freeze the dough? I just wasn’t sure if it that was okay to be done considering you’ve mentioned that these cookies don’t need any chill period… also because of the m&ms!
Brought these to a party and every last one went! My family told me they are the best cookies I have ever made! I do agree! They were so good I’m repeating the recipe again two days later!
Hello! Can I add the additional M&Ms and sea salt on top before baking?