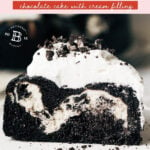
Cookies and Cream Cake
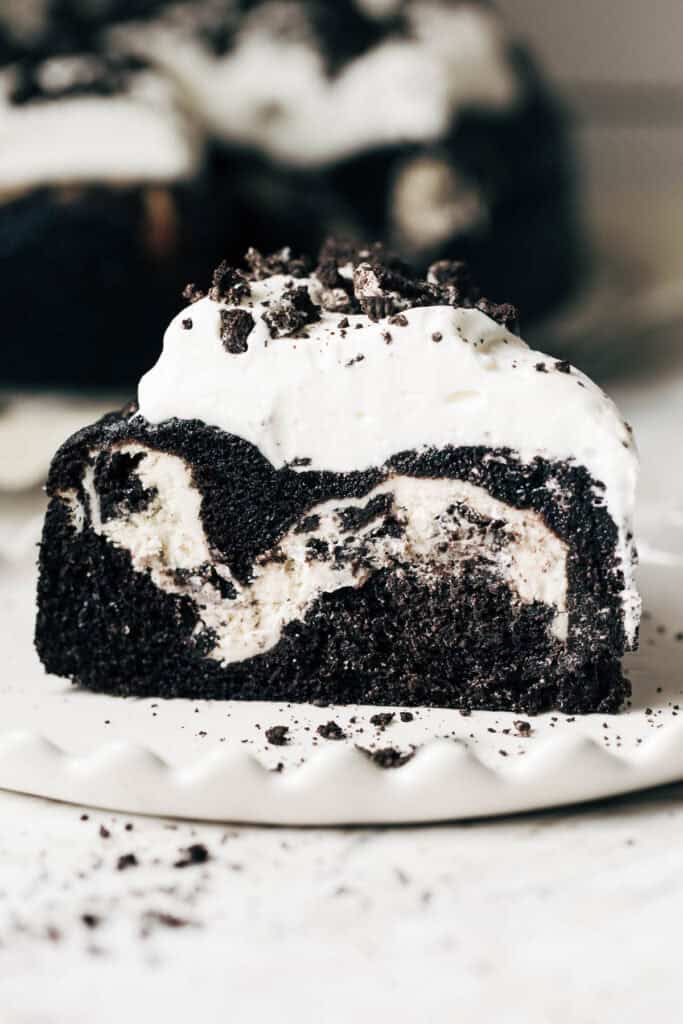
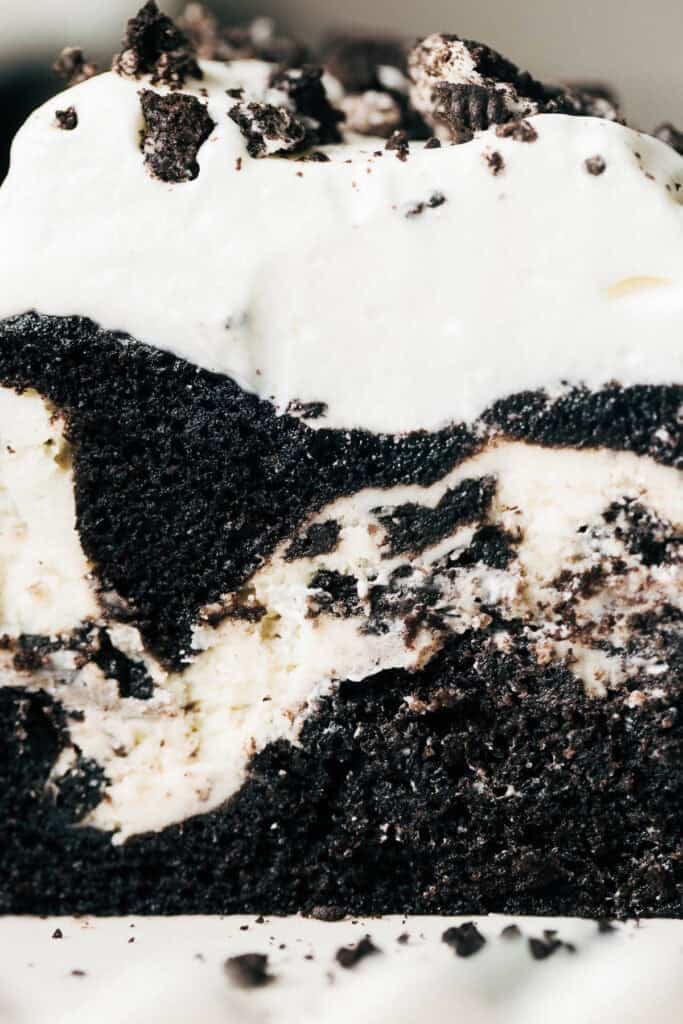
If you love Oreos, chocolate cake, and cheesecake, this cookies and cream cake is about to become your new favorite dessert. This layered cake combines ultra-rich black cocoa chocolate cake with a creamy cookies and cream cheesecake baked right into the center. Finished with fluffy whipped cream and plenty of crushed cookies, it tastes like Oreo cookies in cake form.
Why You’ll Love This Cookies and Cream Cake
The black cocoa gives the cake a deep, dark chocolate flavor and that classic cookies and cream color, while the cheesecake layer adds a creamy texture that makes every bite extra decadent. It’s rich without being overly sweet and perfect for birthdays, celebrations, or anytime you want a dessert that really impresses. Here’s why you’ll love it:
- Deep chocolate flavor from black cocoa
- Creamy cookies and cream cheesecake center baked right in
- Soft, moist cake layers
- Packed with Oreo flavor in every bite
- Perfect make-ahead dessert for special occasions, as it chills overnight
What is Black Cocoa?
Black cocoa is a heavily Dutched cocoa powder with a smooth, deep chocolate flavor and dramatic dark color. It’s what gives Oreo cookies their signature taste and appearance. In this cake, black cocoa creates an intense chocolate flavor that pairs perfectly with the creamy cheesecake layer.
If you can’t find black cocoa, you can substitute dutch-processed cocoa powder which will produce a lighter color cake.
Tips for the Best Cookies and Cream Cake
Spoon and Level the Flour – I always recommend weighing your ingredients but if you don’t have a scale, spoon the flour into your measuring cup and level it off with a flat edge for a light and fluffy cup. Never scoop directly into the flour as this will pack it down into the cup.
Mix in Hot Water – When mixing the batter, use hot water to help bloom the cocoa. This cuts through the acidity to create a smoother, richer chocolate taste.
Use Room Temperature Cream Cheese – For the smoothest, lump-free center, using room temperature cream cheese. I always recommend Philadelphia cream cheese for the best flavor and texture.
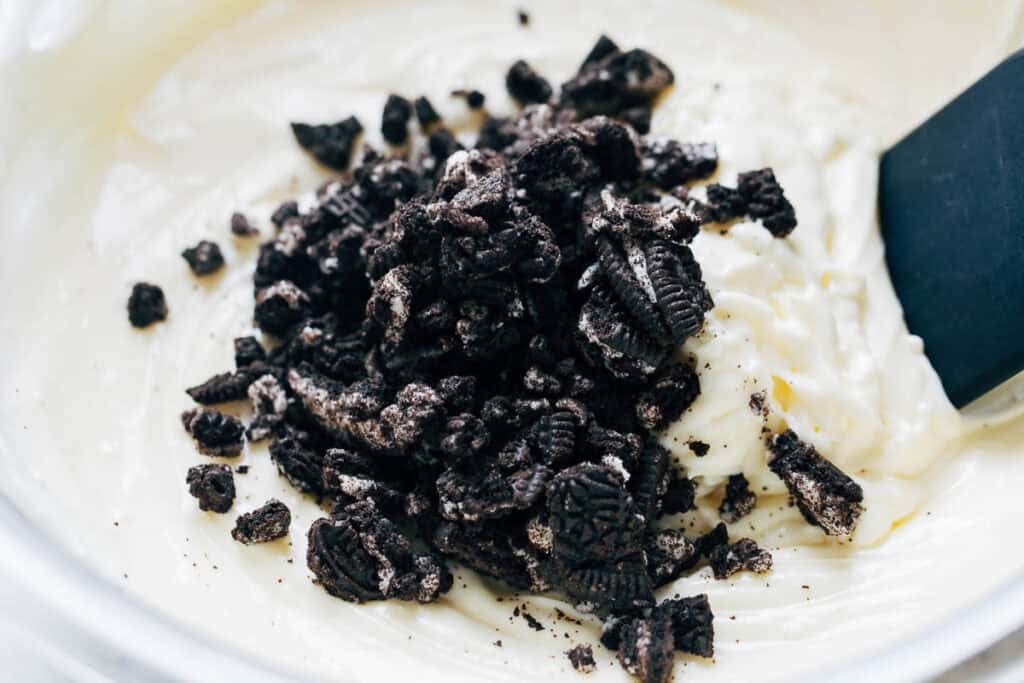
Mix the Larger Cookie Pieces – Crush the Oreos and shake off any fine crumbs before mixing into the cheesecake filling. If the fine crumbs are added, it will muddy the filling and you lose the contrast of white cream cheese against the dark cookies.
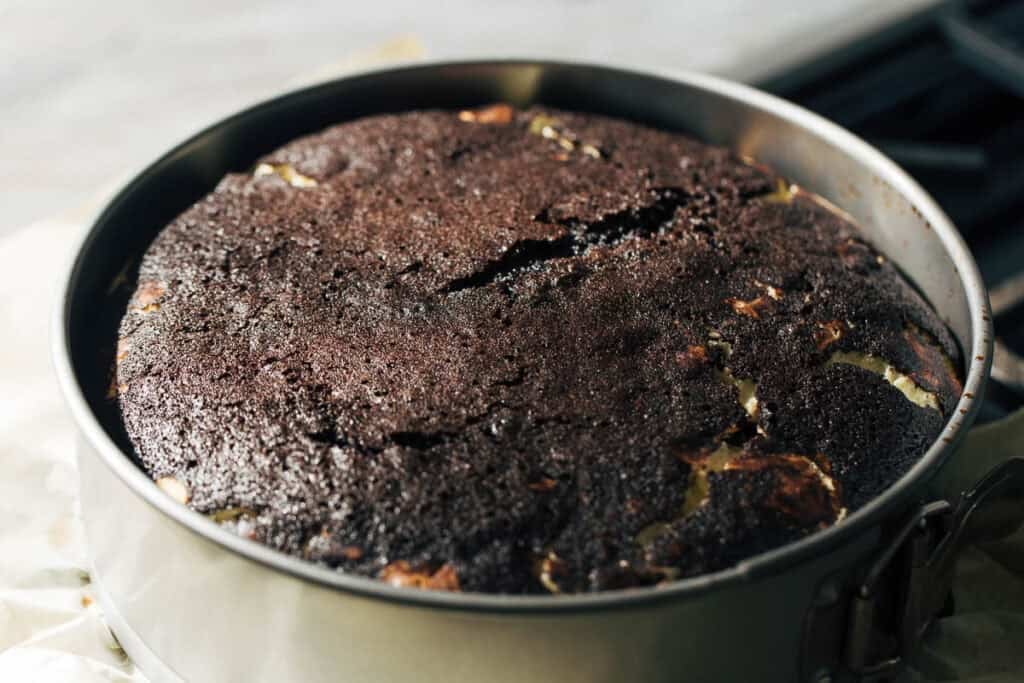
How to Fully Bake – The cake is done when it is fully puffed with deep cracks in the surface. It will be a little wobbly in the center, but that’s due to the warmed cream filling.
Chill Overnight – This cake needs a lot of rest in order to allow the layer to set, so chill it overnight. It’s the perfect dessert to make ahead!
Cookies and Cream Cake FAQs:
Yes! It must chill overnight before serving, so it’s perfect to make a day or two ahead.
No, but it gives the cake its signature dark appearance and Oreo-like flavor. Dutch-process cocoa can be substituted for a milder chocolate flavor.
Yes, use gluten free Oreos and substitute the all-purpose flour with a cup for cup gluten-free baking flour. I like Bob’s Red Mill (the blue bag) or King Arthur measure for measure. Also add another 5 minutes to the bake time.
Because of the cheesecake layer, the cake should be stored covered in the refrigerator for up to 5 days.
Yes. You can freeze individual slices or the fully assembled cake tightly wrapped for up to 2 months.
For more cake recipes, check out my:
- Moist Chocolate Cake
- Funfetti Cake
- Perfect Carrot Cake
- Sweet Almond Cake
- Cookie Dough Cake
- Fresh Strawberry Cake
- Lemon Raspberry Cake
- BEST Vanilla Cake
Make sure to tag me @butternutbakery on Instagram and leave a review below if you make this cookies and cream cake. To pin this recipe and save it for later, you can use the button on the recipe card, the buttons above or below this post, or on any of the photos above. Happy baking!
Print
Cookies and Cream Cake
- Total Time: 1 hour 20 minutes + Overnight
- Yield: 12 slices
Description
This cookies and cream cake is the ultimate dessert for Oreo lovers. Between the ultra-dark chocolate cake, creamy cheesecake center, and crunchy cookie pieces throughout, every bite is rich, smooth, and packed with cookies and cream flavor. Whether you’re making it for a birthday or just because, this cake always feels bakery-worthy.
Ingredients
Chocolate Cake
- 1 1/2 cups (192g) all-purpose flour or 1-to-1 gluten-free baking flour, spooned and leveled
- 1 1/4 cup (250g) granulated sugar
- 1/2 cup (50g) black cocoa powder
- 1 tsp baking soda
- 1/2 tsp kosher salt
- 1/2 cup (110g) vegetable oil
- 2 large eggs
- 1 tsp white distilled vinegar
- 1 tsp vanilla extract
- 3/4 cup (180g) hot water
Cookies and Cream Filling
- 16 oz full fat cream cheese, room temp
- 1/2 cup (100g) granulated sugar
- 1 large egg
- 2 tbsp heavy whipping cream
- 6 Oreo cookies (regular or gluten free)
Whipped Cream Topping (or thawed CoolWhip)
- 1 1/2 cups (360g) heavy whipping cream
- 2 tbsp powdered sugar
- 1 tbsp nonfat dry milk powder (optional, helps with stability)
- 3 Oreo cookies (regular or gluten free)
Instructions
Chocolate Cake
- Preheat the oven to 350F and grease a 9” springform pan. Remove the ring and tear a sheet of parchment paper that’s slightly larger than the bottom plate. Lay on top of the plate and return the ring to the pan to now have a lightly covered parchment bottom.
- In a large bowl, whisk together the flour, sugar, black cocoa, baking soda, and salt. In a separate smaller bowl, beat together the oil, eggs, vinegar, and vanilla. Pour into the bowl of dry ingredients and give it a rough whisk, then pour in the hot water and whisk until completely smooth. Set aside.
Cookies and Cream Filling
- In a medium bowl with an electric mixer, mix the cream cheese and sugar until smooth (you can also mash and mix by hand with a fork). Then mix in the egg and cream until smooth (use a whisk for this step if mixing by hand).
- Place the Oreos in a ziplock back and whack until broken into small pieces. Use your hand to pick up the chunks and shake off any of the finely-ground crumbs before tossing into the cream filling. By leaving behind the fine bits, the cream filling will remain white rather than turning muddy. Stir in the Oreo chunks until evenly distributed. You can also save the finely-ground discards for topping later on.
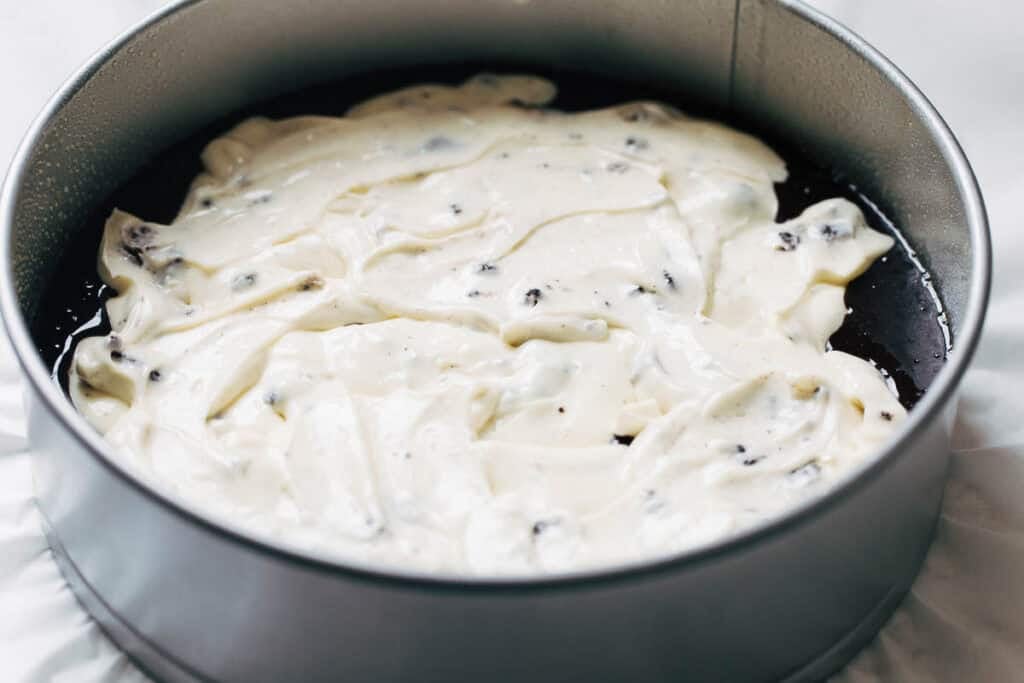
- Pour ⅔ of the cake batter into the pan and spread even. Spoon globs of the cream filling on top, scattering them around as evenly as possible. Gently spread even, just to smooth out any peaked tops, and pour the remaining batter on top until the filling is mostly covered.
- Bake for 50 to 55 minutes or until evenly puffed with a few deep cracks and a dry surface. The center will also have a slight jiggle when the pan is nudged which is due to the warmed cream filling, but if you’re unsure it’s best to over bake than underbake this cake. Allow to cool at room temperature for about an hour or until completely cooled, then place in a container and chill overnight to allow that cream filling to set.
Whipped Cream
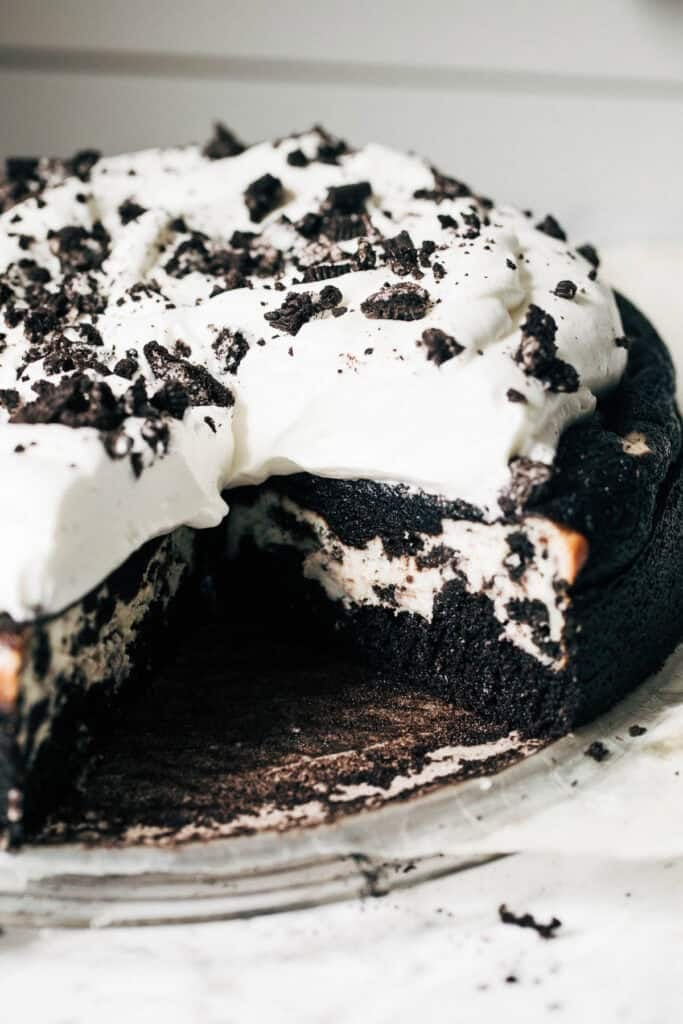
- Combine all of the ingredients, minus the Oreos, and whip on high speed until light and fluffy, about 2 minutes. Spread on top of the cooled and set cake. Add the 3 Oreos to the leftover bag of finely-ground bits and whack into small chunks. Sprinkle on top and it’s ready to enjoy!


- Prep Time: 30 minutes
- Cooling Time: Overnight
- Cook Time: 50 minutes
- Category: Dessert
- Method: Baking
- Cuisine: American
Join Our Community


Meet Jenna
I’m the creator, baker, and photographer behind Butternut Bakery. Here I share desserts for every diet because I believe everyone should have a chance to indulge!