Sweet Almond Cake
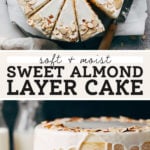
This sweet almond cake is for everyone who loves the flavor of almond extract. It may look like a plain vanilla cake, but the flavor is much more unique with almond extract both in the cake and buttercream frosting. And not only is the flavor on point, but the texture is everything you want in a cake. It’s moist and rich but so soft and fluffy.
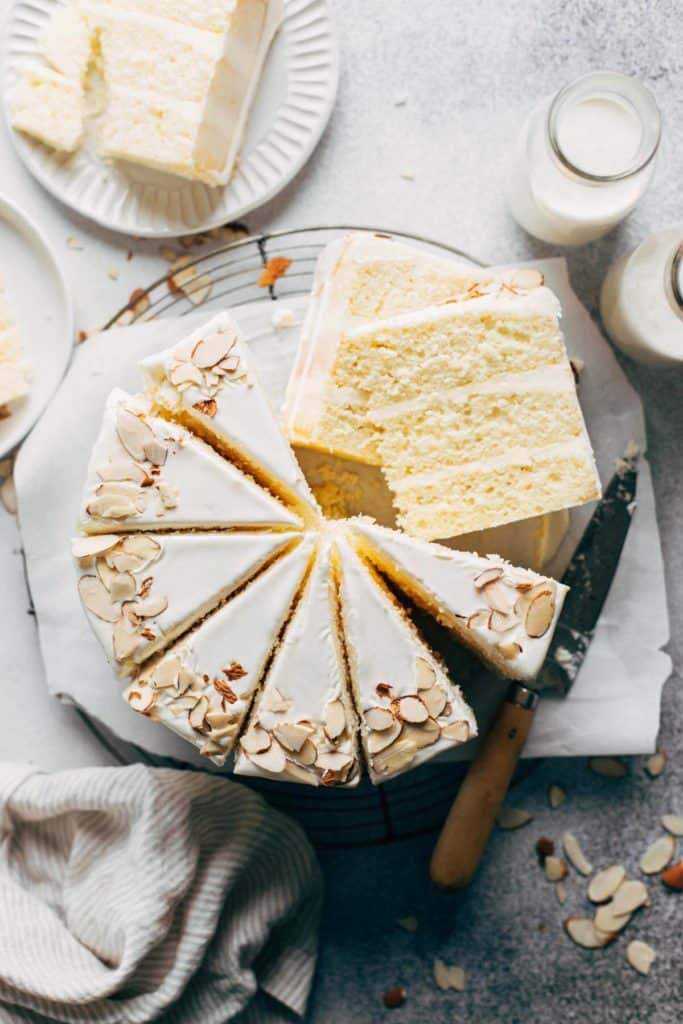
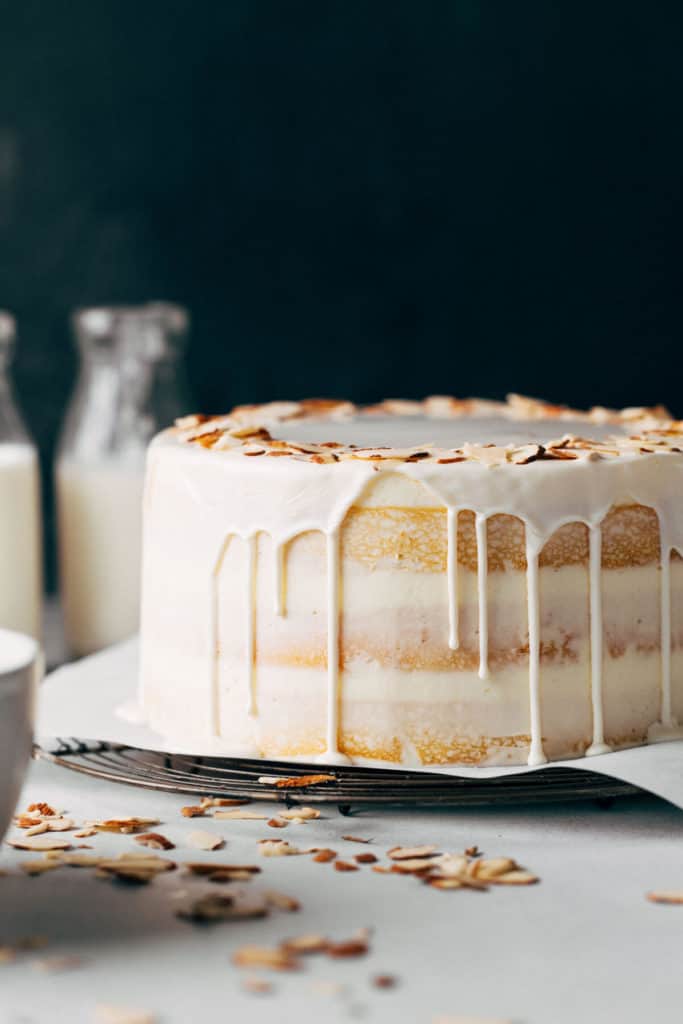
What goes into a sweet almond cake?
This cake recipe is just like a really good vanilla cake, but with tons of almond extract added to give it a unique flavor.
Most of the time almond extract is used in very tiny amounts, such as 1/4 or 1/2 teaspoon at a time because of its strong flavor. But with this cake, a total of 4 teaspoons are used between the cake batter and buttercream. It gives this cake that delicious sweet almond flavor but without overpowering the cake
How to make a light and fluffy cake
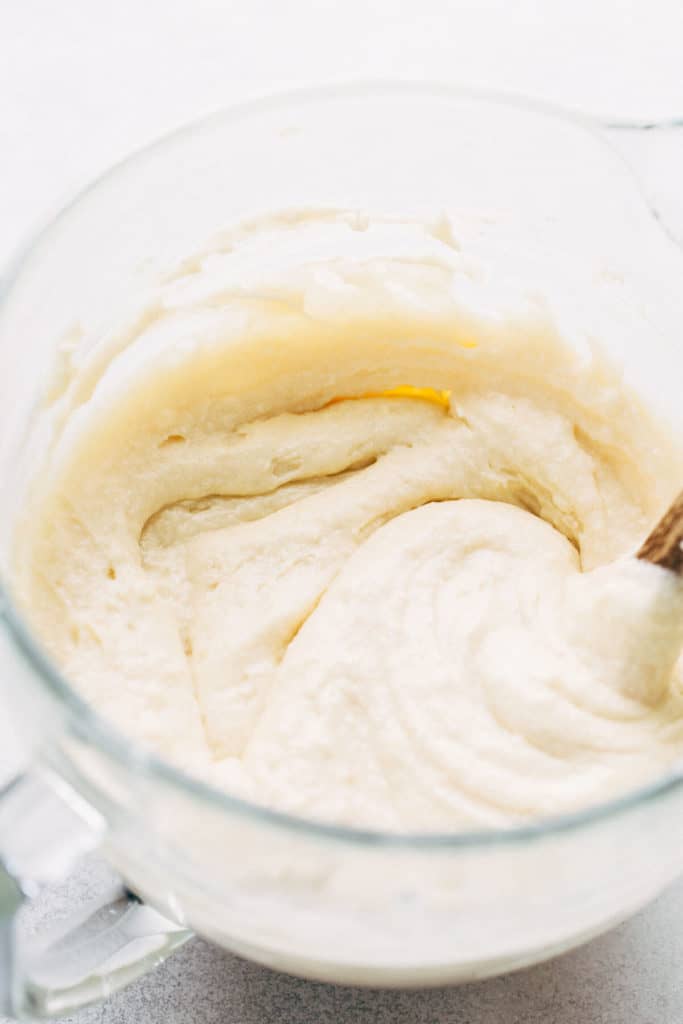
Besides the almond flavor, this cake wins with its perfect light and fluffy texture. It’s soft and moist, but isn’t too rich or decadent.
There are a few key factors that go into achieving this texture. Here’s a few steps I took to get that perfect consistency:
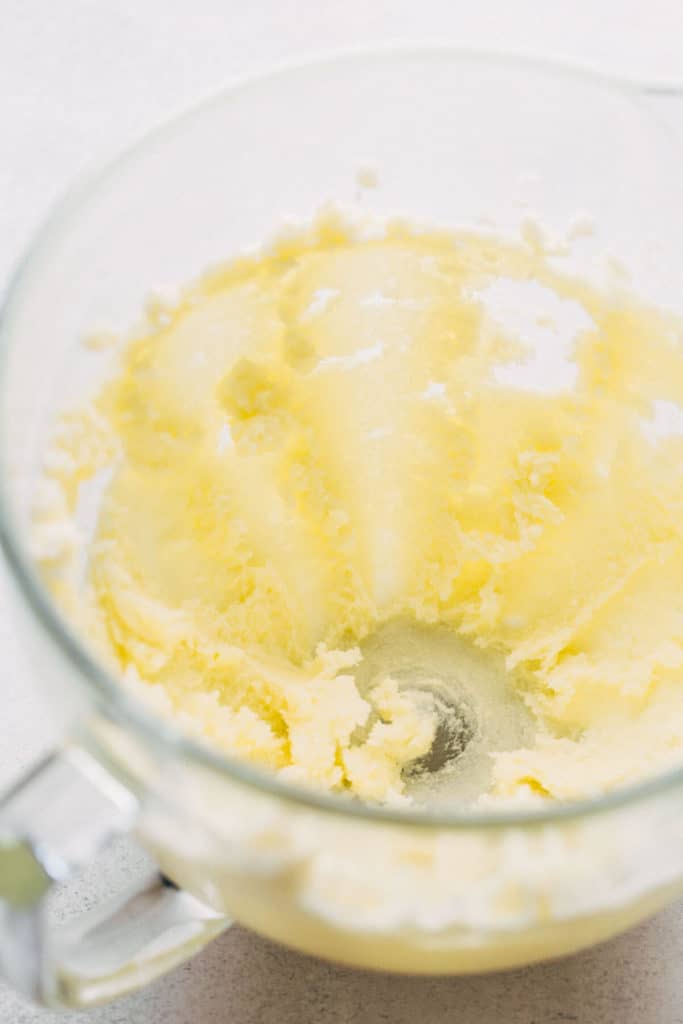
- Butter & Sugar – The recipe starts by creaming together the butter and sugar until light and fluffy. This process whips air bubbles into the butter which helps give the cake some lift right from the start.
- Cake Flour – Using a majority cake flour in this recipe is what gives it a very light texture. Cake flour contains less protein than all purpose flour, meaning less gluten is formed when mixing the batter. And the more gluten there is, the tougher the texture. This is also the reason why it’s called cake flour!
- Egg Whites – To prevent the cake from feeling too heavy or rich, I used mostly egg whites in this recipe. Egg whites help hold the cake together, where as egg yolks are what give it richness. By using a majority egg whites along with one egg yolk, the cake comes out light but moist.
- Baking Powder – The use of baking powder is what gives this cake its lift. Most baking powder is double acting, meaning it activates once combined with the wet ingredients and again when it heats up in the oven. These two steps of leavening help lighten the cake to give it tons of tiny air pockets all throughout.
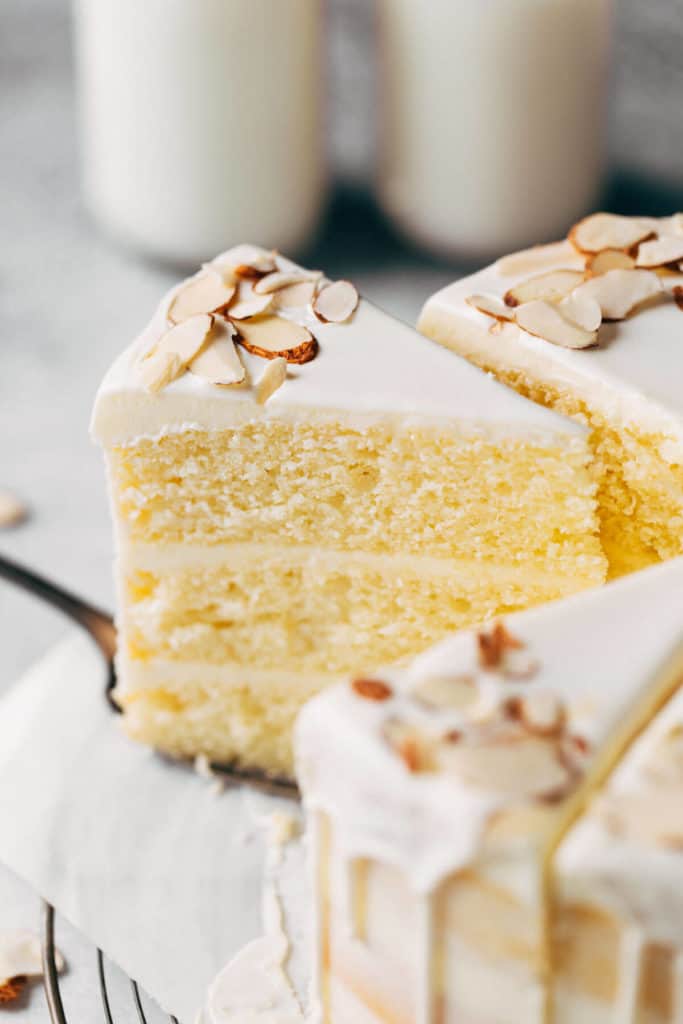
You’ll also notice that when the cakes are done, they’ll be very even and light in color. This is mostly due to the egg whites and the strict use of granulated sugar. The two prevent the batter from turning too yellow, giving you a beautiful white cake that can be used as a blank canvas for just about anything.
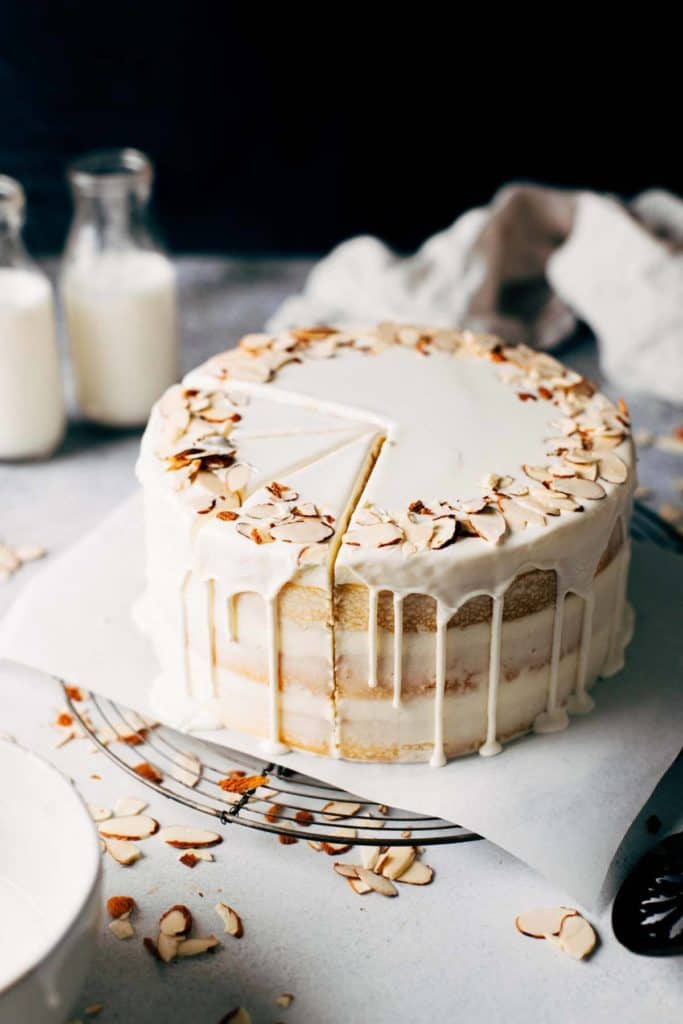
Tips of assembling a cake
Once the cakes are baked, let them cool in the pans for at least 20 minutes. Then turn them out onto a cooling rack and chill in the refrigerator for at least 1-2 hours. The key to any good layer cake is to work with chilled cake. If it’s even SLIGHTLY warm, there’s a good chance the buttercream will melt between the layers.
Once chilled, the cakes should be ready to go. What I love about this recipe is that the cakes bake pretty even, so there’s no need to level off the tops before stacking.
Spread an even layer of buttercream between the cakes, allowing the buttercream to poke out over the edges. Then, once all three layer are stacked, run your offset spatula around the sides to spread out the overhanging buttercream. That overhang will help fill in any large gaps between the cakes.
Dollop the rest of the buttercream on the top center of the cake, then use an offset spatula to work it in an even layer and out towards the edges. Let as much hang off the sides as possible without it completely falling off. Then take that overhang and work it down the sides. It doesn’t have to be a perfectly even application, but just make sure the entire cake is covered.
Now take a cake scraper and place it parallel to the side of the cake. Spin the cake as you press the cake scraper up against the side to take off as much excess buttercream as possible without damaging the cake.
Use an offset spatula to level off the top of the cake, pulling in any buttercream that’s jutting straight up the sides. Now let the cake chill while you make the cake drip.
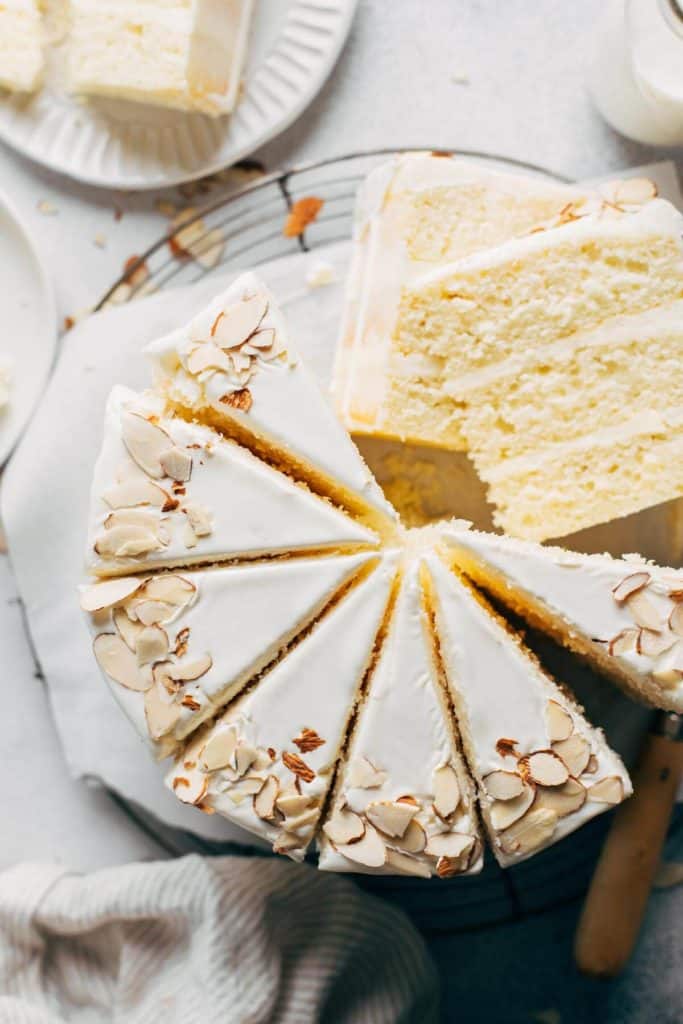
How to make a bright white cake drip
One of the biggest challenges I faced with when I first started decorating cakes was how to get a bright white cake drip. White chocolate always turns into a light yellow/gold color once melted, and I was not about to add that to the tops of my cakes!
I found that the trick is to use two key ingredients: bright white candy melts and white-white icing color. The candy melts melt down into a somewhat yellow color, but no where near as yellow as white chocolate, so the white-white icing color helps add back that opacity and vibrance.
Once the cake drip is melted and dyed, it must chill for about 15-20 minutes to thicken. If you pour it on while it’s still hot and runny, it will melt the buttercream and completely fall off the cake.
For a cake drip, you’re looking for a smooth and runny consistency that isn’t too thin. When you run a spoon through it, it should have some give but then melt back into itself. You can always do a test up against the inside edge of your mixing bowl. Use a spoon to place one small drip and watch how it falls. If it races down the edge of the bowl, it’s too thin. But if it slowly falls and then stops, it’s ready to go.
For more delicious layer cake recipes, check out my:
Make sure to tag me @butternutbakery on Instagram and comment below if you make this Sweet Almond Cake. To pin this recipe and save it for later, you can use the button on the recipe card or on any of the photos above. Happy baking!
Print
Sweet Almond Cake
- Total Time: 1 hour 25 minutes + 2 hours chilling
- Yield: 10-12 slices
Description
Sweet layers of white almond cake with almond buttercream and a white chocolate cake drip
Ingredients
Sweet Almond Cake
- 1 cup (220g) unsalted butter (room temp)
- 1 1/2 cups (300g) granulated sugar
- 1 cup (125g) all-purpose flour
- 2 cups (230g) cake flour
- 3 tsp baking powder
- 1 tsp salt
- 4 large egg whites (room temp)
- 1 whole egg (room temp)
- 2 tsp almond extract
- 1/2 tsp vanilla extract
- 1 1/4 cup (305ml) buttermilk* (room temp)
Almond Buttercream
- 1 1/2 cups (330g) unsalted butter (room temp)
- 2 tsp almond extract
- 4 cups (480g) powdered sugar
- 2–3 tbsp milk
White Chocolate Drip (optional)
- 1 cup (160g) white candy melts
- 1/4 cup (60ml) heavy cream
- White-white icing color
- 1/2 cup sliced almonds
Instructions
Sweet Almond Cake
- Preheat your oven to 350F and grease (3) 8-inch round cake pans with nonstick spray. Line the bottom of the pans with parchment paper.
- In a medium sized bowl, whisk together the flours, baking powder, and salt. Set aside.
- Using a hand or stand mixer, cream together the butter and sugar on medium-high speed until it turns light and fluffy (about 3-4 minutes).
- Mix in the eggs one at a time, scraping down the sides of the bowl about halfway through. Then mix in the almond and vanilla extract.
- Once combined, alternate adding the dry ingredients and buttermilk. Dry, milk, dry, milk, dry. Mix well until everything just comes together.
- Divide the batter evenly between your three pans and bake for 25-28 minutes or until a toothpick comes out clean.
- Let the cakes cool inside their pans for about 20 minutes before removing them. Keep the parchment paper on and allow them to cool completely on a cooling rack. I like to make my cakes the day before so that they can chill overnight in the fridge (wrapping each layer in plastic wrap). This makes them nice and sturdy for assembling. If you don’t have that time, you can pop them in the fridge for at least 2 hours before building your cake.
Almond Buttercream
- Once the cakes are completely cooled, make the buttercream. Mix together the room temperature butter and powdered sugar, one cup at a time.
- In between the cups of powered sugar, mix in the milk one tablespoon at a time. You shouldn’t need more than 3 tablespoons max. Then once you get the right buttercream consistency, mix in the almond extract.
White Chocolate Drip
- Stack cakes with an even amount of buttercream between each layer. Then apply an even coat of buttercream all around the outside of the cake. Scrape off as much excess as possible without damaging the cake to get the naked cake look. Then place the cake in the fridge to chill while you prep the white chocolate.
- In a microwave safe bowl, add in your candy melts and heavy cream. Microwave for 1 minute and stir. If it’s not completely melted at that point, you can microwave for another 30 seconds.
- The secret to getting a bright white drip is the Wilton white-white icing color. I mixed in around 15-20 drops to get the opacity I wanted.
- At this point, the drip mix will be pretty thin so let it sit in the fridge for about 15-20 minutes to thicken up a bit. When it’s ready, it should have some slight resistance when running your spoon through it but it will still rapidly disappear into itself.
- Pour the drip into the center of the chilled cake. Leave about 1/2 inch around the edge of the cake and use an off-set spatula or spoon to guide it to the edges of the cake so it can drip down. Top with a handful of sliced almonds and enjoy!
- You can serve it cold or at room temp – it tastes great either way!
Notes
BUTTERMILK – You can also make your own using whole milk and vinegar. Measure out the 1 1/4 cup of milk but remove one tablespoon. Then add one tablespoon of vinegar to the milk and stir to combine. Let it sit for 10 minutes to curdle before use.
- Prep Time: 1 hour
- Cook Time: 25 minute
Join Our Community

Meet Jenna
I’m the creator, baker, and photographer behind Butternut Bakery. Here I share desserts for every diet because I believe everyone should have a chance to indulge!



How far in advance can the buttercream be made and put in refrigerator?
Fantastic cake. Everyone said it looked and tasted like it came from a bakery.
Hi there, I’d like to use oil instead of butter. How should I adjust the recipe?
AMAZING!! I’ve been eyeing this cake for months and finally made it today for a birthday party I was asked to provide a cake for. I am SO happy I finally tried this. Not ~too~ sweet and just the right amount of almond. Also the cakes baked pretty evenly/not domed so I only cut a little off one of the cakes to make even and besides that was easy!
Will !00% make this again. It was easy to put together, delicious and BEAUTIFUL. (I didn’t add the white food coloring to the white chocolate drip, it was a bit yellowed but absolutely fine looking. Topped with a ring of almonds).
Hi – quick Q. How tall are the layers meant to be?
I followed the recipe to the letter. 3x 8inch pans.
It didn’t rise very much at all.
Just under an inch tall each.
Is it meant to be like that or have I gone wrong somewhere?
Do you sift your cake flour?
Have you tried using gluten free almond flour? my daughter is gluten free so wondering about any change needed to the amount of extract?? this looks so good!
Hiya
I have 9” and 9”1/2 and would want to bake this for my son’s birthday this weekend pls help
This looks AMAZING!!
What other size pan(s) could be used, if say, I’m not looking to bake a cute cake, but just to eat myself?
Have you tried McClung this with amaretto instead of Almond extract. If so how was the result.