This post may include affiliate links, please see our privacy policy for details.
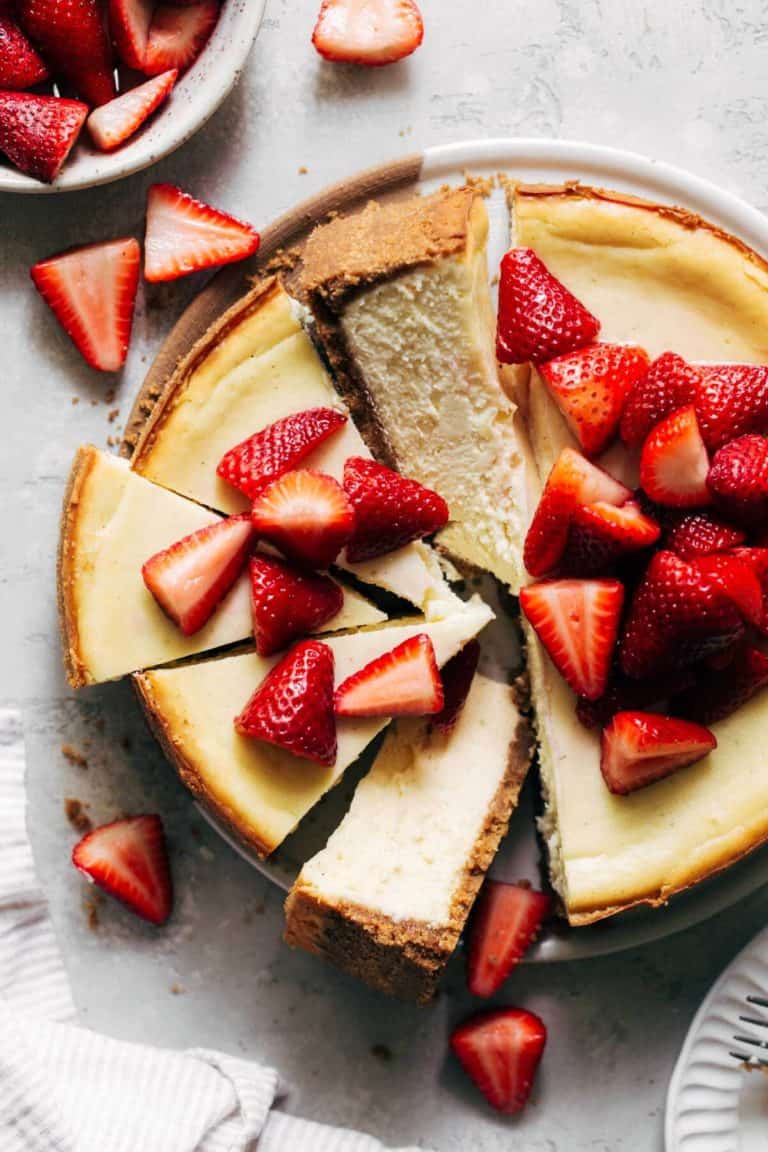
Does it get better than a classic cheesecake? This New York cheesecake recipe has it all. It’s rich, dense, slightly tangy, and oh so creamy. Top with a fresh strawberry sauce or leave it plain and simple. Either way, it’s definitely going to be your go-to cheesecake recipe! This post is filled with cheesecake baking tips and tricks to ensure yours turns out perfect – just like a New York bakery.
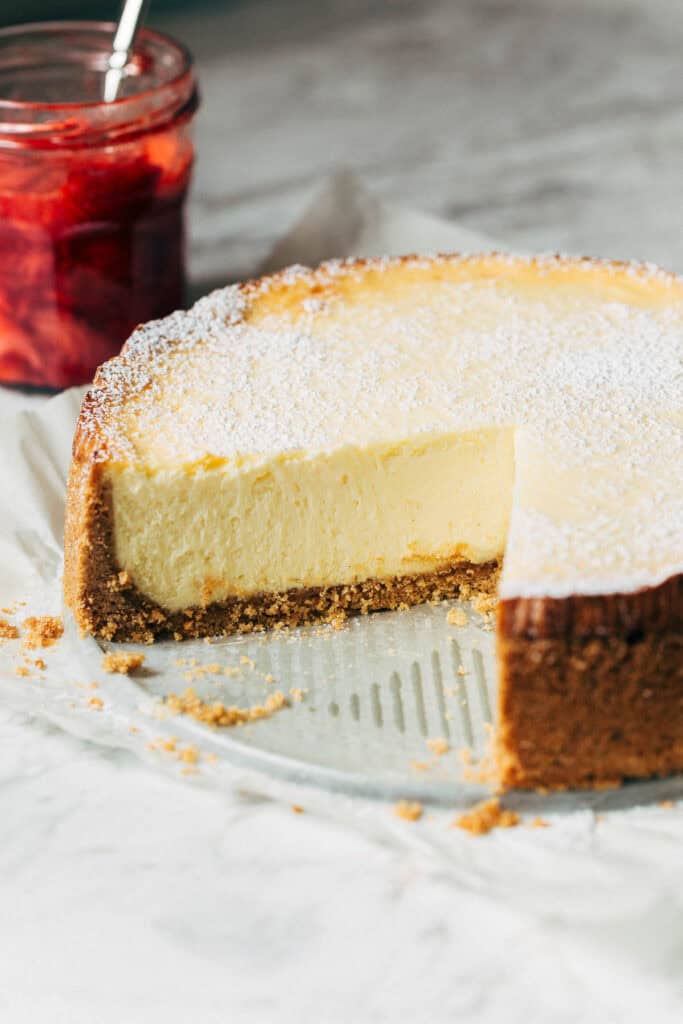
New York Cheesecake recipe made simple
Yes, we all know cheesecake is the best but it’s also a STRUGGLE to make. They either turn out under baked, over baked, over mixed, or cracked on top. You can’t win. So I made it my mission to create a simple and delicious New York cheesecake recipe.
Follow along with my cheesecake baking tips and you’ll be a pro in no time. If you bake this cheesecake for your friends or family, they won’t believe it when they find out it ISN’T from a bakery. It’s just that good!
New York cheesecake baking tips
Patience is key when baking a cheesecake. Both the preparation, mixing, and baking are taken slow and steady. If you ever struggle with baking ANY cheesecake, not just this New York cheesecake recipe, you’ll find these tips very useful!
- Cream Cheese – Use high quality and full fat cream cheese because you can definitely tell a difference in taste and texture. I prefer Philadelphia full fat cream cheese bricks because they always leave me with a super rich and creamy cheesecake.
- Room Temperature – Any ingredient that needs to be refrigerated should be brought up to room temperature before you start. If you mix cold ingredients with room temperature ingredients, it can shock the batter and create lumps. It’s also much easier to mix in ingredients when they’re at room temperature, preventing any over mixing.
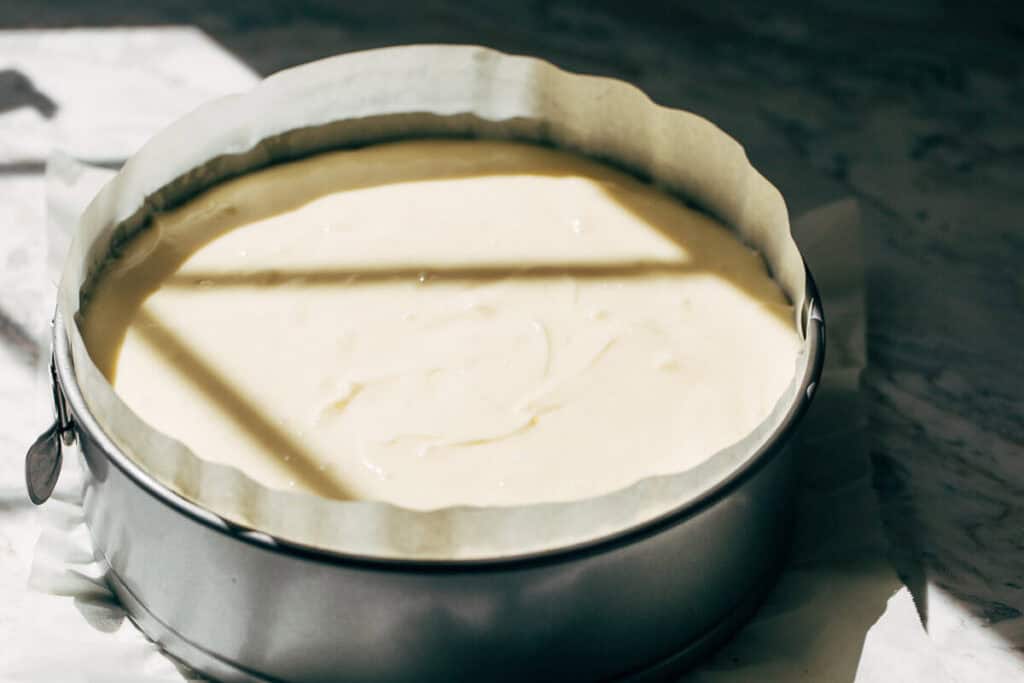
- Slow & Steady – When using an electric mixer, always run it on the lowest speed possible so you don’t whip any air into the batter. If you have tiny air bubbles all throughout the batter, heat will force steam out of those bubbles and the only way out is through the surface. This is one reason why you cheesecake may crack.
- Water Bath – When baking the cheesecake, we want a really moist environment. Besides air bubbles, enemy number 2 for cheesecake is dry heat. Moisture stops the cheesecake from drying out in the oven, thus preventing any cracks. Right before placing the cheesecake in the oven, place a roast pan on the bottom rack of your oven and fill it with boiling hot water. Then place your cheesecake on the middle rack of the oven and quickly close the door to lock in that steam.
- Cooling Process – Let the cheesecake slowly cool down by turning off the oven (after it’s baked) and crack open the door. This process allows a gentle heat the slowly bake the center of the cheesecake. This is how you achieve a really creamy and dense texture. This is also an extra step in preventing cracks as shocking the cheesecake with a drastic change in temperature can lead to a split surface.
Following these 5 steps will not only help you with this New York cheesecake recipe, but any cheesecake recipe. Just remember to keep everything low and slow, bring your ingredients to room temperature, and ALWAYS use a water bath.
What is the difference between New York cheesecake and regular?
Not all cheesecakes are created equal. Some are no bake, some are creamier, some are denser, some are loaded with mix-ins, and some are intentionally burnt. OK that last one is pretty unique…check out my Basque Burnt Cheesecake to see what I mean!
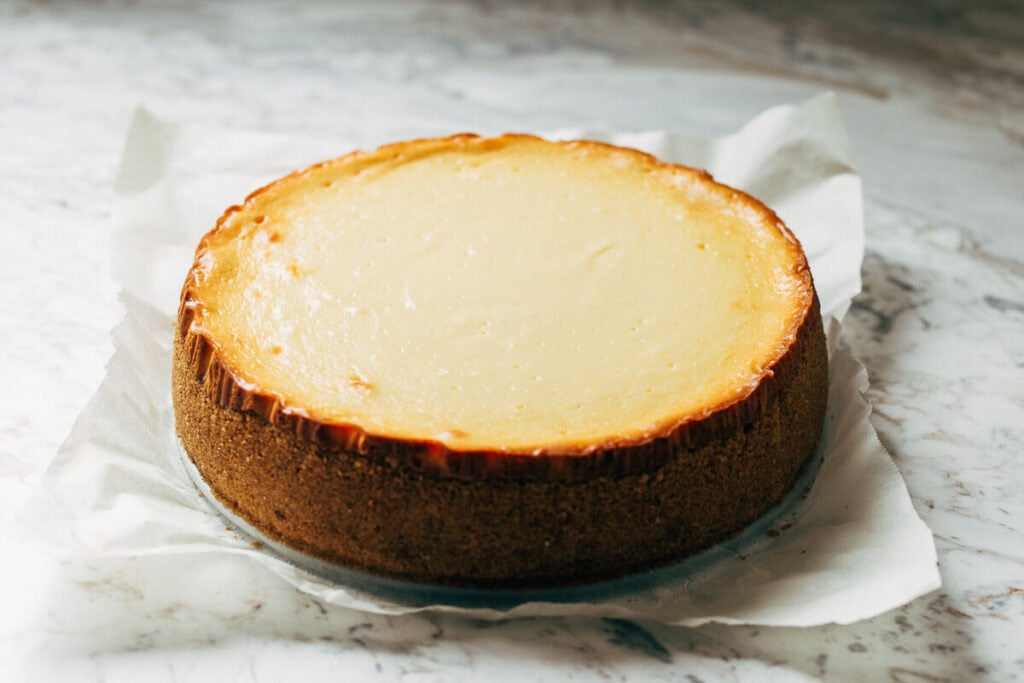
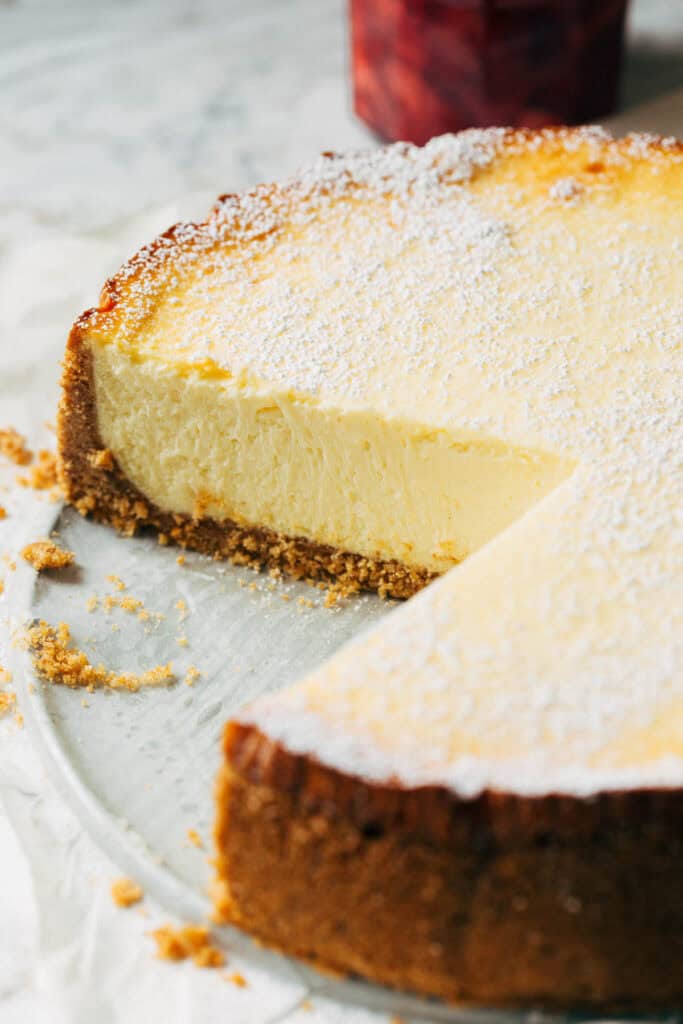
But for a New York style cheesecake, it has a couple characteristics that make it a stand-out cheesecake. One major sign of a good New York cheesecake is the texture. It’s dense, rich and heavy which is why it’s tough to have more than one slice.
The reason why it’s so rich is due to the amount of cream cheese used in the cheesecake. Regular cheesecake relies on heavy cream and sour cream to thin the batter and create a silkier, creamier texture. New York cheesecake is heavy on the cream cheese which is why it’s so dense and rich.
Extra cream cheese isn’t the only thing that makes New York cheesecake so special. It also includes extra eggs and egg yolks to provide and smooth consistency. The egg also helps to bind together the cheesecake, giving it that tight texture.
New York style cheesecake is also always baked and contains very simple ingredients. It’s a no-frills cheesecake that packs a punch in flavor and texture. The distinct flavor can be attributed to the bit of sour cream and fresh lemon juice, giving it a slight tang.
Equipment to bake a New York cheesecake at home
You might already have these tools in your kitchen. Baking cheesecake doesn’t require a ton of gear so if you’re missing something, it’s easily attainable.
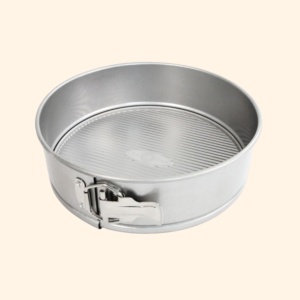
- A springform pan. This is an absolute essential so that the cheesecake is easy to remove.
- A deep baking dish or roast pan. This is for your water bath which prevents any cracks on your cheesecake.
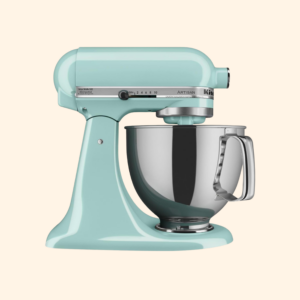
- An electric stand mixer. If you don’t have one, you can also use an electric hand mixer but be very careful when mixing. Electric mixers tend to whip more air into the batter, so take it low and slow.
That’s it! If you make a sauce for topping, you will need a small sauce pan which most kitchens have. The most important thing is to have a springform pan. You can’t make cheesecake without it!
New York Style Cheesecake: Frequently Asked Questions
1. The batter was over mixed thus creating tiny air bubbles all throughout the batter. Remember, low and slow when mixing.
2. Don’t skip the water bath! Make sure you pour in the hot water, place the cheesecake, and quickly close the door to prevent the steam from escaping the oven.
3. The sides of the springform pan were not completely covered. Completely cover the sides of the pan with parchment paper to prevent the cake from sticking. As it cools, the cheesecake shrinks. But if the cake is stuck to the sides, that tension will cause cracks in the center.
4. The cheesecake was exposed to a temperature shock. Don’t pull the cheesecake straight out of the oven when baked. Allow it slowly cool for an hour in the oven, and then cool at room temperature before placing in the refrigerator.
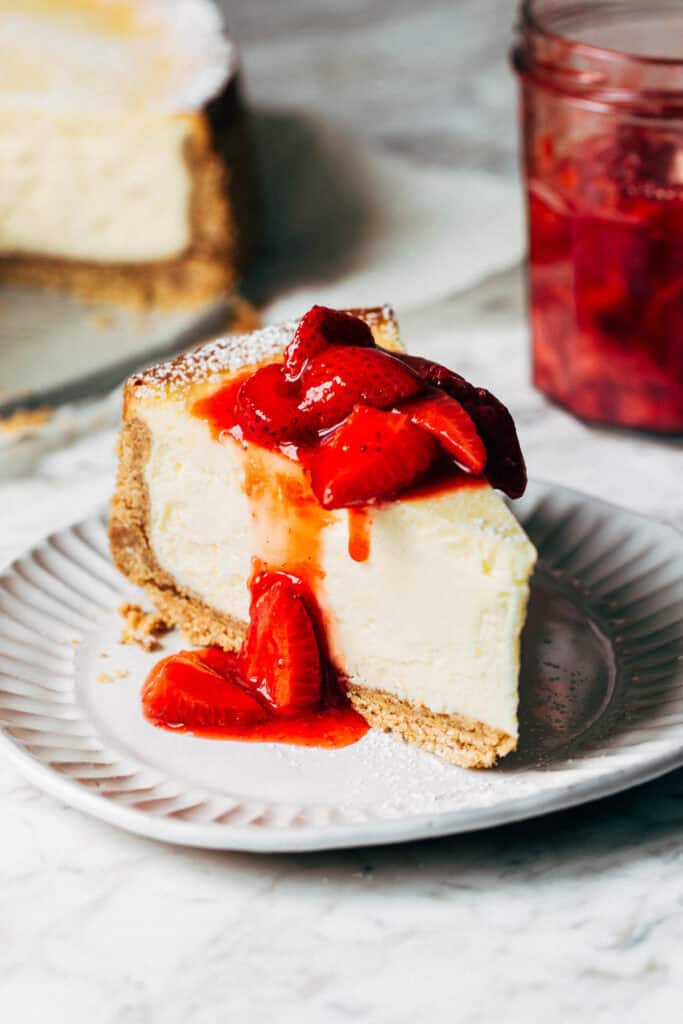
If your cheesecake does crack, don’t worry! It will still be delicious. If you want to cover it up, you can either top with fresh fruit, homemade sauce (like the strawberry sauce in this recipe), or a sour cream topping. Mix 2 cups sour cream with 1/2 cup powdered sugar and spread it on top of the cooled cheesecake.
Yes, the only gluten ingredient in this recipe is the graham crackers. Simply replace them with your favorite gluten free alternative such as gluten free graham crackers or any gluten free crispy cookie and reduce the butter content by 2 tablespoons.
I highly recommend sticking to the original recipe for the best outcome, but you can also swap the sour cream with 2% unsweetened plain Greek yogurt. You can also try plain unsweetened yogurt or heavy cream, although I have not tested these.
For more cheesecake recipes, check out my:
- Salted Caramel Cheesecake
- The BEST Classic Cheesecake
- Chocolate Cheesecake
- Basque Burnt Cheesecake
- Roasted Strawberry Cheesecake
- Banana Pudding Cheesecake
If you make my New York style cheesecake, make sure to tag me @butternutbakery on Instagram. I love seeing these recipes come to life in YOUR kitchen! To save this recipe for later, use the pin button on the recipe card, the buttons above or below this post, or on any of the photos listed in this post. Happy baking!
WATCH HOW TO MAKE NEW YORK CHEESECAKE:
New York Style Cheesecake
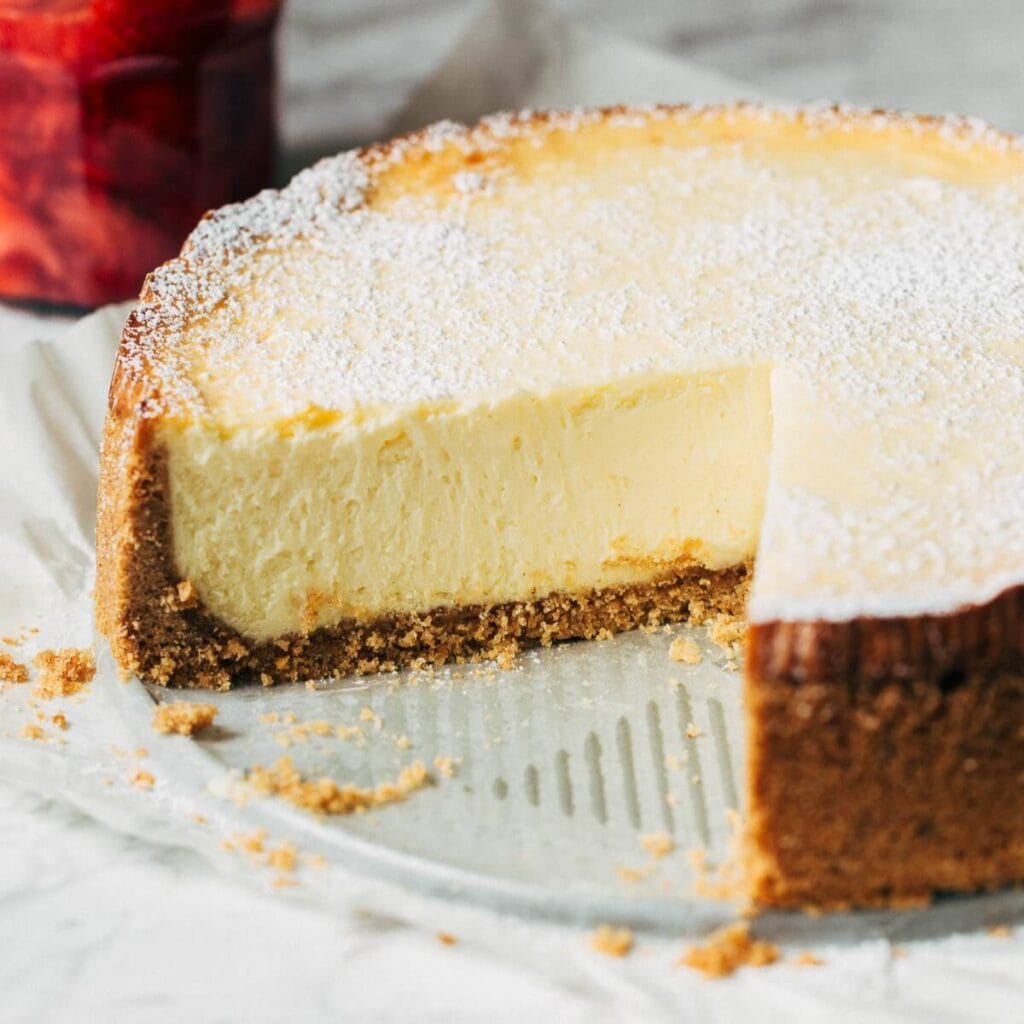
This New York Cheesecake is dense, creamy, crack-free, and absolutely delicious. It’s also baked low and slow for the most incredible texture! If you’re a beginner, this recipe is full of tips to help you along the way.
- Prep Time 30 minutes
- Cook Time 2 hours 40 minutes
- Total Time 2 hours 40 minutes + 8 hours chilling
- Yield 10-12 slices
Ingredients
Strawberry Topping
- 1 pound fresh strawberries
- 1/4 cup (50g) granulated sugar
- 1 tsp cornstarch
- Juice of 1/2 lemon
- 1 tbsp honey
Graham Cracker Crust
- 2 cups (280g) ground honey graham cracker crumbs (2 sleeves) *see notes for GF
- 1/3 cup (70g) granulated sugar
- 1/2 tsp cinnamon
- 1/8 tsp kosher salt
- 1/2 cup (110g) unsalted butter, melted
New York Cheesecake
- (4) 8oz blocks full fat Philadelphia cream cheese, room temp
- 1 1/2 cups (300g) granulated sugar
- 3 tbsp cornstarch
- 4 large eggs + 1 egg yolk, room temp
- 2 tsp lemon juice, freshly squeezed
- 2 tsp vanilla extract
- 1 cup (250g) sour cream, room temp
Instructions
Strawberry Topping
-
Rinse, hull, and quarter the strawberries. Reserve ½ cup off to the side. Then in a medium saucepan, stir together the sugar and cornstarch then toss in the strawberries (minus the ½ cup) to evenly coat. Stir in the lemon juice and place over medium heat.
-
Bring mixture to a boil, stirring occasionally, and heat for about 5-8 minutes or until strawberries become tender. Once soft, use an immersion blender or scoop out half of the mixture into a blender/food processor to puree half of the strawberries. Return to the saucepan along with the reserved 1/2 cup of fresh uncooked berries. Stir and heat for another minute until glossy and thickened.
-
Remove from heat and stir in the honey. Pour the sauce into a container and leave uncovered to cool at room temperature, then transfer to the refrigerator to chill and thicken.
Graham Cracker Crust
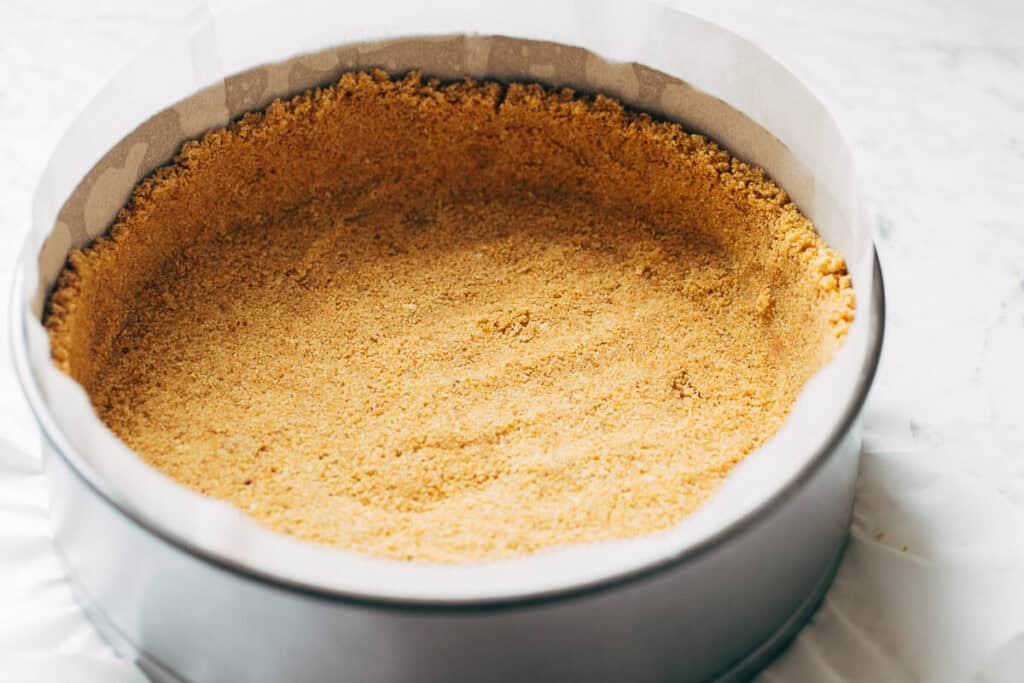
- Preheat your oven to 350F and prepare a 9 inch springform pan. Lightly coat the entire inside with cooking spray. Cover the bottom with parchment paper and press two strips (or as many as it takes to cover the walls) of parchment paper up against the sides. They should peak over top the pan just a little.
- In a medium bowl, mix together the graham cracker crumbs (finely ground in a food processor), sugar, cinnamon, and salt. Then stir in the melted butter until you get the texture of wet sand.
- Pour into the pan and press it down into the bottom and up the sides of the pan. It should almost reach the top. I like to use a small measuring cup to pack it in.
- Bake for 10 minutes then set it out to cool while you prepare the cheesecake.
New York Cheesecake
- Drop the oven temperature to 305F (yes, 305!) and place a large baking pan on the very bottom rack of your oven, like a roast pan. While you prepare the cheesecake, get a medium sized pot of water boiling over the stove. You’ll pour this into the baking pan once you’re ready to bake.
- Before you start, make sure your cream cheese and eggs are at room temp. THIS IS VERY IMPORTANT! If you forgot to leave them out or are just impatient (like me) you can fill a bowl with warm water and let the cream cheese or eggs sit in there for about 20 minutes. If you need to bring up the temperature of both, make sure to place them in separate bowls.
- For best results, I recommend using a stand mixer. A hand mixer is also an option, but be very careful and only work on low speed.
- In a 2 cup measuring glass, beat together the eggs, lemon juice, and vanilla with a fork. Set aside.
- With the paddle attachment, mix the cream cheese on medium-low speed just until it’s smooth (30 seconds to 1 minute). Add in the sugar and cornstarch and mix on low for about 30 seconds to combine.
- Scrape down the sides and bottom of the bowl, then mix again on low speed for another 30 seconds to smooth out.
- With the mixer on the lowest setting, slowly add in the egg mixture. It should take 3 to 4 pours and PATIENCE. You’ll be tempted to bump up the speed but don’t do it!
- Take the bowl off the mixer and use a rubber spatula to fold in the sour cream.
- Pour the batter into the pan and tap it against your counter a couple times to bring up any air bubbles that might have been caught in there.
- Carefully pour the boiling water from the stovetop into the pan on the bottom rack and place the cheesecake on the middle rack just about it. Move quickly to trap in that steam.
- Bake for 1 hour and 40 minutes. It’s done when the edges are golden and the center jiggles when the pan is nudged. Once it’s done, leave the cheesecake in the oven, turn off the oven, and crack the door open. Let it sit in there for an hour.
- After the hour is up, put the cheesecake in the fridge uncovered and let it chill overnight. The next day, remove from the pan, slice, and top with powdered sugar, homemade strawberry sauce, or leave it as is. Enjoy!
Equipment
 Buy Now
  Buy Now
 Notes
GLUTEN FREE – Substitute with gluten-free graham crackers (I like Paula’s) and reduce the butter amount to 6 tablespoons.
HOW TO STORE – Once the cheesecake has chilled solid overnight, continue to store the cheesecake in the refrigerator in a cake container, or place the cheesecake back in the springform pan and cover in plastic wrap. It will keep in the refrigerator for up to 10 days.
FOR FREEZING – This cheesecake can be frozen and kept for up to 3 months. Once the cheesecake has chilled overnight, wrap the cheesecake in plastic wrap and then two layers of foil. You can also slice the cheesecake and store the slices in a freezer safe bag. Allow the cheesecake or slices to thaw overnight in the refrigerator before eating.
- Category: Dessert
- Method: Baking
- Cuisine: American


Rate & Review