Salted Dark Chocolate Brownies
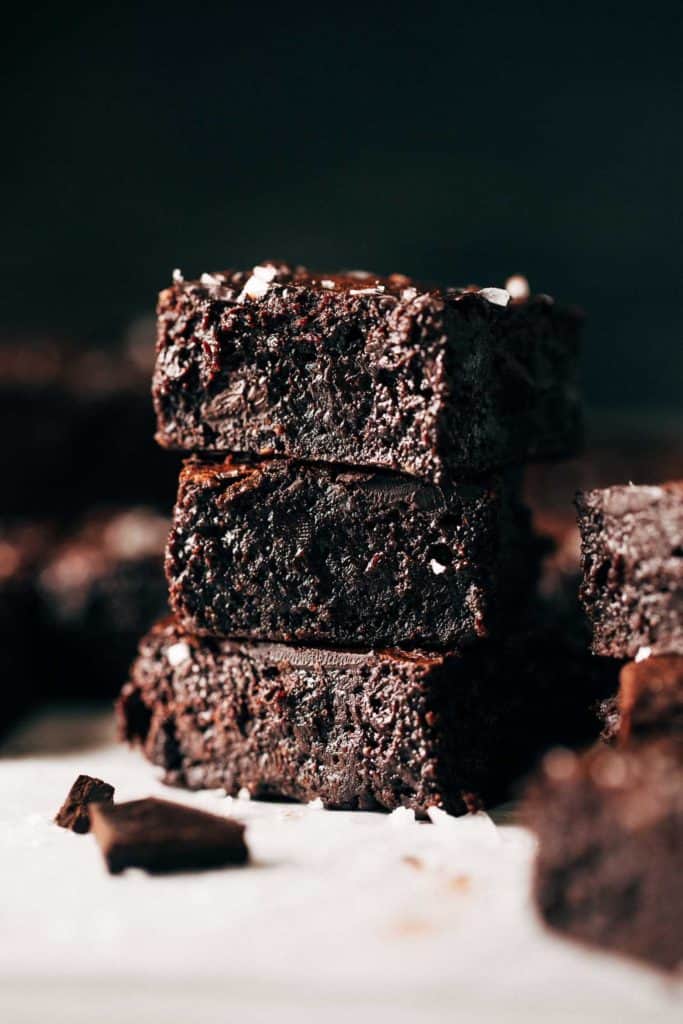
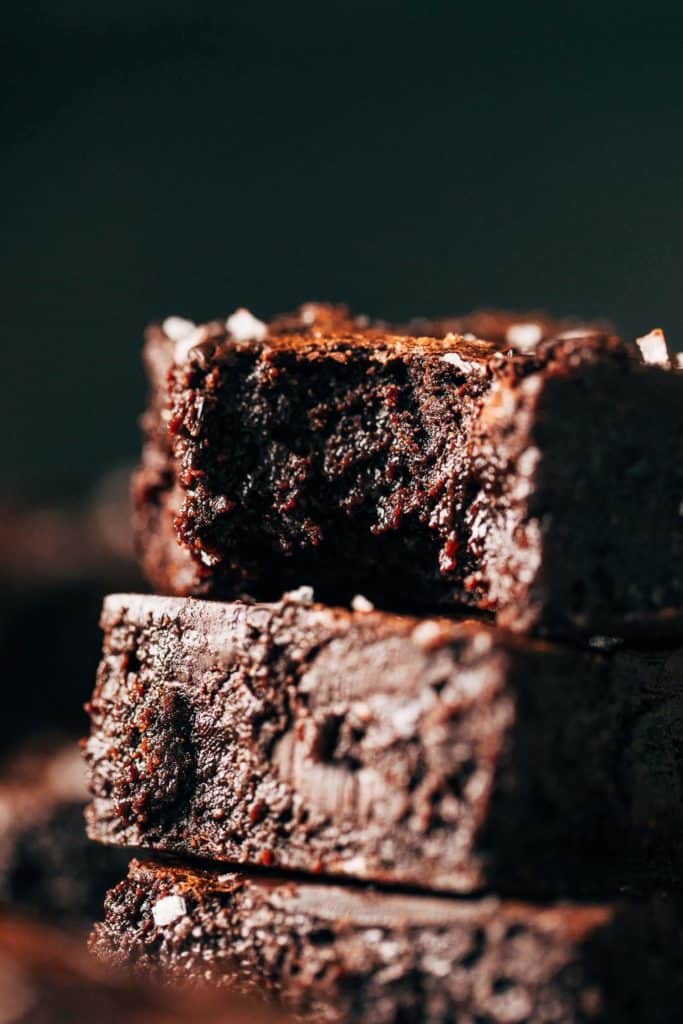
These dark chocolate brownies are like the sophisticated version of a traditional brownie. They have a rich and deep flavor paired with a fudgy and tender texture. Made with extra dark chocolate, flaky sea salt, and whole wheat flour, these brownies are not overly sweet and each bite melts in your mouth.
This post is sponsored by Bob’s Red Mill but all thoughts and opinions are my own. Thank you for supporting the brands that make Butternut Bakery possible!
What makes these dark chocolate brownies different?
This is easily my new favorite brownie recipe for so many reasons. And with tons of brownie recipes out there, why make this one? Whether you love dark chocolate or not, this is why you need to bake these brownies ASAP:
- Brown Butter – Melting down butter and toasting the milk fats transforms butter into liquid gold. It gives it a rich amber color and a nutty flavor, enhancing any dessert it touches. This is just one small piece of this recipe that makes it so dang good! To learn more about brown butter, see my brown butter guide.
- Dark Chocolate – Of course, we can’t have dark chocolate brownies without dark chocolate. This recipe uses a combination of 60% bittersweet chocolate and 70-80% extra dark chocolate. The bittersweet chocolate gives it that rich flavor without making the brownies TOO bitter, and the extra dark chocolate is folded throughout to create pockets of melty dark chocolate in every bite. These two are what help keep this brownie in a more deep and rich flavor profile as opposed to chocolatey and sweet – like a traditional brownie would be.
- Espresso Powder – Instant espresso is often used in chocolate recipes as it helps intensify the chocolate flavor. With dark chocolate, it enhances that deep and rich flavor without turning it bitter. One to two teaspoons is used to intensify these brownies and take them from homemade to gourmet.
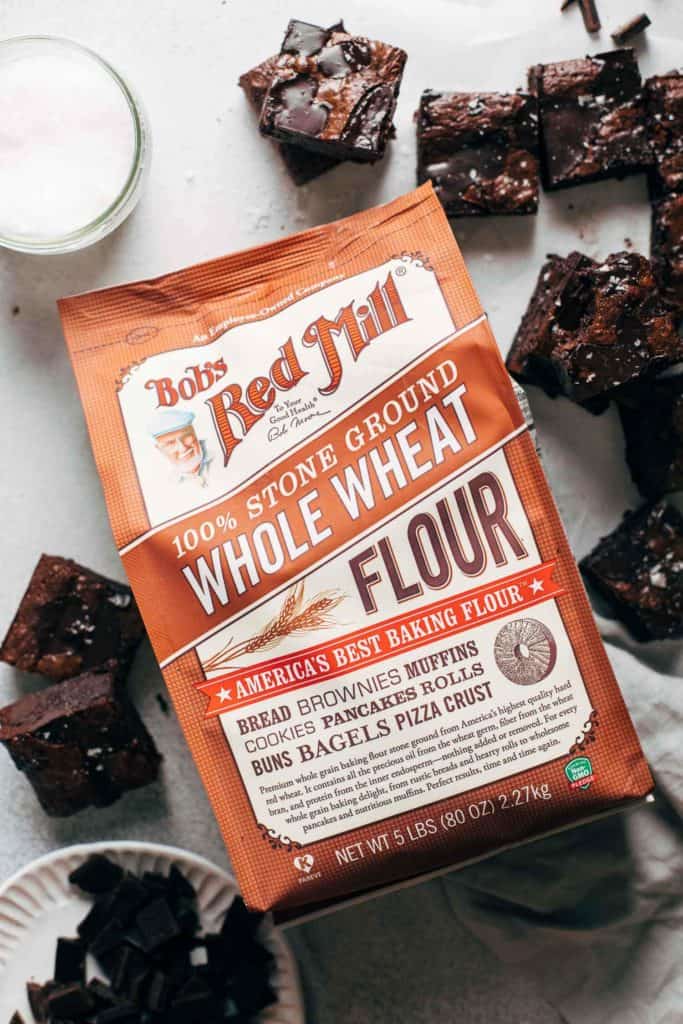
- Whole Wheat Flour – The real differentiator here is the flour. I used Bob’s Red Mill Whole Wheat Flour for two reasons. 1: It’s stone ground, meaning it retains all of its nutrition value while also creating a fine granule – unlike most whole wheat flours that tend to be a bit grainy. 2: As opposed to all purpose flour, whole wheat flour lends a more delicate texture. It’s higher in protein content, but the whole grains within the flour slow gluten formation, making these brownies extra fudgy and tender. Not only does it change the texture, but it also adds a more nutty flavor which pairs perfectly with the brown butter and dark chocolate.
Combining these four different components creates a dark chocolate brownie unlike any other brownie recipe. It’s rich and nutty, deep and strong, but still tender and fudgy.
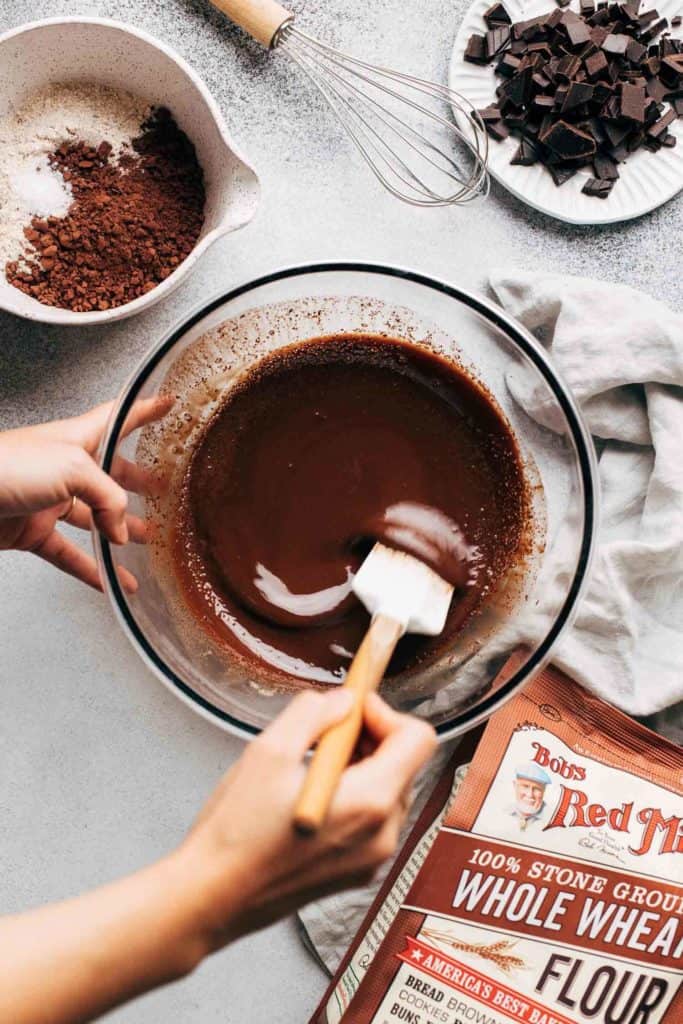
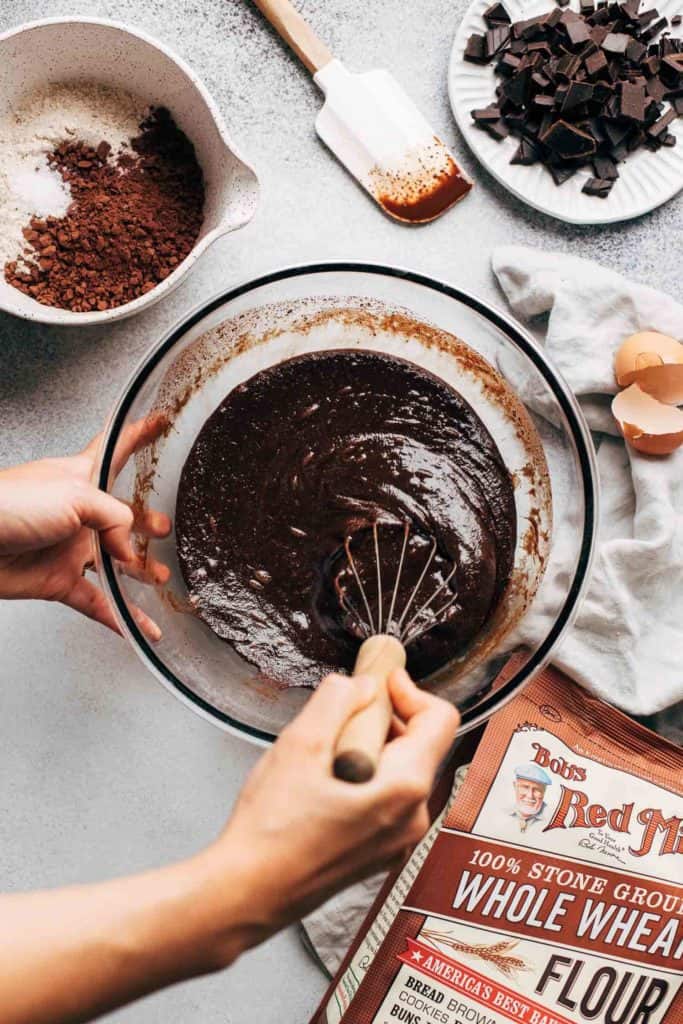
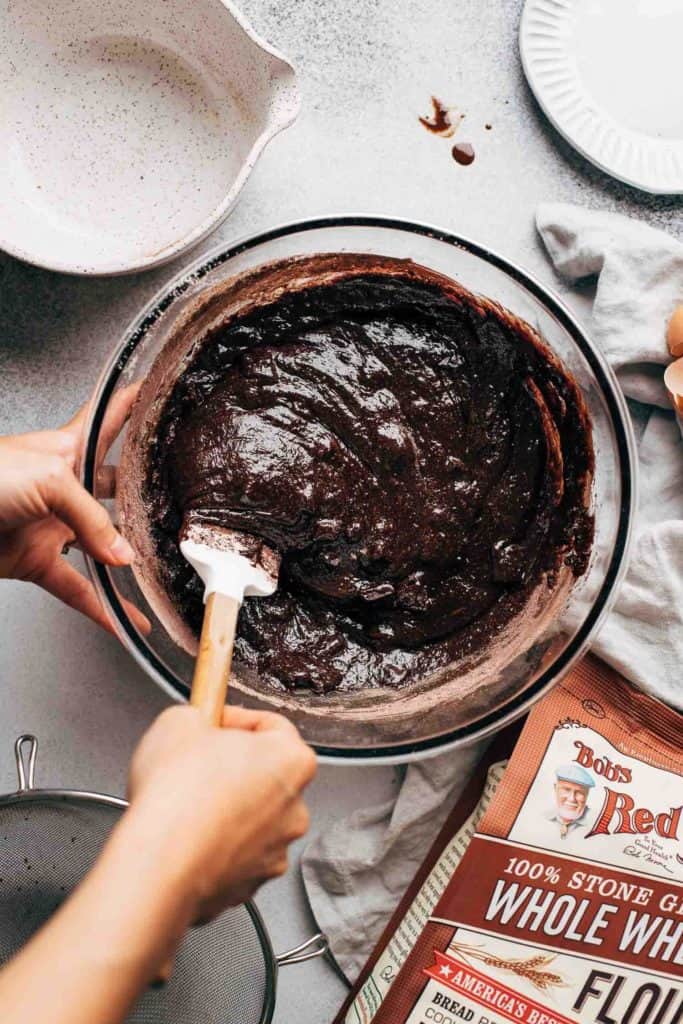
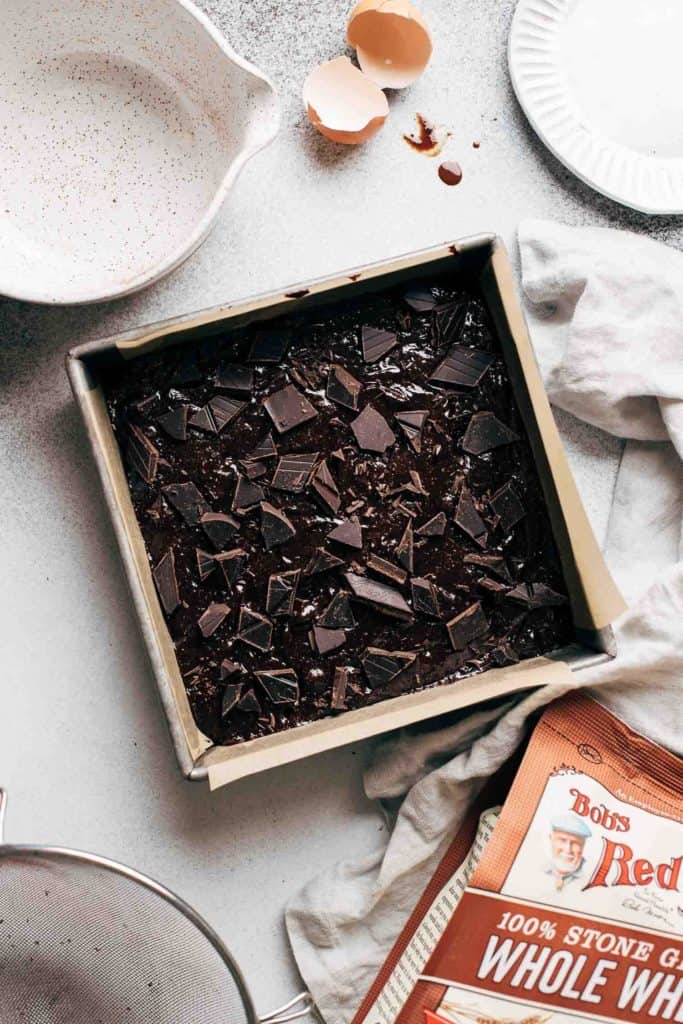
Tips for making fudgy brownie batter
Brownies can sometimes be a bit tricky to get just right. They’re either too soft, too tough, or too cakey. These dark chocolate brownies are anything but, and here’s why:
- Properly measure the flour – I say this in every post, and for good reason. It’s the number one reason why most recipes fail. If there’s too much flour, the brownies will turn out dry and cakey. If you can, measure the flour with a food scale. Otherwise, to ensure you use the exact amount needed, gently spoon the flour into your measuring cup and level if off with a flat edge. If you scoop directly into the flour container, it packs it down into the cup which could leave you with 1/4 cup or more of added flour.
- Whisk the eggs – Vigorously whisk in the eggs for a good 1-2 minutes. You’ll notice the batter transform from liquid to pudding-like. This is because the whisk is emulsifying the egg, bridging the gap between the fatty and water contents in the batter. By fully whisking, your brownie will have a stronger structure with a delicate texture.
- Sift the dry ingredients – While Bob’s Red Mill Whole Wheat Flour remains light and fine, the cocoa powder can sometimes be a bit chunky. Sift in the dry ingredients to ensure a super smooth batter.
- Gently fold – After adding the dry ingredients, switch from a whisk to a rubber spatula and gently fold the flour and cocoa into the batter. Do so slowly and patiently, as over mixing brownie batter can lead to a tough texture.
- Chopped chocolate – Lastly, toss in the chopped chocolate. For the best results, chop it into varying sizes – from larger chunks to tiny morsels. This variation will give you the best of both worlds – large puddles of chocolate with sprinkles of more chocolate throughout so each bite is well balanced.
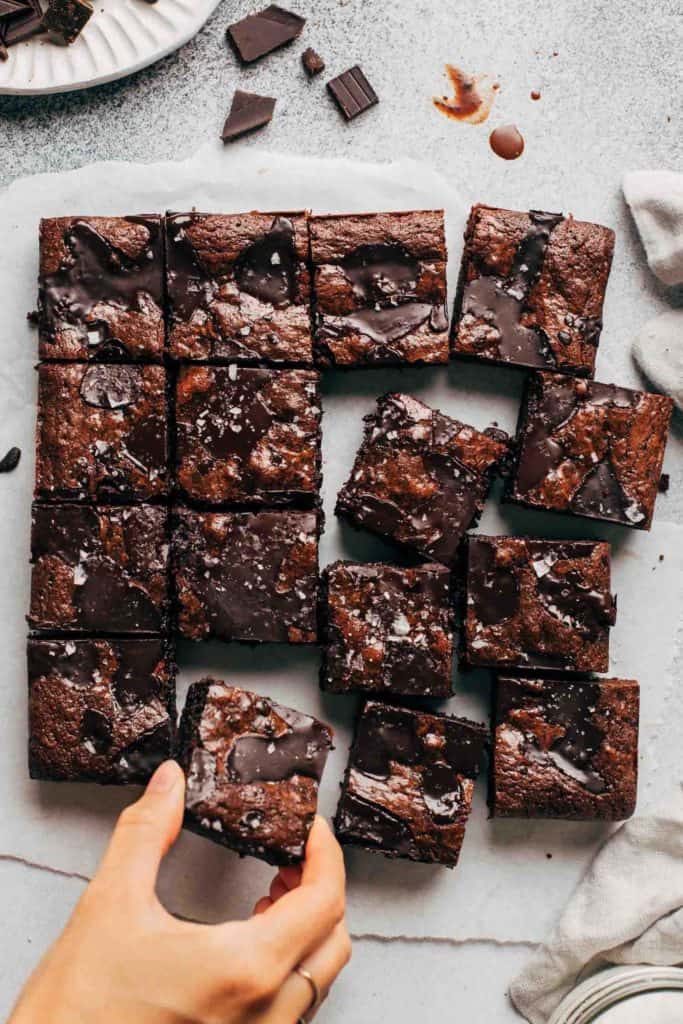
How to get a fudgy but delicate brownie texture
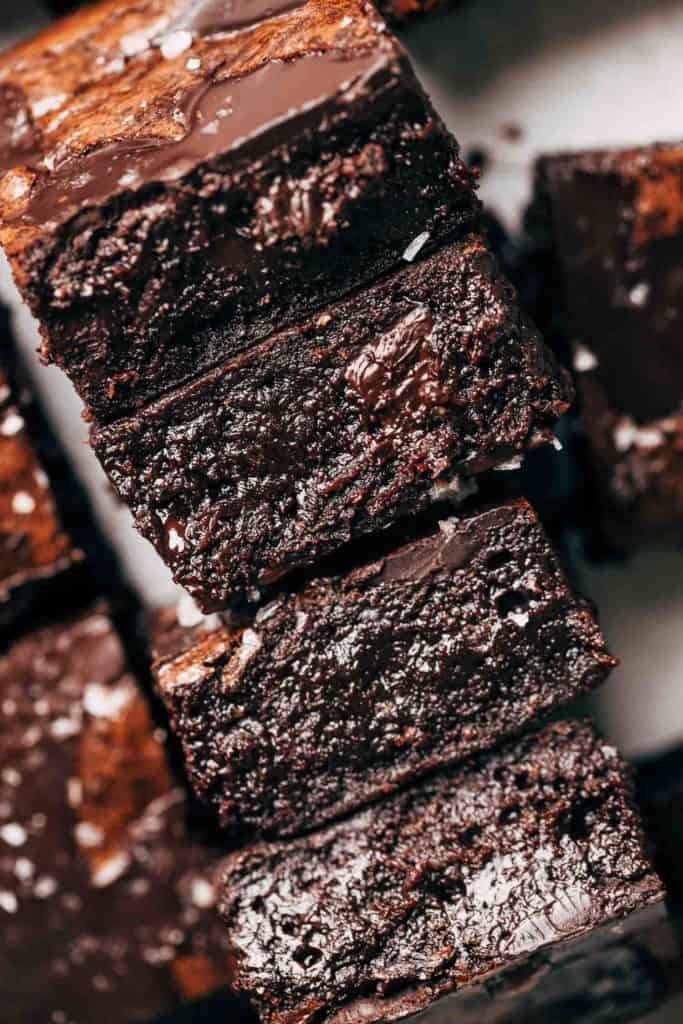
Fudgy brownies can sometimes be a bit too dense and chewy. While these dark chocolate brownies are thick and fudgy, they are anything but tough. The texture is super light and delicate, with each bite melting in your mouth.
My tips above will ensure the brownie batter is just right, but the real magic happens after they’re pulled from the oven. The brownies will be puffed slightly, and as they cool those air pockets will remain open. In order to slam them shut to create a closed and rich texture, drop the baking pan against a hard surface a few times to deflate the brownies. This densifies the brownies, but the batter itself prevents the texture from turning too heavy.
Chilling brownie batter overnight
If you’re someone who reads the full recipe post, congratulations! You’ve landed on a little secret nugget of baking information that will enhance this recipe even further. While I didn’t add this instruction into the recipe card itself, it’s worth noting that in one of my tests of this final recipe I chilled the brownie batter overnight. After it’s poured into the baking pan and sprinkled with chocolate, cover the pan in foil and chill overnight.
What this does is mellow out the flavors, giving the brownies one harmonious dark and deep flavor. It’s subtle, but you can definitely tell a difference. I recommend trying it out! Just bake the brownies for a few extra minutes to ensure it’s heated all the way through.
Can these brownies be made gluten free?
I haven’t tested it, but whole wheat flour is very similar to gluten free flour in how they perform and bake. I recommend swapping Bob’s Red Mill Whole What Flour with Bob’s Red Mill 1-to-1 Gluten Free Baking Flour. Just be careful when measuring, as gluten free flour is more dense than whole wheat. If you can, weigh the dry ingredients using a food scale to ensure accuracy.
Can I substitute the whole wheat flour with all purpose flour?
Can you? Yes. But do I recommend it? No. You won’t get the full affect of these brownies if you substitute with all purpose. Whole wheat is what gives these brownies that delicate but fudgy texture unlike any other.
How to store dark chocolate brownies
After the brownies are sliced, store in an air tight container in the refrigerator where they will keep for up to 1 week. I like eating them cold, but you can always warm up a slice in the microwave for an ooey gooey texture.
For more brownie recipes, check out my:
- Better than Box Mix Brownies
- Molten Chocolate Hazelnut Tahini Brownies
- Peanut Butter Mocha Brownies
- Homemade Cosmic Brownies
Make sure to tag me @butternutbakery on Instagram and comment below if you make these Dark Chocolate Brownies. To pin this recipe and save it for later, you can use the button on the recipe card or on any of the photos above. Happy baking!
Watch how to make these salted dark chocolate brownies:
Salted Dark Chocolate Brownies
- Total Time: 45 minutes + 2 hours cooling
- Yield: 16 brownies
Description
Super fudgy and tender brownies baked with extra dark chocolate and fine sea salt
Ingredients
- 3/4 cup (170g) unsalted butter
- 6 oz 60% bittersweet chocolate, chopped
- 1 1/2 tsp instant espresso*
- 1/2 cup (100g) dark brown sugar, packed
- 1/2 cup (100g) granulated sugar
- 3 large eggs, room temp
- 2 tsp vanilla extract
- 3/4 cup (92g) Bob’s Red Mill Whole Wheat Flour*
- 1/3 cup (25g) dutch-process cocoa powder
- 1/4 tsp salt
- 4–5 oz 70-80% dark chocolate*, chopped
- Flaky sea salt, for sprinkling
Instructions
- Preheat oven to 350F and grease and line an 8×8 square baking dish with parchment paper. Allow the paper to hang over the sides for easy removal.
- In a large mixing bowl, add the 60% bittersweet chopped chocolate.
- Then brown the butter. Do so by adding the butter to a saucepan over medium heat. Melt down and heat the butter as it goes from loud and bubbly to quiet and foamy (about 8 minutes). Once it’s foaming, continue mixing until the butter turns a rich amber color and gives off a nutty aroma.
- Pour the hot brown butter over the chocolate (scraping in the brown bits at the bottom of the pot) and stir to combine and melt. Then whisk in the espresso powder, followed by the granulated and dark brown sugar.
- While that melts and cools, whisk together the whole wheat flour, cocoa powder, and salt in a separate bowl. Set aside.
- When the chocolate has cooled, add the eggs and vanilla and vigorously whisk for about 1 minute – the batter should thicken a bit.
- Sift in the dry ingredients (to remove any lumps in the cocoa powder) and use a rubber spatula to fold the batter together.
- Just before the dry ingredients are fully mixed in, add in about 1/2 of the chopped dark chocolate and continue to fold the batter together. Stop right when the chocolate is evenly distributed as you do not want to over mix.
- Pour the batter into the baking dish and spread it even. Top with the remaining chopped dark chocolate.
- Bake for 20-25 minutes, or until the chocolate is melted into puddles and the surface is crackled and glossy.
- Slam the pan against a hard surface a few times to help deflate the brownies. This will give you that rich and fudgy texture in the center. Place the pan on a wire cooling rack.
- Sprinkle with a few pinches of flaky sea salt and allow the brownies to cool completely. You can either patiently wait a few hours by leaving them at room temperature, or speed up the processes and chill them in the fridge.
- You know they’re ready to slice by how the brownies bend when you lift them out of the pan. If it easily bows in the center as you try to lift them out, they need to chill or cool for longer. If it bends just slightly but feels sturdy when lifted, they’re OK to slice.
- Use a large shape knife and make one-motion swift cuts, avoiding dragging the knife down the brownies. Wipe down the knife between each cut for perfect slices.
- Now enjoy!
Notes
ESPRESSO POWDER – This helps add depth to these brownies, so I highly recommend keeping it in! You can leave it out of you don’t have access to it, or adjust the amount to your preference (1 tsp is mild and 3 tsp is pretty strong).
GLUTEN FREE FLOUR– I have not tested it, but gluten free baking flour acts very similar to whole wheat flour. For a gluten free version, try swapping Bob’s Red Mill Whole Wheat Flour with Bob’s Red Mill 1-to-1 Gluten Free Baking Flour. Make sure you gently spoon and level the flour, or weigh the flour for accuracy. Gluten free flour tends to be more dense than whole wheat flour, so it’s easy to use too much when measuring by volume (aka cups).
DARK CHOCOLATE – While you can find bittersweet baking chocolate in the baking aisle of your grocery store, different strengths of dark chocolate are often found in the candy aisle. Grab the bittersweet chocolate from the baking aisle, and the more intense dark chocolate from the candy aisle.
- Prep Time: 20 minutes
- Cook Time: 25 minutes
Join Our Community

Meet Jenna
I’m the creator, baker, and photographer behind Butternut Bakery. Here I share desserts for every diet because I believe everyone should have a chance to indulge!


These are delicious! We tried underbaking them and you really need a spoon to eat them if you do that. But then we put the leftovers in the fridge overnight and that was a great mushy consistency! These are super rich and chocolatey. We also added two shakes of cinnamon.
Delicious.. used all dark chocoate and some double dutch cocoa!
Believe the hype. Best. Brownies. Ever.
A little background. I don’t love baking but like making brownies because, well, brownies, and also easy and not too fussy. In my non-baker way I almost passed over this recipe when I saw “brown the butter” and “cool the chocolate.” Also my kids make fun of my disastrous baking escapades when I sub whole wheat for anything. I followed the recipe exactly and so glad I prevailed. These are, hands down, the recipe I’ve been searching for. They are – moist, dark chocolate, not-too-sweet, browning the butter is NOT difficult and kind of fun, and the espresso powder adds a layer of complexity that is out of this world. Bookmark, make, and make again. This one had me at hello.
These are the only brownies I have made since finding this recipe. I’m currently making some right now! I can’t wait to have one hit and fresh.
Another stellar recipe! These brownies are so so so good!
Second time I’m making these, once for thanksgiving and now for Valentines 🙂 I love the espresso and dark chocolate and how softly chewy they came out (although I used gluten free flour instead of whole wheat). Thank you !!!