Cookies and Cream Pop Tarts
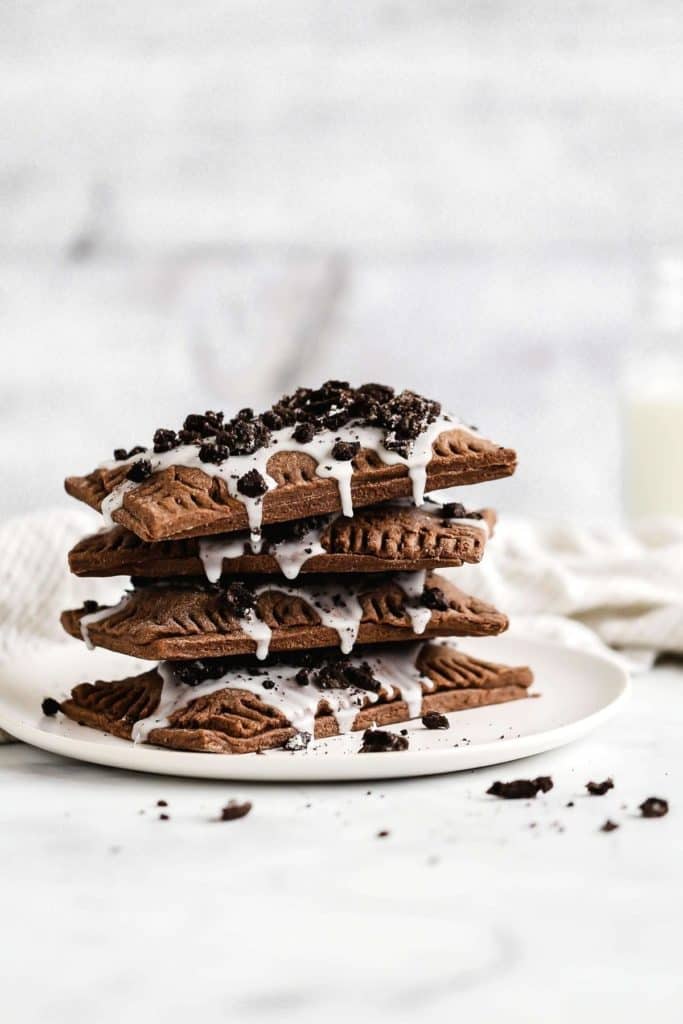
How fun is this Cookies and Cream Pop Tarts recipe? It takes me straight back to my childhood even though… let’s be real I still eat pop tarts today! They’re a delicious chocolate pastry with a soft cream cheese and Oreo filling. This is definitely a dessert I had to get out of my kitchen ASAP before I ate them all!
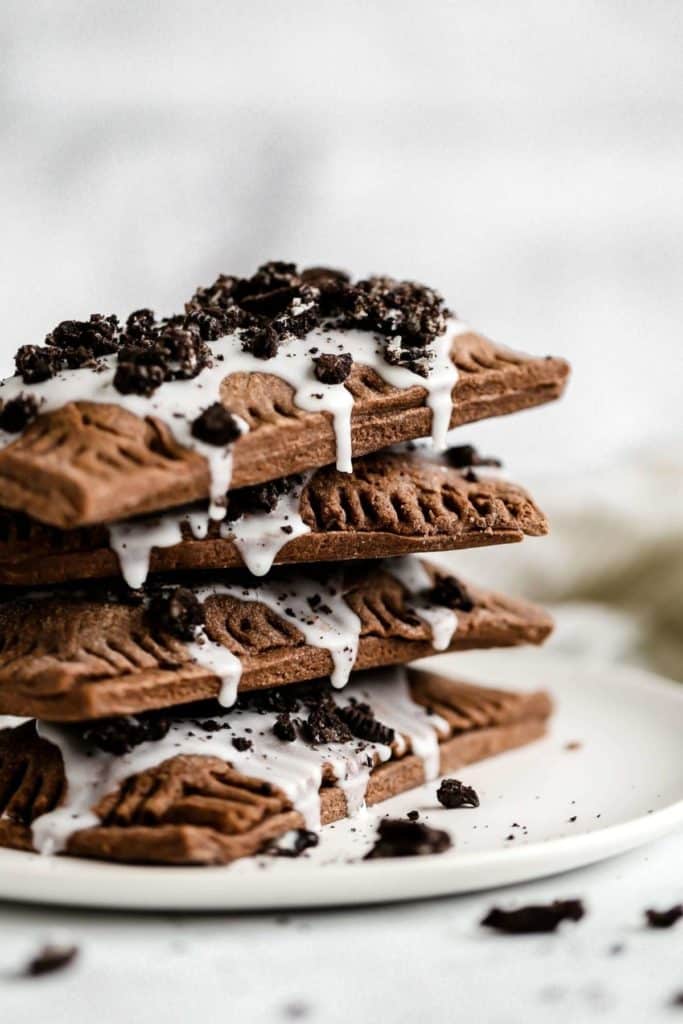
Growing up, my mom tried not to keep too many sweets in the house. A, because she didn’t want her daughters hopped up on sugar and B, she has an insatiable sweet tooth… which is definitely where I get it from! So when she broke down and bought Lucky Charms or Pop Tarts, it was a total treat.
BUT my best friend’s house was LOADED with junk food. She always had boxes and boxes of pop tarts. Her mom always put them on the very top shelf… probably in hopes that we wouldn’t reach them. With a little team work, we always climbed up there to grab a box.
We would actually smear butter on our pop tarts and then pop them in the microwave. They came out so ooey and gooey and delicious. Oh, to have my 10 year old metabolism again.
My top two favorite flavors were always cookies and cream and brown sugar cinnamon. I was a sucker for anything cookies and cream and still am!
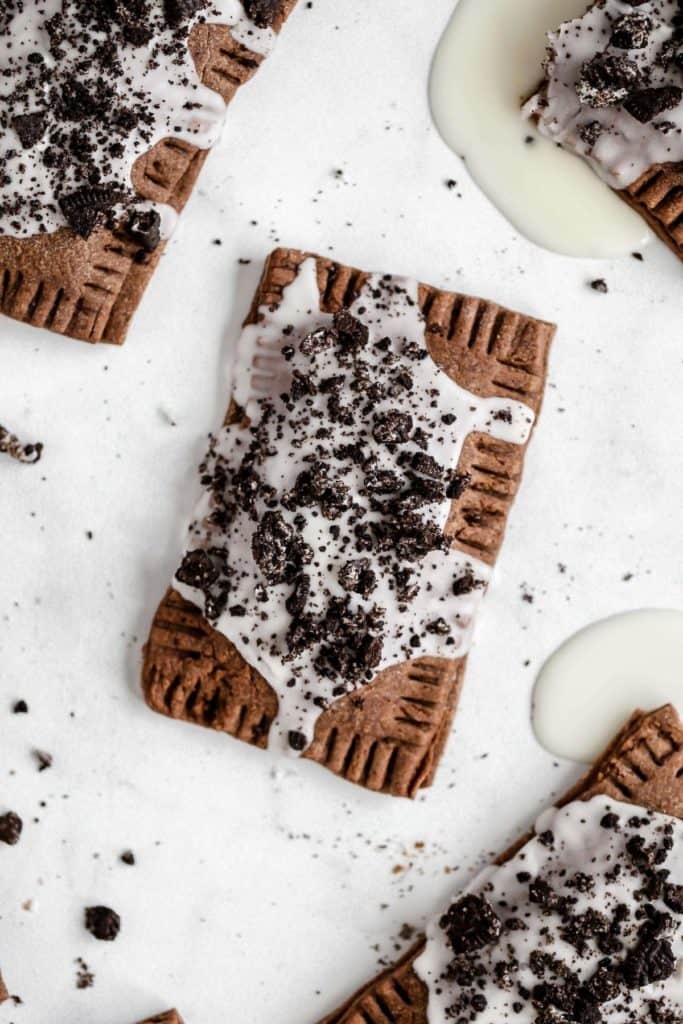
How to make homemade pop tarts
Trust me, these homemade pop tarts are much easier to make than they look! You essentially start off making pie dough. You chill it for a few minutes in the fridge, roll it out, and cut out rectangles.
The worst part is cutting out the rectangles but don’t stress over them. They don’t have to be PERFECT, just close enough.
You lay your rectangles out, spread your filling onto half of them and lay the other halves on top. Crimp the edges with a fork and bake! It’s that easy. As long as you keep your dough fairly cold and don’t let it get too warm, you shouldn’t have any issues.
You could also think of it as making little hand pies. There’s no stuffing involved, just sandwich and crimp.
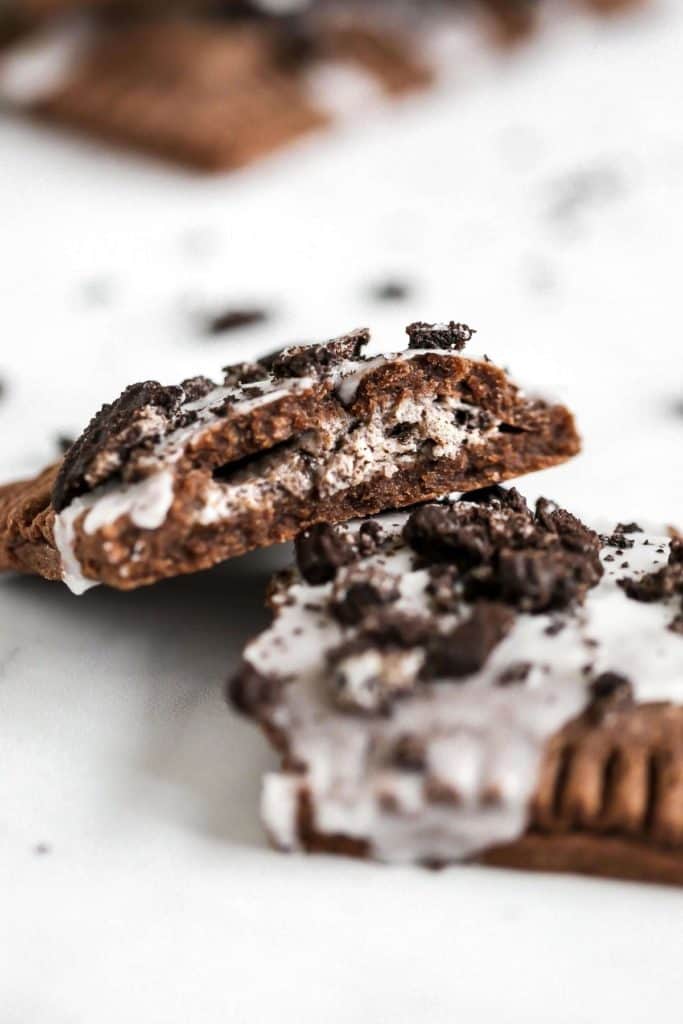
Cookies and cream pop tart filling
I could probably eat the filling just on it’s own. I mean, it’s cream cheese and Oreo cookies… it doesn’t get much better than that!
Since it’s such a simple recipe, you can adjust the filling to your liking. I added loads of chopped Oreos but if you prefer a little less, that’s totally OK. Fewer Oreo cookies gives you that classic bright white filling with specs of black. Because I added extra, the two blended together but as long as it tastes good, who cares what it looks like!
I should also mention the importance of using good quality cocoa powder in your chocolate pastry. You don’t have to get anything special, but I recommend at least using the Ghirardelli cocoa powder that you can find in most grocery stores. This gives you that deep chocolate color. Cheaper cocoa powders tend to be paler in color so your pop tarts won’t have that rich chocolate pastry color.
Not to mention the taste! Since the pastry dough doesn’t contain a whole lot of cocoa powder, you want to make sure it can pack a punch. So using good quality cocoa powder will give you great color AND flavor.
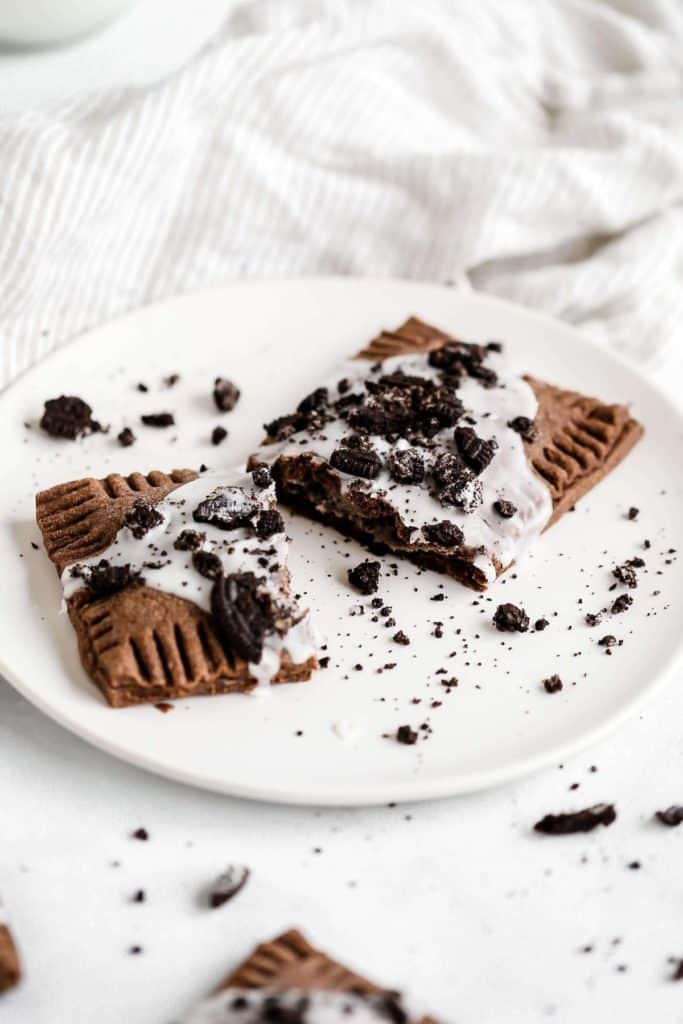
How to tell when chocolate pastry is done baking
The trickiest part about these homemade pop tarts is knowing when they’re fully baked. This also goes for ANYTHING chocolate. The rule of thumb is to bake until golden brown… but what if what you’re baking is already dark in color?
As your chocolate pastry dough bakes, it will dry out. So, instead of judging the bake by color, you should look out for texture and shine. The edges will bake faster than the center so when the center loses its shine and becomes a dull chocolate color, that’s when they’re ready.
Now, if your pop tarts seem a little floppy when you transfer them to the cooling rack, don’t be alarmed! They’ll stiffen up as they cool.
This happens because the moisture from the inside tries to escape the pastry in the oven, creating a flexible dough. As the pop tarts cool, they’ll dry out and become that classic pop tart we all know and love!
FAQ’s
You can store them in an air tight container at room temperature for up to 3 days. I don’t recommend toasting them as the icing will melt and ruin your toaster. You can either eat them at room temp or heat them in the microwave.
I’ve not tried it myself but I can’t see why not! Mint Oreos might work well here.
Looking for more easy recipes? Check out these:
- Strawberry Pop Tarts with Shortbread
- Peanut Butter and Jelly Pop Tarts (Gluten free!)
- S’mores Pop Tarts Recipe (with Puff Pastry)
- Red Velvet Oreo Cheesecakes
- Oreo Pumpkin Cheesecake Bars
If you make these delicious cookies and cream homemade pop tarts, make sure to tag me @butternutbakery on Instagram! I love seeing my recipes come to life in YOUR kitchen. To save this recipe for later, pin it using the button on the recipe card, the buttons above or below this post, or hover over any of the images to get that pin it button. Happy baking!
Print
Cookies and Cream Pop Tarts
- Total Time: 1 hour 22 minutes
- Yield: 6-7 pop tarts
Description
These cookies and cream pop tarts will take you straight back to childhood! They’re a delicious homemade chocolate pastry filled with cream cheese and crushed chocolate sandwich cookies.
Ingredients
Chocolate Pastry
- 3 1/2 cups (460g) all-purpose flour
- 1/4 cup (25g) unsweetened cocoa powder
- 3 tbsp granulated sugar
- 14 tbsp unsalted butter, VERY cold and cut into cubes
- 1/2 cup ice cold water
Cookie and Cream Filling
- 8 oz cream cheese, room temp
- 1/4 cup (30g) powdered sugar
- 8 Oreo cookies, crushed
Icing
- 3 cups (330g) powdered sugar
- 1/4 cup (55g) milk
- 1 tsp vanilla extract
- 6 Oreo cookies, crushed
Instructions
Chocolate Pastry
- In a large bowl, whisk together the flour, cocoa powder, and sugar.
- Add in your cold cubes of butter and use your hands to work it into the dough. Smoosh the butter between your fingers to bind it with the flour mixture. Do this until you reach a wet sand consistency with a few butter chunks.
- Add in 1/2 cup of ice cold water and mix it in with either your hands or a wooden spoon…depending on how messy you wanna get! Mix until you can form a large ball with the dough. If you find that your dough still isn’t coming together, add 1 tbsp of water at a time until you get there. I don’t recommend going over 2 tbsp.
- Leave the dough in the bowl and place it in the refrigerator for 5-10 minutes while you clear enough space to roll out the dough.
- On a well floured surface with a floured rolling pin, roll the dough until it’s about 1/8 inch thick. Cut out 3×5″ rectangles and place them on a small cookie sheet. then pop them in the fridge.
- Gather the scraps and roll out the dough 2 more times to get as many rectangles as you can. Don’t do more than 3 rolls. You should be left with 12-14 rectangles total. Place them in the fridge for 10 minutes. You can layer them on top of each other if needed.
Cookies and Cream Filling
- Make the filling by mixing together the cream cheese and powdered sugar. Mash with a fork and then mix once it becomes softened. Then gently fold in the crushed Oreo cookies.
- Preheat the oven to 350F and pair up the rectangles to similar sizes. Use about 2 tbsp worth of filling and place it in the middle of half of the rectangles. Leave about 1/4 inch around the edge.
- Place the other rectangles on top of the filled ones. Crimp the edges and pierce the tops with a fork. Place them on a large baking pan lined with parchment paper. You should leave a little bit of space between each for an even flow of heat. My batch made 7 and I was able to fit all of them on one large pan.
- Bake for 10-12 minutes or until the edges become slightly firm and the center is no longer shiny.
- Carefully transfer them to a cooling rack to firm up. They might be a little floppy fresh from the oven but don’t worry! They won’t stay that way.
Icing
- Whisk together the powdered sugar, milk, and vanilla. If it’s too thin, add more powdered sugar. If it’s too thick, add a little more milk. We’re looking for an Elmer’s glue-type consistency.
- Spoon the icing onto the pop tarts after they’ve cooled. Top with the crushed Oreo cookies. Enjoy!
Notes
STORAGE – You can store these pop tarts in an air tight container at room temperature for up to 3 days. I don’t recommend toasting them as the icing will melt and ruin your toaster. You can either eat them at room temp or heat them in the microwave for 10-15 seconds.
- Prep Time: 40 minutes
- Cooling Time: 30 minutes
- Cook Time: 12 minutes
- Category: Dessert
- Method: Baking
- Cuisine: American
Join Our Community

Meet Jenna
I’m the creator, baker, and photographer behind Butternut Bakery. Here I share desserts for every diet because I believe everyone should have a chance to indulge!


These look delicious! Are there any instructions for the filling part? Or do you just toss everything together in a bowl and mix? The recipe doesn’t really say anything about the filling part so just want to make sure! Thanks
Where do you store left over pop tarts and do you toast them after they’re cooked or eat them as is ?
Oh My YUMMMMMM! Looks soooo delicious.