Banana Pudding Cheesecake
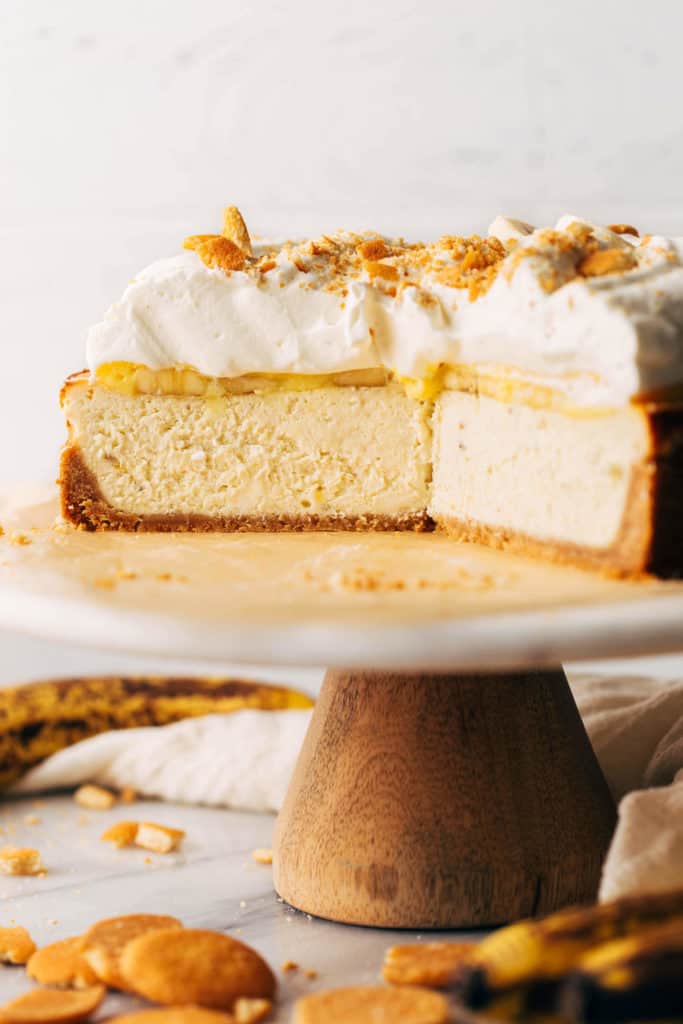
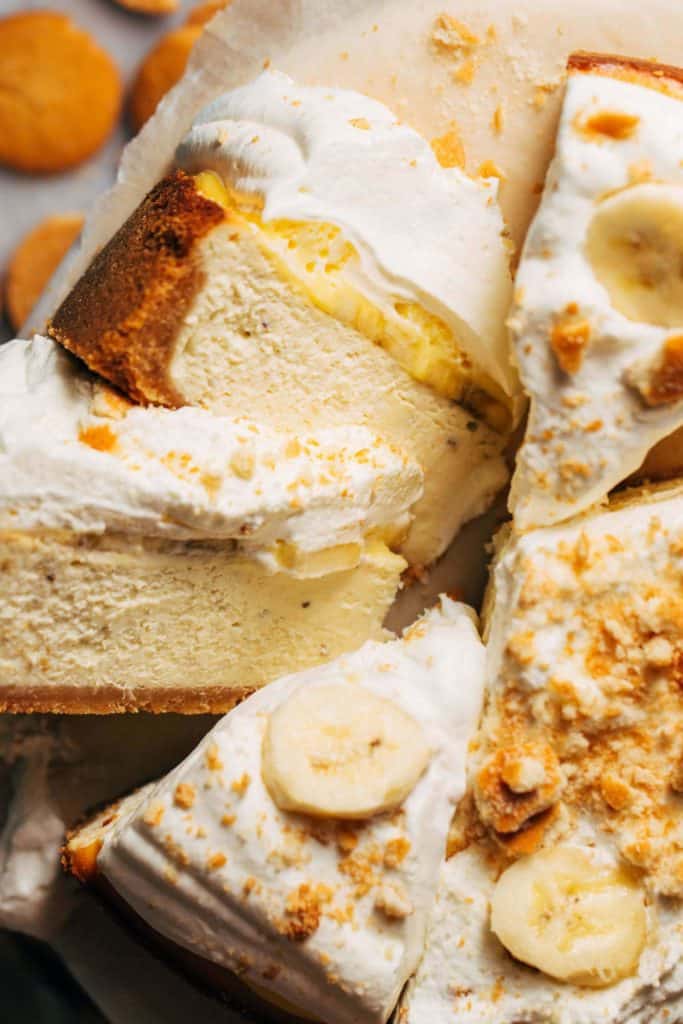
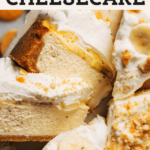
This banana pudding cheesecake has it all! A creamy and sweet roasted banana cheesecake batter is baked inside a Nilla Wafer crust and is all topped with banana slices, vanilla pudding, and a mound of soft and fluffy whipped cream.
How to make banana pudding cheesecake
All the elements of a delicious and creamy banana pudding are baked into this cheesecake! Let’s break this down:
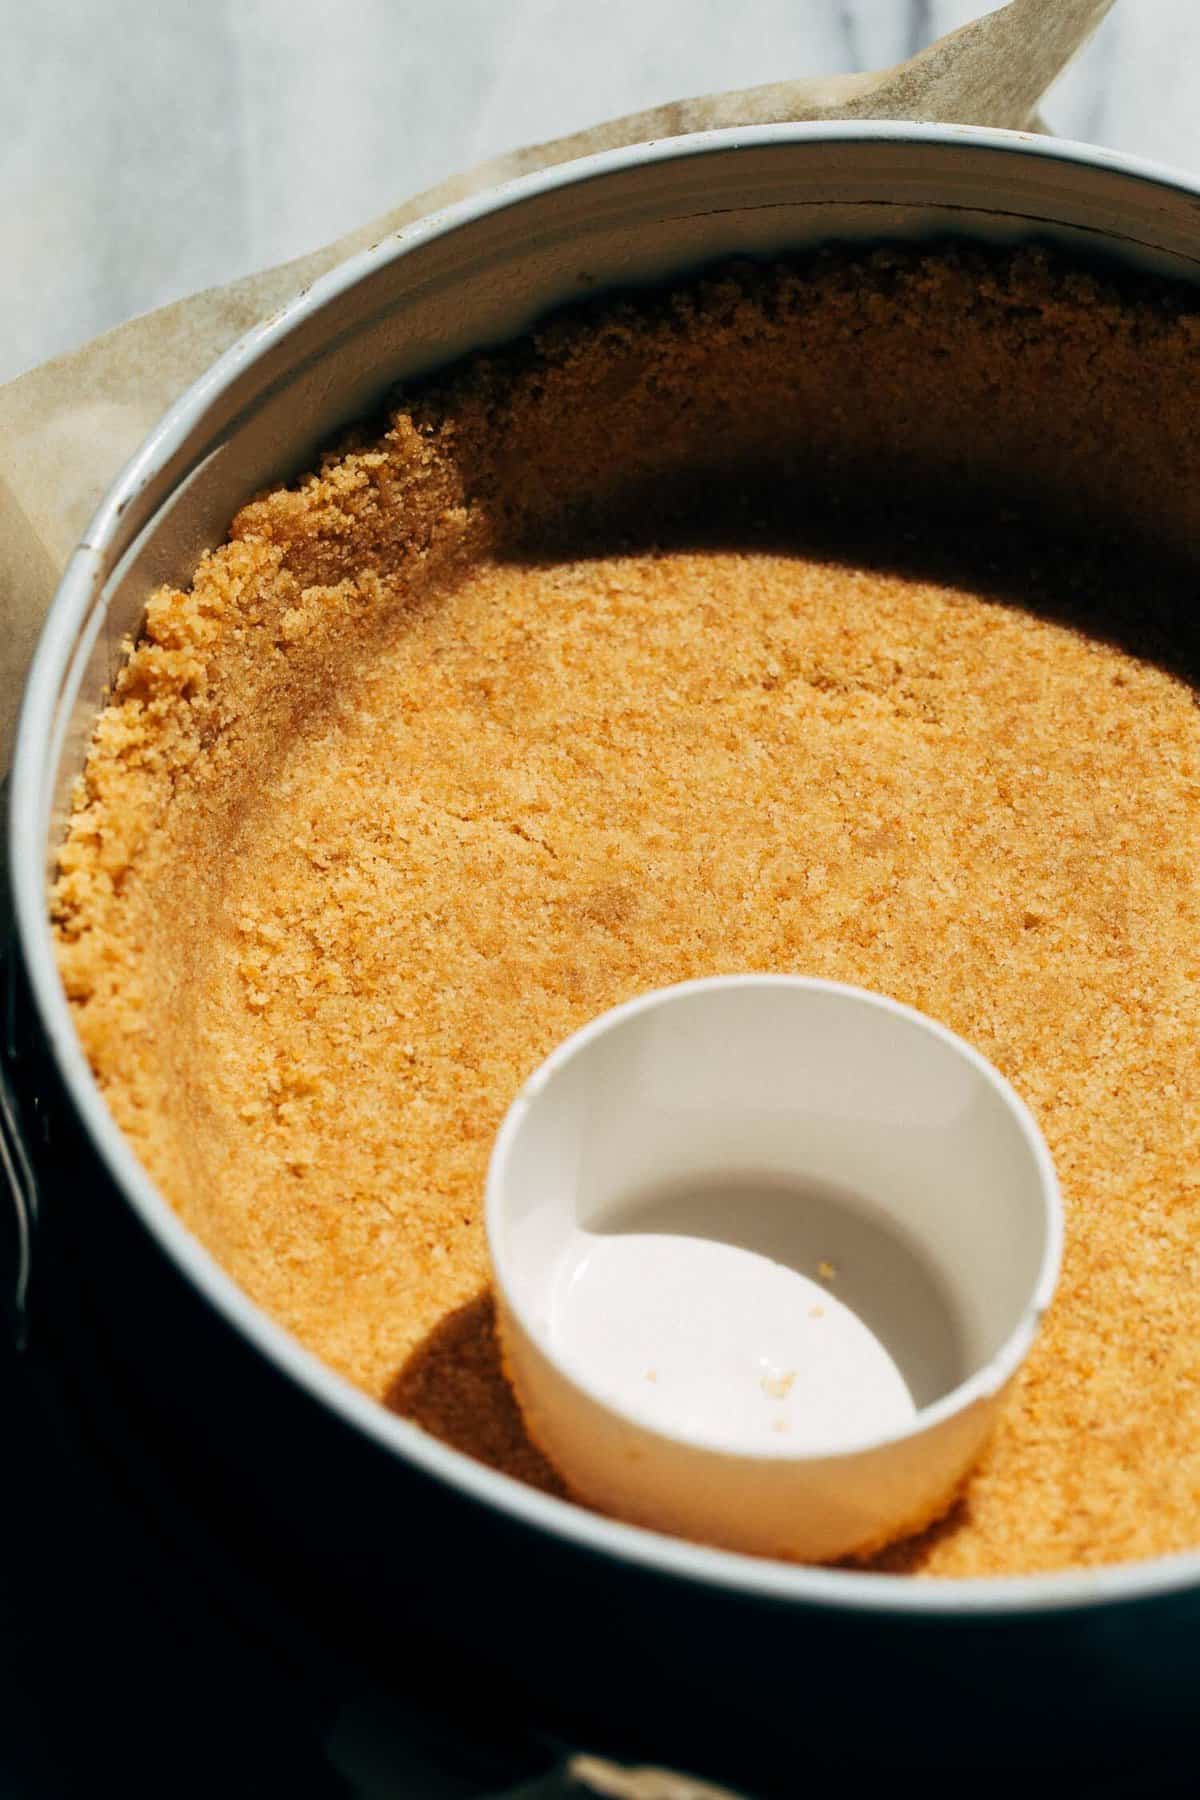
Nilla Wafer Crust – It’s not banana pudding without Nilla Wafers and the entire crust is a layer of crushed Nilla Wafers held together by sugar and butter. It’s double the recipe so it can completely cover the bottom of the cheesecake as well as the sides.
Roasted Banana Cheesecake – To boost the banana flavor of this cheesecake, bananas are roasted before they’re mixed into the cheesecake batter. Roasting bananas helps bring out even more flavor and when they’re softened, they easily blend into the batter.
Banana Pudding – To round out this banana pudding cheesecake, a layer of sliced bananas is added on top of the baked cheesecake. They’re then coated in a layer of instant vanilla pudding to bring in that soft and creamy texture.
Soft Whipped Cream – Last but not least, this cheesecake is finished off with a cloud of whipped cream. It’s whipped to soft peaks so it’s extra light and creamy.
For extra pizzazz, top the cheesecake with crushed Nilla wafers and a couple extra slices of banana! And although it’s not traditional to banana pudding, I think a drizzle of butterscotch sauce could really take this over the top in the best way.
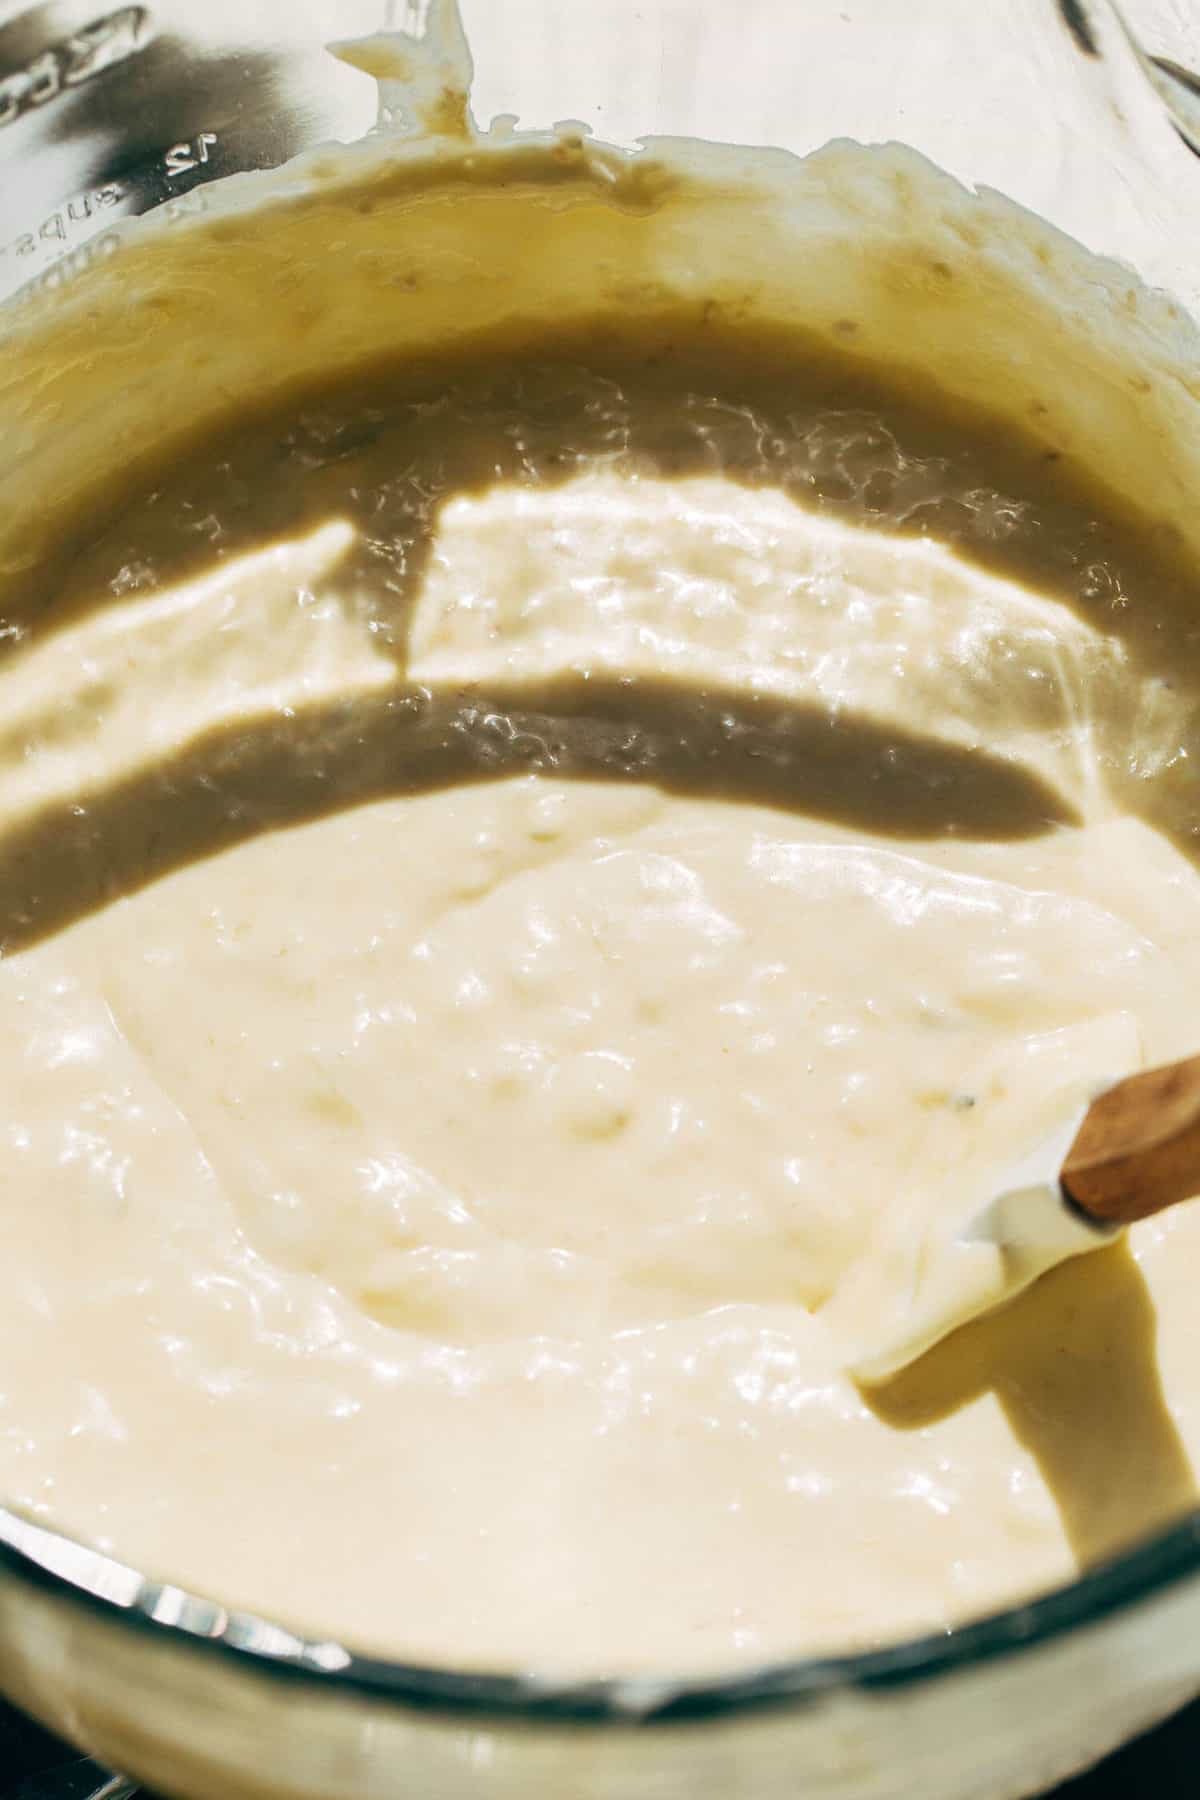
How to roast bananas
Whether you have ripe bananas or yellow bananas, roasting will help to bring out even more flavor! Here’s how it’s done:
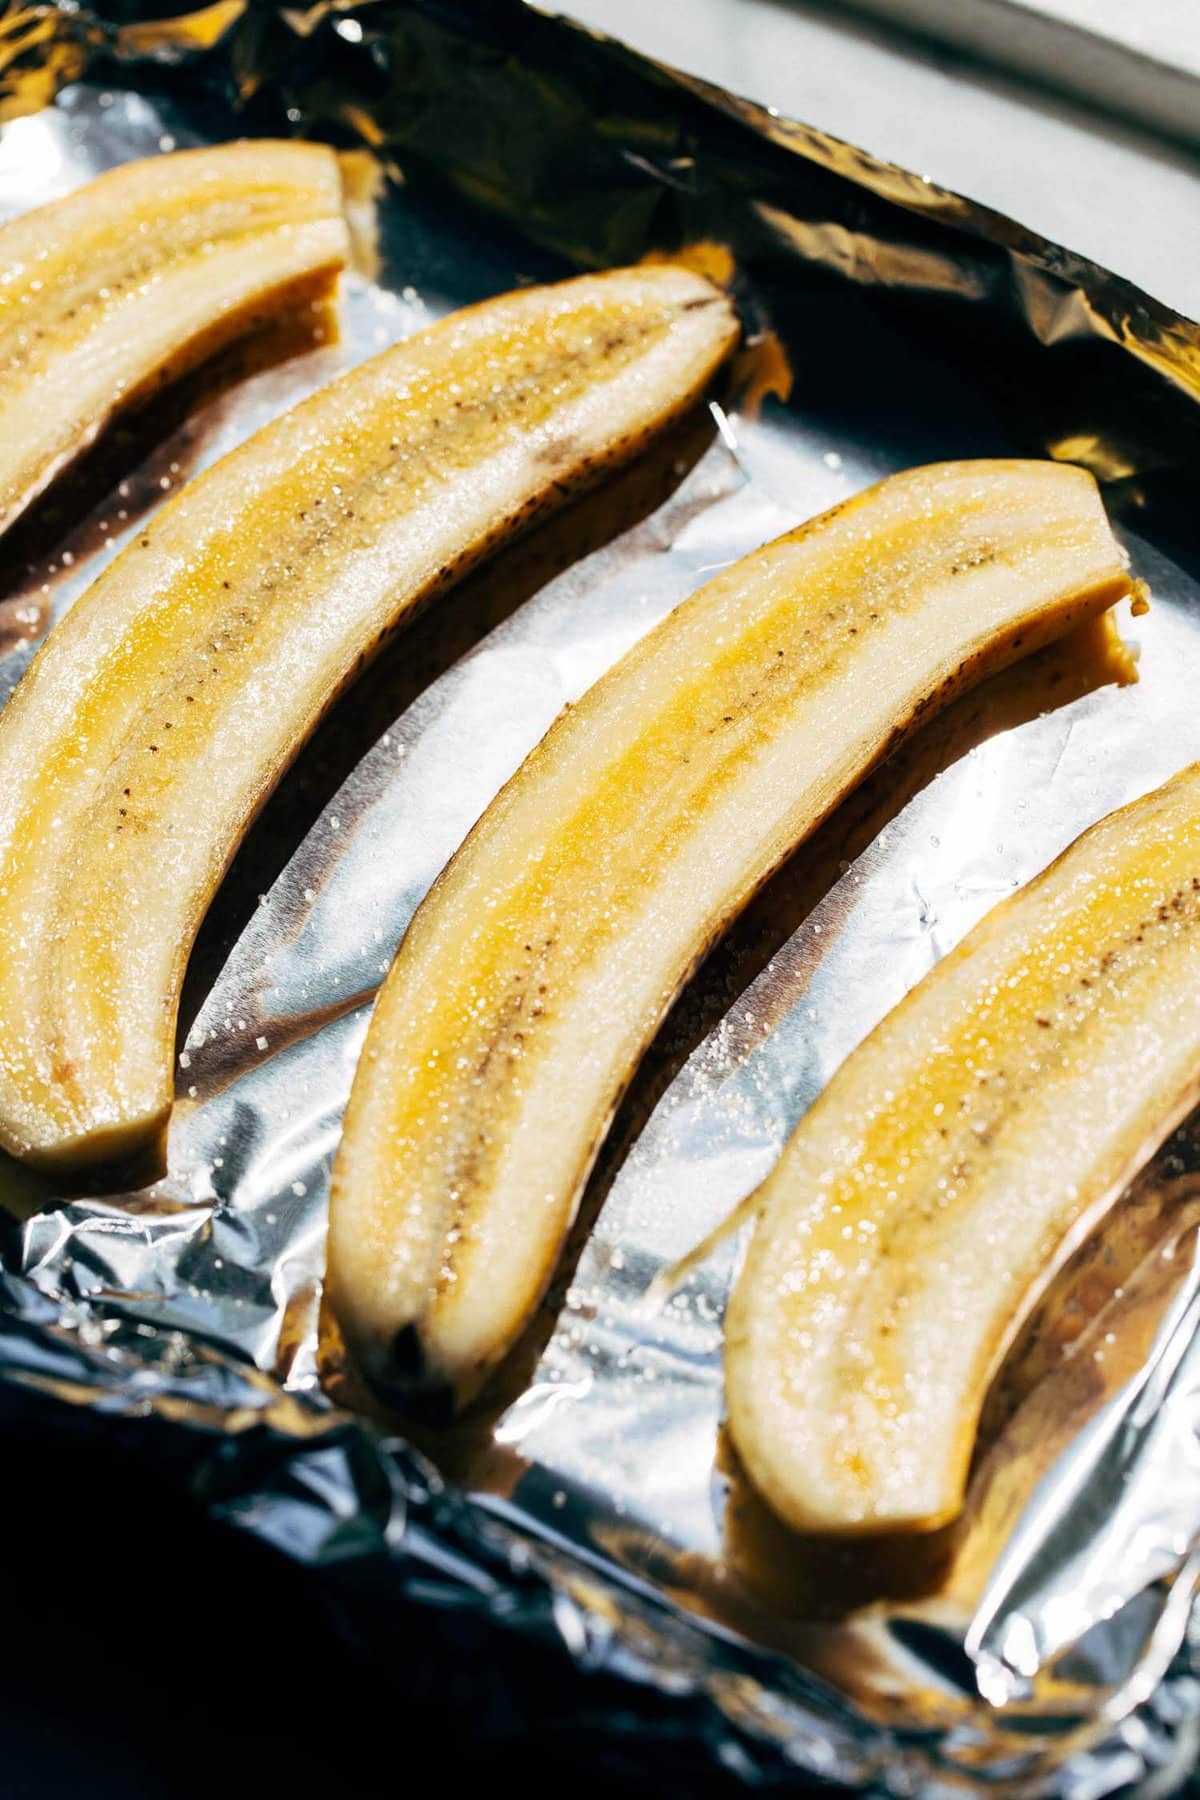
- Slice – Two bananas are sliced down the center length-wise to create 4 banana halves.
- Sugar – Sprinkle the inside of the bananas with a bit of sugar.
- Place – Flip over the bananas so that the sugared side is facing down and the skins are facing up.
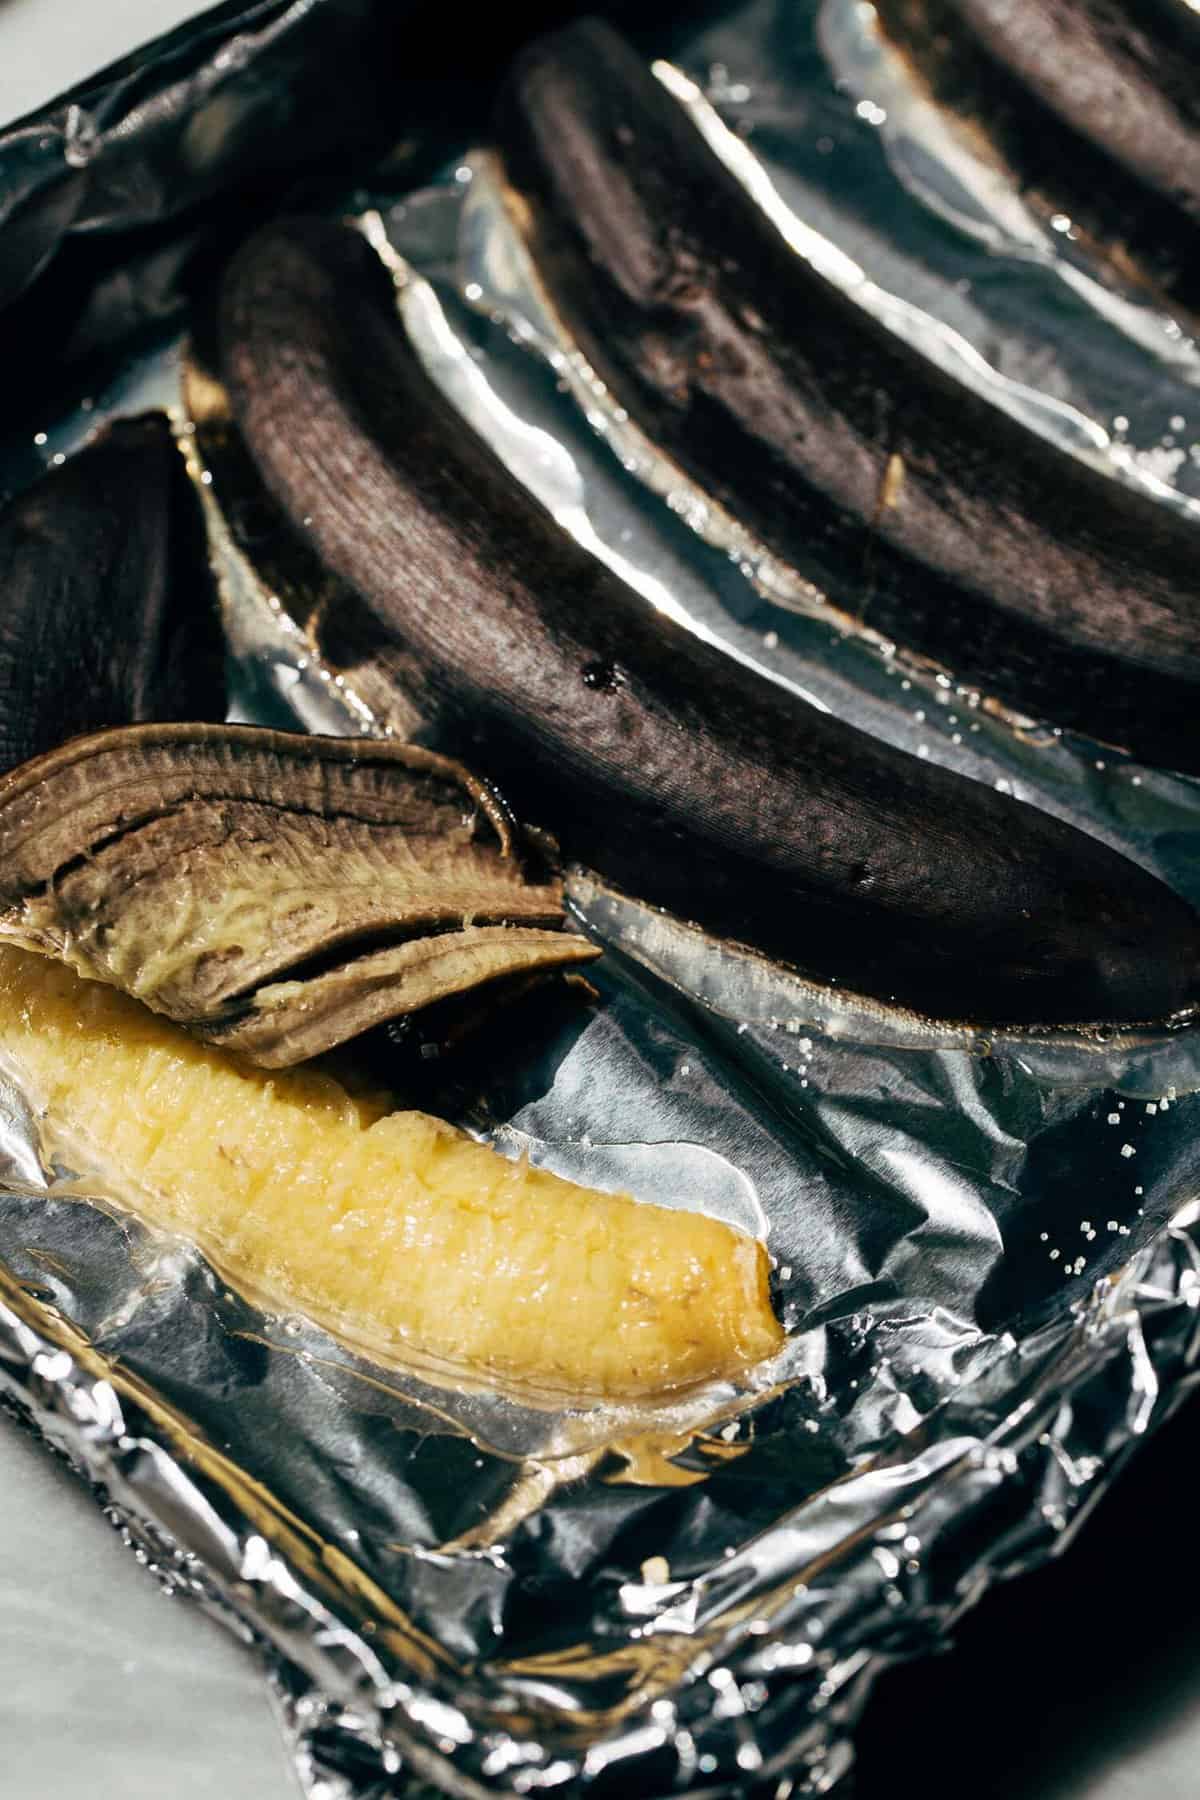
- Bake – For brown speckled bananas, bake for 10 minutes. For ripe bananas, bake for 6-8 minutes. They’re ready when the skins are fully black and juices leak out the sides.
- Peel – After the bananas have cooled, the skins should slip right off! Now the bananas are extra soft and ready to mix in to the cheesecake batter.
My top cheesecake baking tips
- The Cream Cheese – If you can, always try to use Philadelphia full fat cream cheese. It provides the BEST flavor and texture. And this is not sponsored, it’s just the only cream cheese I’ll ever use.
- Room Temperature Ingredients – Before you start, make sure all of the refrigerated ingredients are at room temperature…especially the cream cheese. This prevents lumps and over mixing (adding too much air to the batter can create cracks). To speed up the process, add the cream cheese (still in the wrappings) and eggs to large bowl of warm water. Let it sit for about 30 minutes and your cream cheese will be perfectly softened.
- Low and slow – Always keep your mixer on low to medium-low speed, whether you’re using a hand or a stand mixer (although stand is preferred). This means the mixing process will take a little bit longer, but it also ensures your cheesecake turns out smooth and crack-free.
- Easy Water Bath – Most importantly, always bake your cheesecake in a water bath. Place a roast pan on the bottom rack of your oven and start a pot of boiling water on the stove top. When you’re ready to bake the cheesecake, pour the boiling water into the roast pan and then place the cheesecake on the middle rack above. Baking in a moist environment prevents the cheesecake from drying out and cracking.
- Jiggle Test – To make sure the cheesecake is done, crack open the door and nudge the pan. If the center wobbles like a bowl of milk, it’s not done. If it jiggles like jello, it’s ready.
That’s it! These tips are essential to any cheesecake recipe and will ensure your banana cheesecake turns out crack-free and baked all the way through.
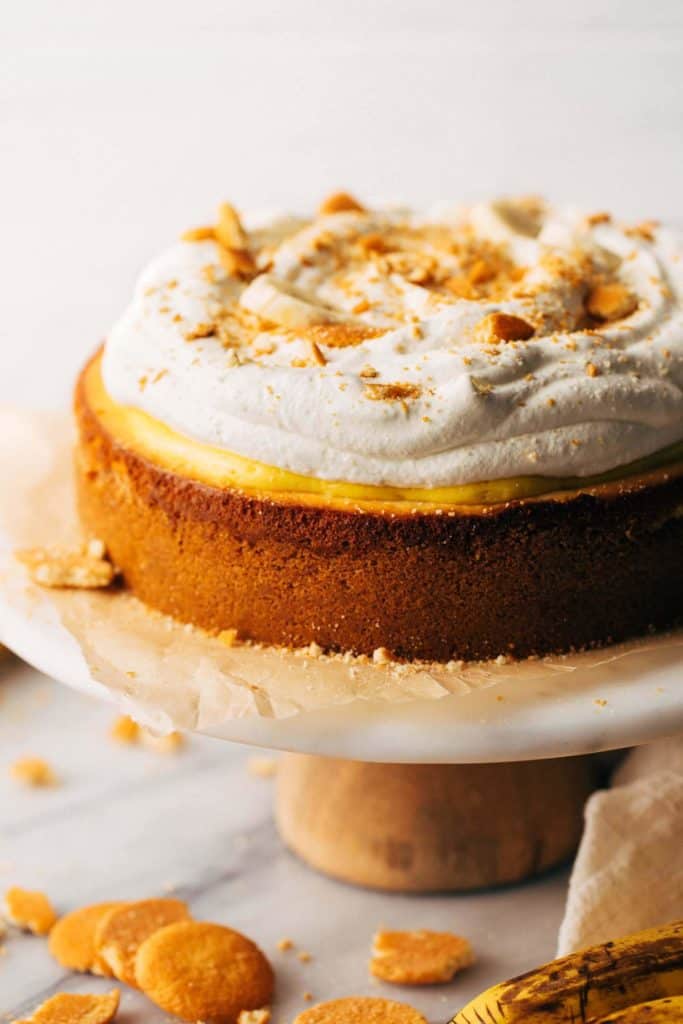
Chilling the banana cheesecake
When the cheesecake is done, turn the oven off and crack open the oven door with the cheesecake still inside. This allows it to come back to room temperature very slowly, while also gently baking the center all the way through.
Leave the cheesecake in the oven for another hour before taking it out. This process prevents the cheesecake from cracking. If you take it out right when it’s done, it will cool too fast. As the cheesecake cools, it shrinks and if this process happens too quickly, a crack will form down the center. Taking it out too soon could also leave you with an under baked center.
After the hour is up, take the cheesecake out of the oven and leave it at room temperature for about 30 minutes.
At that point, it should be firm and cooled enough to add the banana pudding topping. After that’s spread on top, the cheesecake chills for at least 4 hours or overnight. This step is essential to setting the cheesecake all the way through.
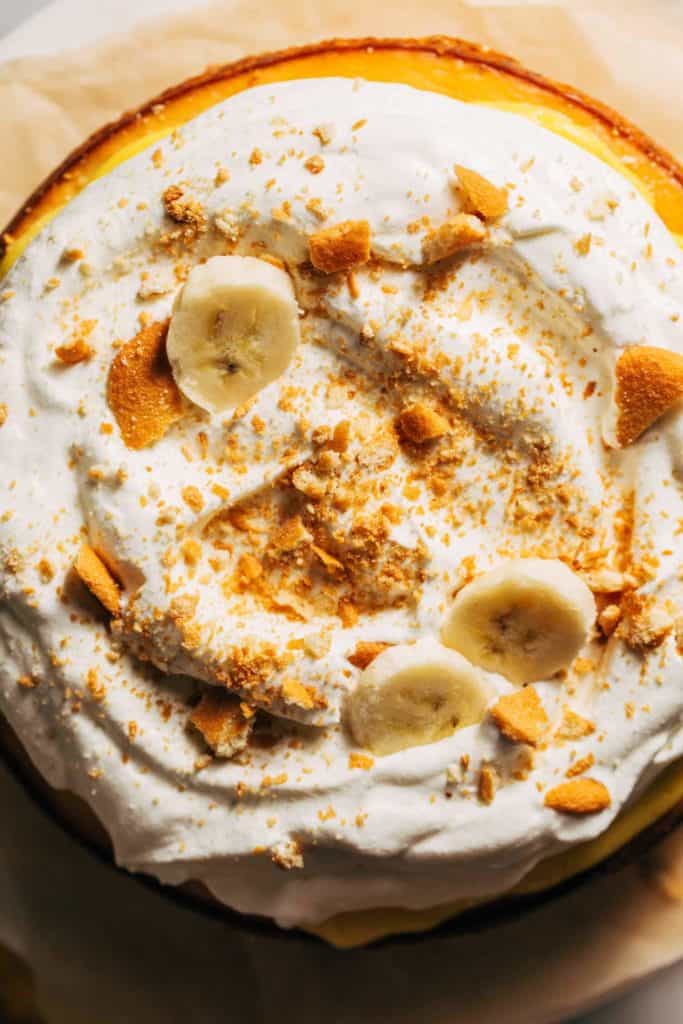
Banana pudding cheesecake topping
To transform this banana cheesecake into a banana PUDDING cheesecake, it’s topped with sliced bananas and vanilla pudding before chilling.
To make this super easy, we’re using instant vanilla pudding mix. Simply whisk together the pudding mix and cold milk until it reaches a soft pudding consistency.
Then, arrange banana slices all over the surface of the cheesecake in a single layer.
Top the bananas with the pudding and spread it even. It’s really important that the pudding completely covers every single banana as this will prevent the bananas from browning overnight.
Also, half a small box of vanilla pudding mix is the PERFECT amount of this cheesecake. To accuracy, weigh out half of the grams in the box. Otherwise, eyeballing it should also work.
Feel free to use vanilla pudding, french vanilla pudding, or even banana flavored pudding if you really want to bring home that banana flavor!
Once the cheesecake has chilled, it’s topped with whipped cream and Nilla Wafers.
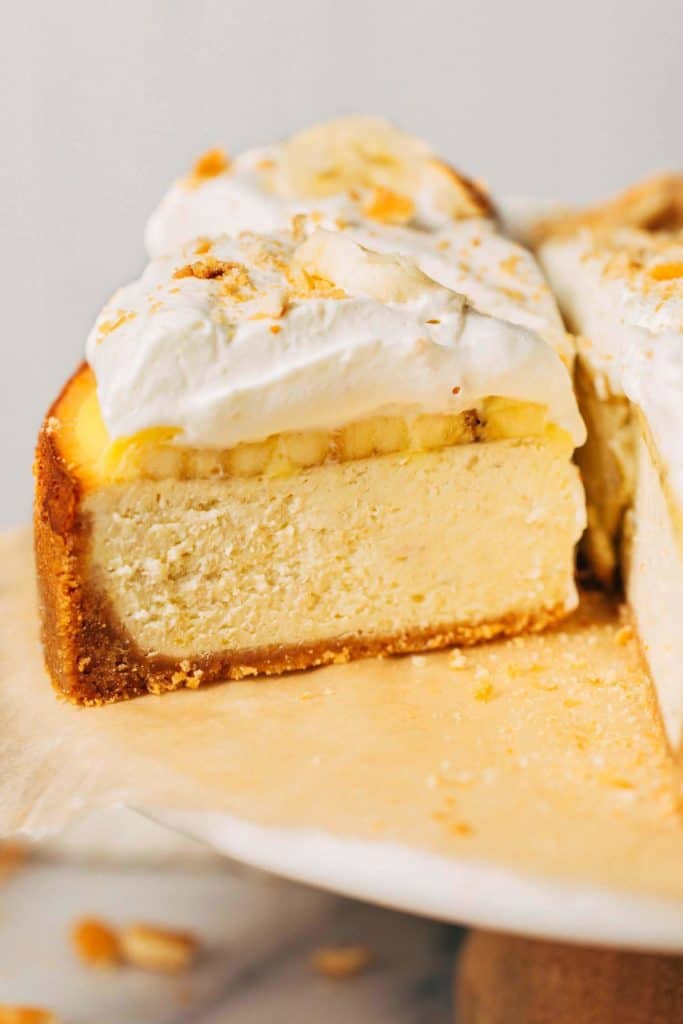
How to serve banana cheesecake
Once the cheesecake has chilled overnight with the sliced bananas and pudding on top, pile on the whipped cream close to serving. This is to ensure a stable whipped cream topping.
Then, let the cheesecake rest at room temp for about 30 minutes. This helps loosen up the texture so that each slice is extra creamy. Make the slices using a clean large knife. Wipe down the knife between each slice for clean cuts.
How to store cheesecake
Keep this cheesecake in an air tight container in the refrigerator. It will keep for about a week!
For more cheesecake recipes, check out my:
- Peach Cobbler Cheesecake
- Salted Caramel Cheesecake
- New York Style Cheesecake
- Pumpkin Cheesecake
- Chocolate Cheesecake
- Roasted Strawberry Cheesecake
- Cookie Dough Cheesecake
Make sure to tag me @butternutbakery on Instagram and leave a review below if you make this banana pudding cheesecake recipe. To pin this recipe and save it for later, you can use the button on the recipe card, the buttons above or below this post, or on any of the photos above. Happy baking!
Watch how to make this banana pudding cheesecake!
Print
Banana Pudding Cheesecake
- Total Time: 6 hours 30 minutes
- Yield: 10 slices
Description
This banana pudding cheesecake is NEXT LEVEL! Sweet and creamy roasted banana cheesecake is baked in a Nilla wafer crust and topped with banana slices, vanilla pudding, and a cloud of soft whipped cream on top.
Ingredients
Roasted Bananas
- 2 brown speckled bananas, skins on and sliced down the middle length-wise
- 1 tbsp granulated sugar
Nilla Wafer Crust
- 2 cups (275g) ground Nilla Wafers (almost an entire box)
- 2 tbsp granulated sugar
- 1/2 cup (110g) unsalted butter, melted
- Pinch of salt
Banana Cheesecake
- 4 8oz blocks full fat Philadelphia cream cheese, room temp
- 3/4 cup (150g) granulated sugar
- 2 tbsp cornstarch
- 1/3 cup (80g) sour cream, room temp
- 2 tsp vanilla extract
- 3 large eggs, room temp
Banana Pudding Topping
- 2 brown speckled bananas, sliced
- 1/2 of a 3.4 oz package instant vanilla pudding
- 1 cup (240g) cold milk
- 2 cups (480g) heavy whipping cream
- 1 tbsp powdered sugar
- A handful of crushed Nilla Wafers
Instructions
Roasted Bananas
- Preheat the oven to 400F and line a small baking sheet with foil.
- Lay the sliced bananas on the pan, banana side up.
- Sprinkle the bananas with the sugar and then turn them over so that the skins now face up.
- Bake for 10 minutes, or until the skins are completely black and they’re leaking juices out the sides.
- Let the bananas cool while we make the crust.
Nilla Wafer Crust
- Change the oven temp to 350F.
- Once the Nilla Wafers are ground in a food processor, blitz in the sugar, melted butter, and salt.
- Then mix by hand with a spoon to make sure everything is evenly hydrated.
- Grease the entire inside of a 9″ springform pan and line the bottom with parchment paper.
- Dump in the crust and press it into the bottom and up the sides.
- Bake the crust for 10 minutes, then let it cool while we make the cheesecake batter.
Banana Cheesecake
- Keep the oven temp at 350F. Position an oven rack at the bottom of the oven and another in the middle. Then place a large roasting pan on the bottom rack and start a medium pot of boiling water on the stove top. We will need these when we place the cheesecake in the oven.
- In a large mixing bowl using a hand or stand mixer with the paddle attachment, mix the cream cheese on medium-low speed until smooth (about 30 seconds). Scrape down the bowl.
- Peel back the skins on the roasted bananas and toss the soft bananas into the cream cheese. Mix again on medium-low speed until the bananas are broken up and evenly distributed.
- Add in the sugar and cornstarch and mix on medium-slow speed until smooth.
- Scrape down the bowl and mix in the sour cream and vanilla on low speed.
- Finally, mix in the eggs one at a time on medium-low speed.
- Use a rubber spatula to scrape the bowl and mix the batter by hand just to make sure everything is well combined. The batter may appear a bit lumpy, but that’s ok! Those are bits of roasted banana.
- Pour the batter into the crust and spread it even.
- Carefully pour the boiling water into the roast pan on the bottom rack of the oven. Moving quickly to try to keep as much steam in the oven as possible, place the cheesecake on the middle rack just above the roast pan and shut the oven door.
- Bake for 50 minutes – 1 hour, or until the edges are well puffed, golden, and slightly cracked with a center that has a tight jiggle when the pan is nudged.
- Shut off the oven and crack open the door with the cheesecake still inside. Let it rest inside the oven for 1 hour.
- Then let the cheesecake sit at room temperature for about 30 minutes.
Banana Pudding Topping
- In a mixing bowl, whisk together the vanilla pudding mix and milk. Whisk vigorously for about 5 minutes or until thickened into a soft pudding consistency.
- Arrange the banana slices on top of the cheesecake in a single even layer.
- Spread the pudding on top, completely covering the bananas.
- Transfer the cheesecake to the refrigerator to chill for at least 4 hours, but preferably over night.
- When you’re ready to serve, whip the heavy cream and 1 tablespoon of powdered sugar on high speed. Whip to soft peaks.
- Remove the cheesecake from the pan and top with a mound of whipped cream and a handful of crushed Nilla Wafers.
- Now slice and enjoy!
Equipment
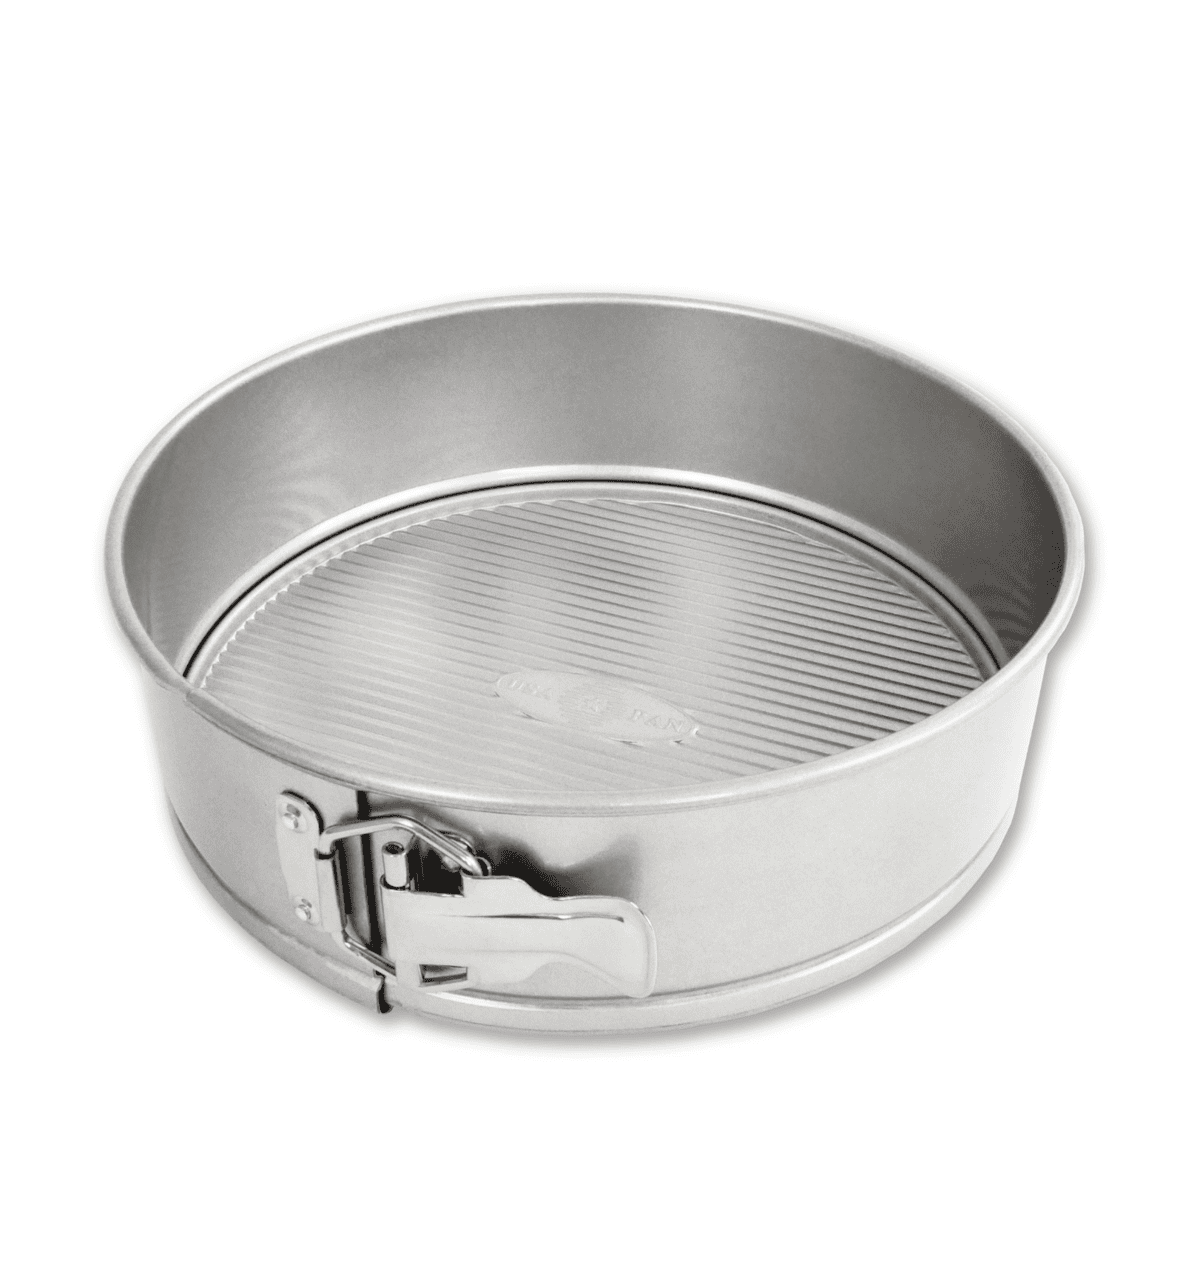 Buy Now →
 - Prep Time: 30 minutes
- Chill Time: 4 hours
- Cook Time: 2 hours
- Category: Dessert
- Method: Baking
- Cuisine: American
Join Our Community

Meet Jenna
I’m the creator, baker, and photographer behind Butternut Bakery. Here I share desserts for every diet because I believe everyone should have a chance to indulge!
This cheesecake was absolutely delicious a hit with the family thank you so much for sharing such an amazing recipe and easy to follow instructions. 🤍
My husband went bananas for this cheesecake 😋 he literally ate a third of it by himself. Everyone else enjoyed but in moderation. So good!
I have made this cheesecake several times, the flavors are unreal. The instructions make it very easy! The hardest part is waiting it out in the fridge! 😂🥰
Think I forgot to add the stars!
Delicious! Always a big hit when I bake this.
Best cheesecake ever. The perfect balance!