Banana Nut Muffins
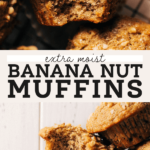
These are the BEST homemade banana nut muffins! They’re moist, flavorful, and baked with toasted nuts. With a few simple muffin baking tricks, these muffins bake perfect every time.
This post is sponsored by Danish Creamery but all thoughts and opinions are my own. Thank you for supporting the brands that make Butternut Bakery possible!
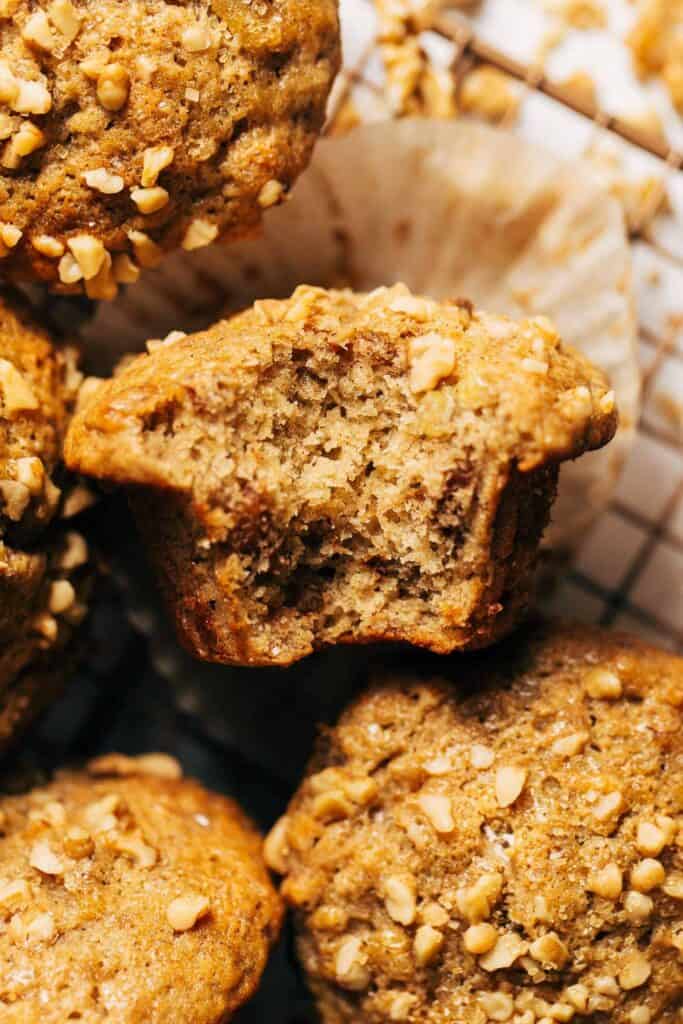
What makes this the BEST banana nut muffin recipe?
I’m a stickler when it comes to muffins because they need to have it all – height, flavor, texture, and just the amount of moistness. These banana muffins check every box and then some! With rounded muffin tops, a moist and fluffy texture, and rich banana flavor, these are bakery-quality made right at home. I could go on and on, but here are the top reasons why these banana nut muffins are SO good:
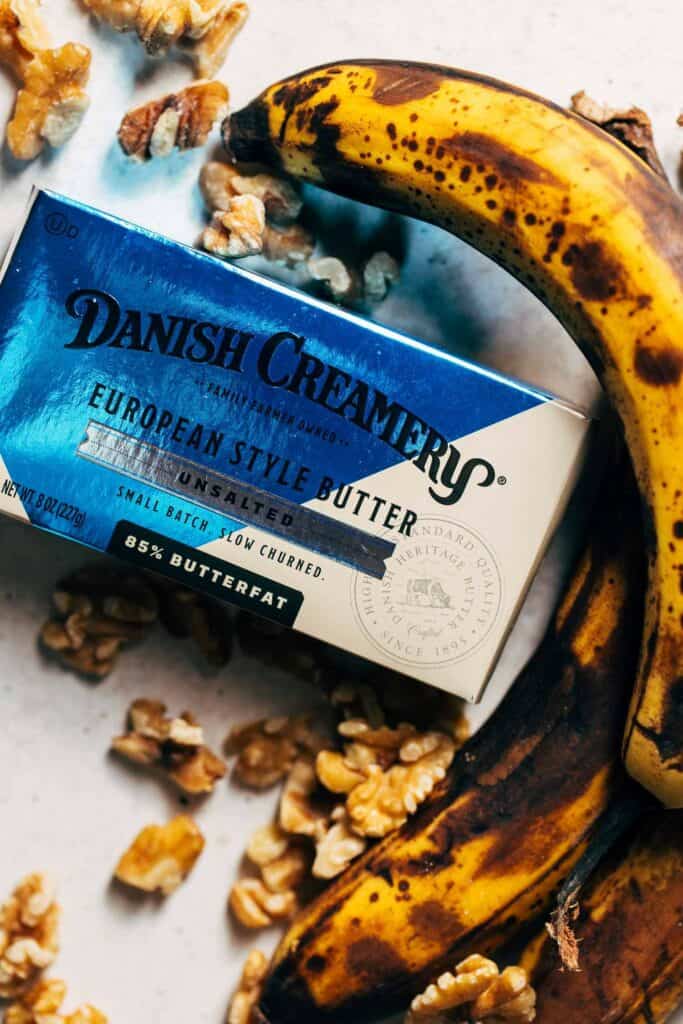
- Danish Creamery European Style Butter – I love using Danish Creamery butter in my baking for so many reasons. It’s much more flavorful than traditional butter as it’s slow churned and made with quality ingredients. Their European style butter is what takes these muffins from basic to gourmet. It adds an extra depth of flavor and helps to keep these muffins moist for days. Trust me, once you bake with Danish Creamery butter you’ll never go back!
- The Method – It’s tough to get a muffin that’s both tall and moist, and these muffins check both boxes. By using a couple muffin baking secrets, these muffins bring you the best of both worlds. I discuss more in detail what these tricks entail, so read on to see how to make the perfect chocolate chip muffins.
- The Banana – This muffin batter uses 1 1/2 cups of ripe mashed banana which is about 3-4 bananas. For the best flavor, use REALLY ripe bananas…the kind that are nearly completely brown. This amount yields a banana muffin that is bursting with delicious banana flavor.
- The Nuts – If nuts are mixed in raw, they’re really only their for crunch rather than flavor. So to enhance these mix-ins, the nuts are toasted beforehand. This releases so much more nuttiness and brings even more flavor to these muffins.
How to make banana nut muffins
What I love about muffins is just how easy they are to make. Unlike cupcakes that depend on the creaming method for height (combining butter and sugar until fluffy), muffins are made in fewer steps because they’re a quick bread. This means that they rely heavily on baking soda and baking powder in order to grow nice and tall. Because of this, it takes the load off of the baker as the leaveners do most of the
So what is the process of making muffins using this quick bread method? It’s essentially three simple steps:
- Dry Ingredients – Combine ALL of the dry ingredients in one bowl, including the sugar.
- Wet Ingredients – Combine all of the wet ingredients in a separate bowl, which includes the butter, eggs, sour cream, and any additional liquid flavorings or fats.
- Mix Together – Pour the wet ingredients into the dry ingredients and mix to combine. That’s it!
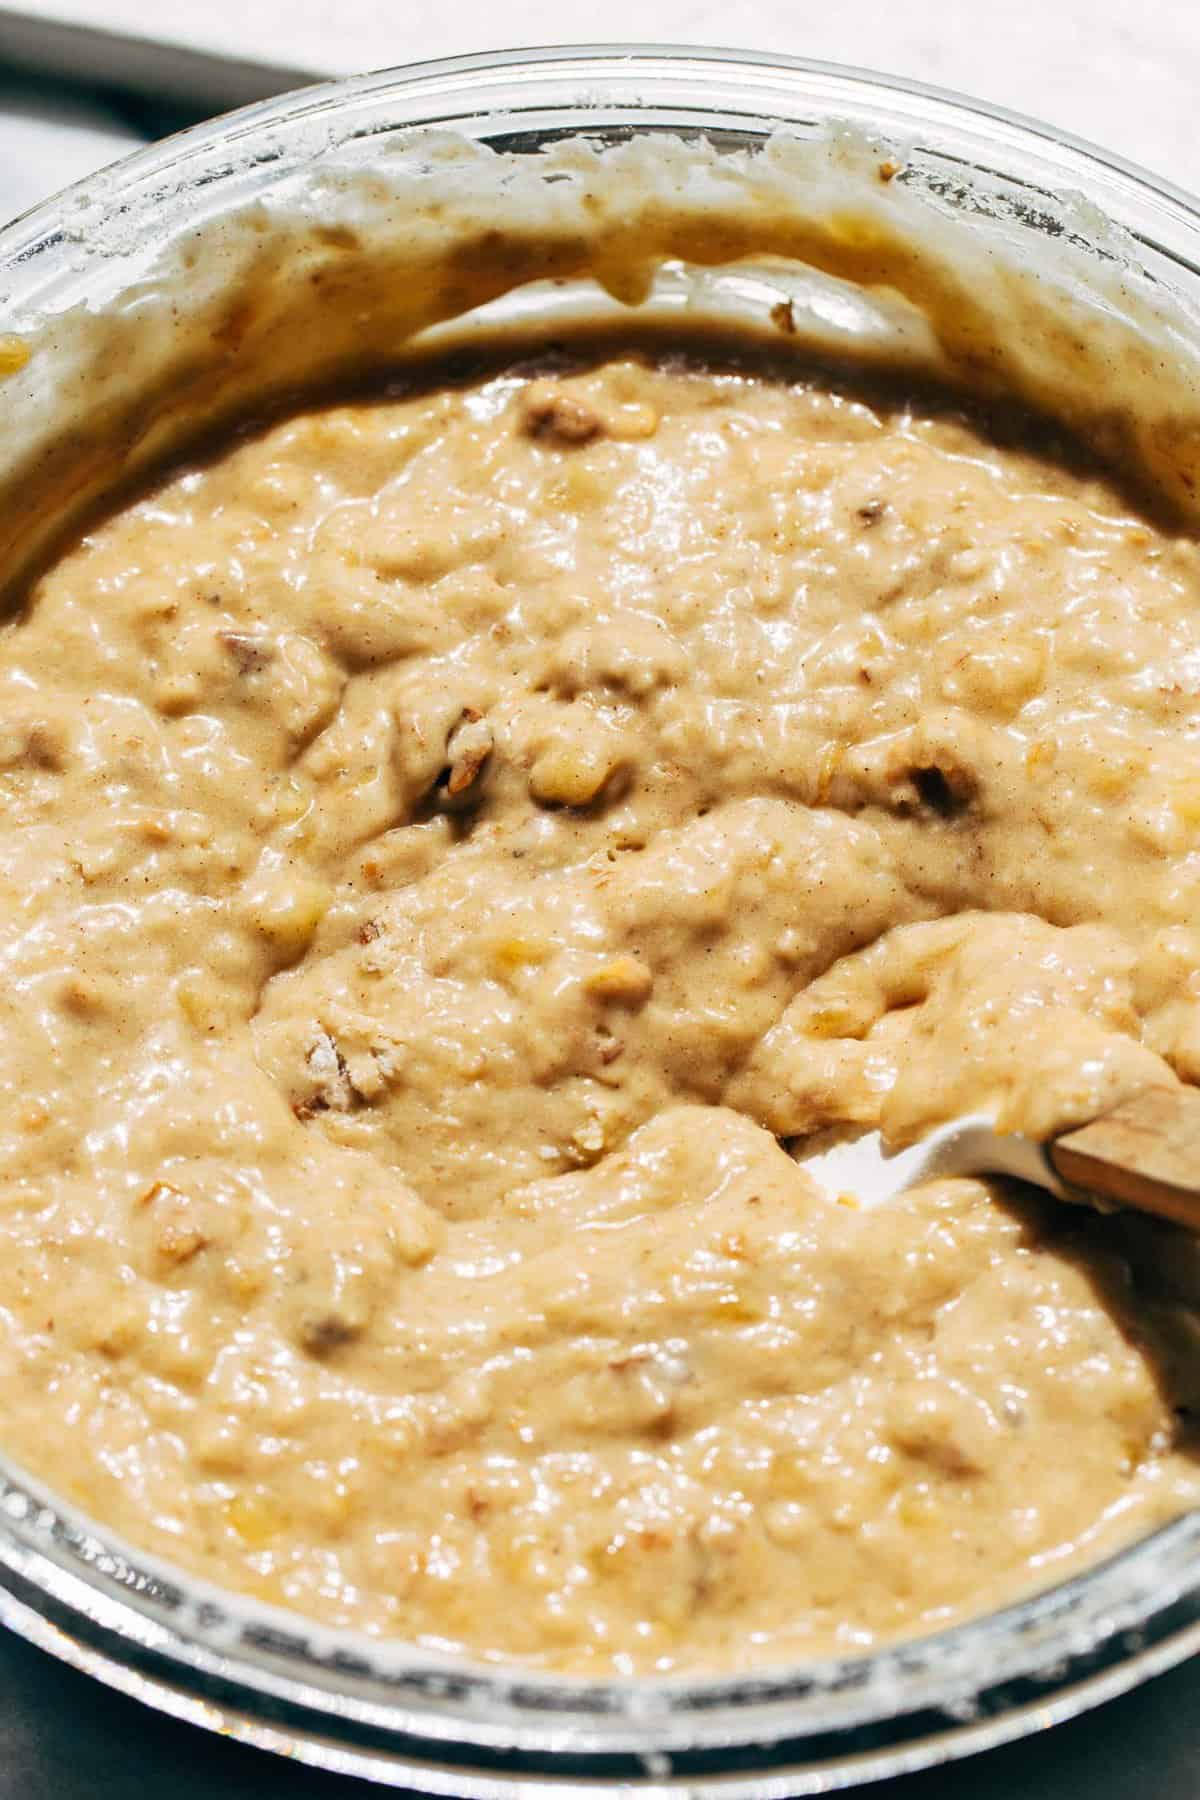
Because of the large amount of leaveners in the dry ingredients, the batter will start to froth as the wet ingredients are mixed in. This is due to the fact that baking powder activates with liquid, and baking soda activates with liquid and acid (such as sour cream). So be very careful not to disrupt this reaction as you stir the two together. Mix JUST until it’s combined, otherwise, you could deflate the batter.
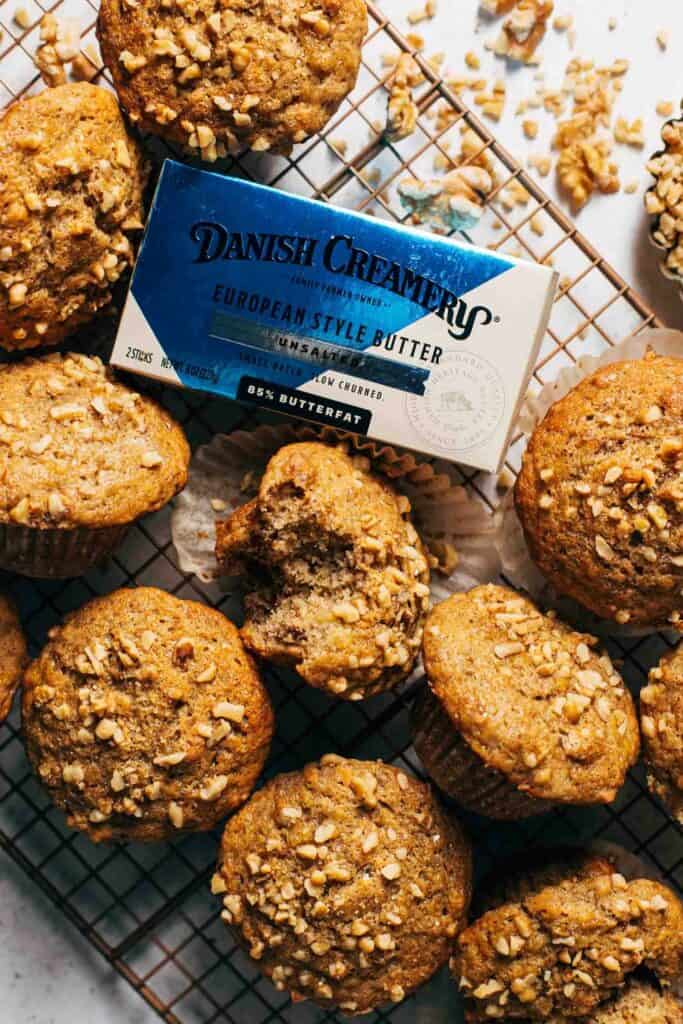
The secret to tall muffin tops
My biggest dilemma with muffins is that they should most definitely have a tall muffin top, but to get there the muffin usually turns out a bit heavy and dry…or at least too dry for my liking.
So how do you achieve both moist and tall muffins? Right after the batter is mixed, it rests for at least 30 minutes at room temperature before it’s baked. During this time, magic happens. Remember what I said about the leaveners activating in liquid? By resting the batter, we’re prolonging this process and allowing the leaveners to fully do their thing. It’s like giving them a head start, allowing the batter to lift before it lifts once more in the heat of the oven.
This recipe calls for a 30 minute rest period, but the longer the batter rests the taller the muffin. Thirty minutes is the minimum, but it can rest for an hour or even overnight in the refrigerator!
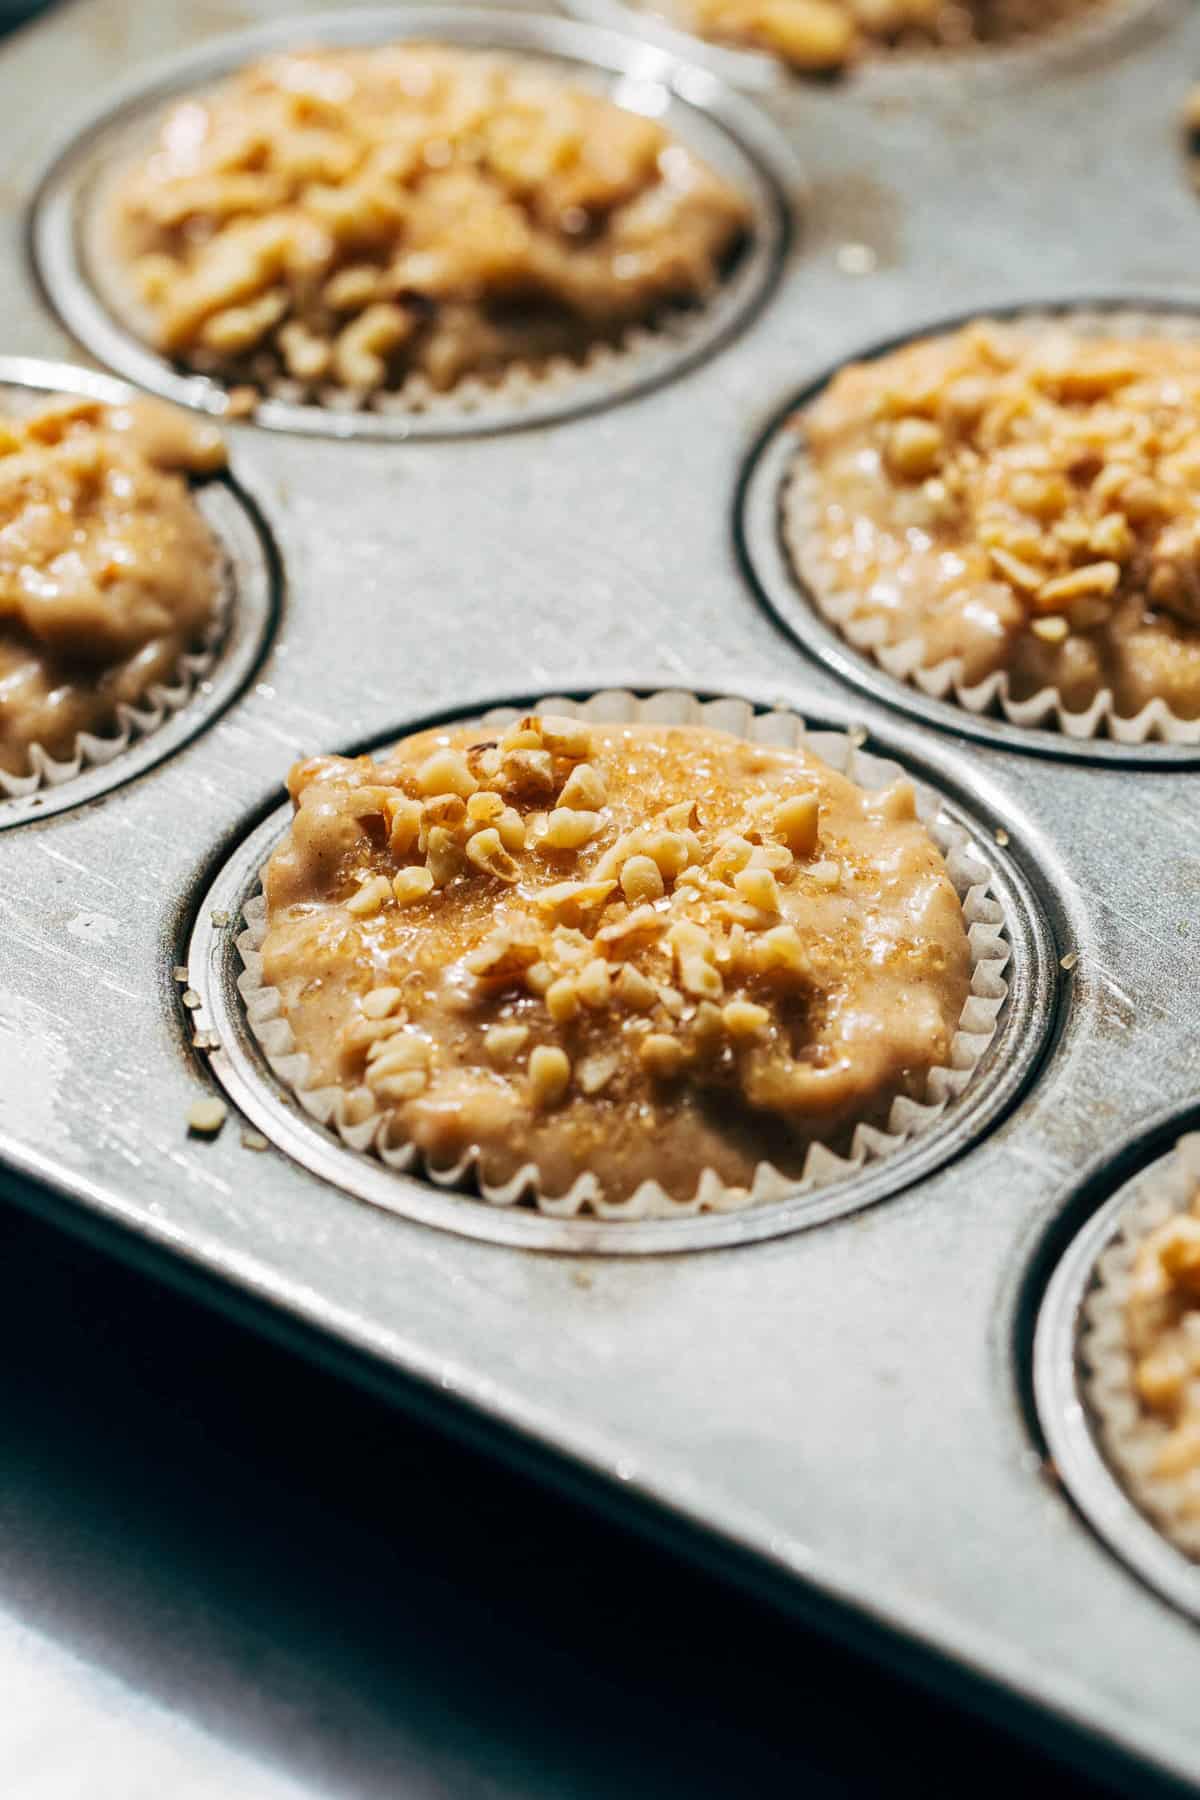
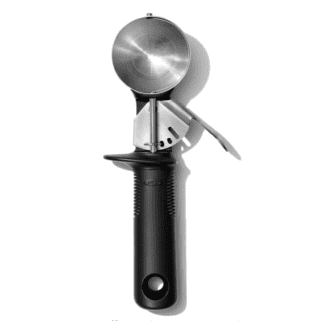
After the 30 minutes, another important step awaits. In order to get the batter into the muffin liners, you must be very gentle as you scoop. We don’t want to disrupt all the hard work the leaveners did while resting. So as you scoop, just make one smooth motion through the batter in order to fill the scooper. Then plop it into the liner and move on to the next. Don’t mix around the batter, don’t make a double pass, just scoop and plop.
This will become instinctual after you notice just how fluffy the batter has become. You can SEE how light it is, so it’s easy to not want to deflate it. It’s an hour well worth it! To see a side by side of a muffin baked right away vs a muffin baked after an hour, check out my recipe for chocolate chip muffins.
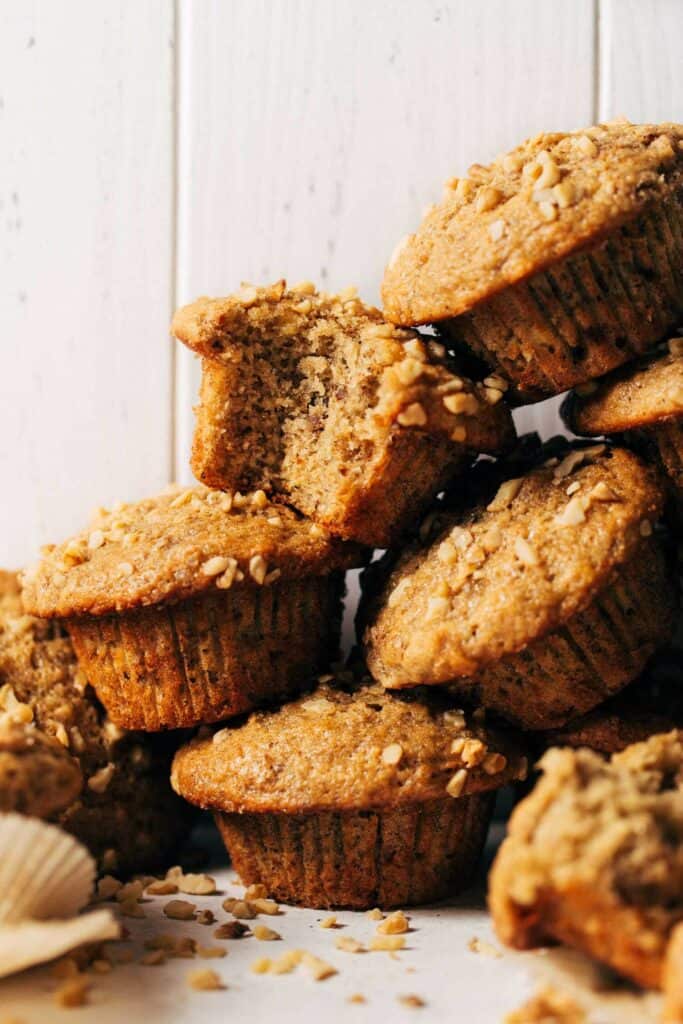
Banana Nut Muffins: Frequently Asked Questions
I have not tested it, but I would recommend swapping the flour with a good quality all purpose gluten free baking flour. My assumption is that the muffins might not rise as much due to how heavy gluten free flour can be, but it’s worth a try!
Yes, just make sure it’s full fat Greek yogurt!
No, please do not. Danish Creamery European style butter has a very specific purpose in this muffin recipe as it provides a unique flavor and texture. Replacing it with oil could weigh down the muffins or give off a strong oil flavor.
Sure! Any dry mix-in can be used in this recipe as long as it equals to 1 cup. That can include 1/2 cup nuts and 1/2 cup chocolate chips, or 1 cup of chocolate chips. Also, any type of nut can be used as well as dried fruit.
Keep the muffins in an air tight container and they can keep at room temp for a couple days. Any longer and they will need to be kept in the refrigerator.
These muffins are best eaten fresh, but they taste just as good the next day! Just warm the muffin up in the microwave for about 10-15 seconds to revive that moist texture.
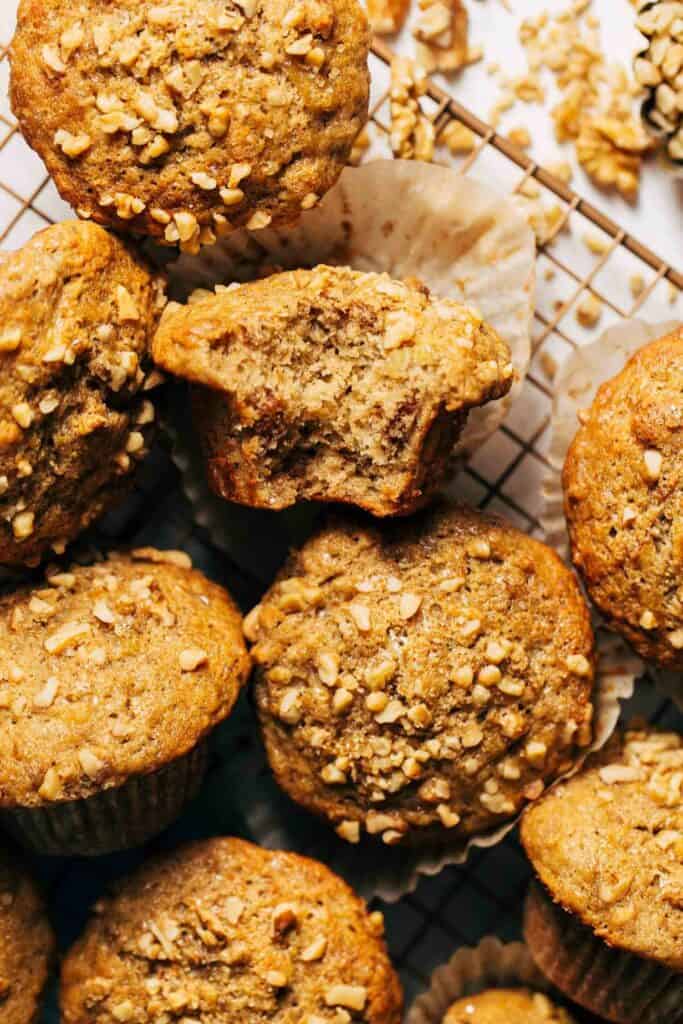
For more muffin recipes, check out my:
- BEST Blueberry Muffins
- BEST Chocolate Chip Muffins
- Double Chocolate Chip Muffins
- Lemon Poppy Seed Muffins
Make sure to tag me @butternutbakery on Instagram and leave a review below if you make these banana nut muffins. To pin this recipe and save it for later, you can use the button on the recipe card or on any of the photos above. Happy baking!
Watch how to make these banana nut muffins:
Banana Nut Muffins
- Total Time: 1 hour 10 minutes
- Yield: 12 muffins
Description
These banana nut muffins are bakery-quality made right at home! They’re so moist, loaded with banana flavor, and baked with toasted walnuts.
Ingredients
- 1 1/2 cups (395g) mashed ripe banana (3–4 bananas)
- 2 cups (265g) all purpose flour
- 2 1/2 tsp baking powder
- 1/2 tsp baking soda
- 1 tsp cinnamon
- 1/2 tsp salt
- 1 1/2 cups (150g) toasted walnuts or pecans, finely chopped
- 1/2 cup (110g) Danish Creamery European Style Unsalted Butter, melted
- 1/2 cup (100g) granulated sugar
- 1/2 cup (100g) dark brown sugar, packed
- 2 tbsp pure maple syrup
- 2 large eggs, room temp
- 2 tsp vanilla extract
- 1/2 cup (120g) sour cream
- Demerara sugar, for sprinkling on top
Instructions
- To toast the nuts, preheat the oven to 350F and spread the whole nuts (not yet chopped) out on a baking sheet.
- Bake for 12-15 minutes, or until darkened and fragrant. Allow the nuts to cool while we make the muffin batter.
- In a medium mixing bowl, whisk together the flour, baking powder, baking soda, cinnamon, and salt. Set aside.
- In a large mixing bowl, whisk together the banana, melted butter, sugars, maple syrup, eggs, vanilla, and sour cream.
- Pour the dry ingredients into the wet ingredients and use a rubber spatula to combine.
- When some flour is still showing, finely chop the toasted nuts and toss 1 cup in to the batter.
- Continue to fold until the batter is fully combined.
- Cover the bowl and allow the batter to rest for 30 minutes at room temperature.
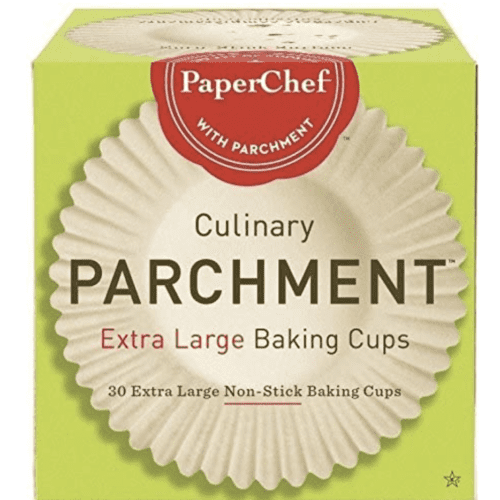
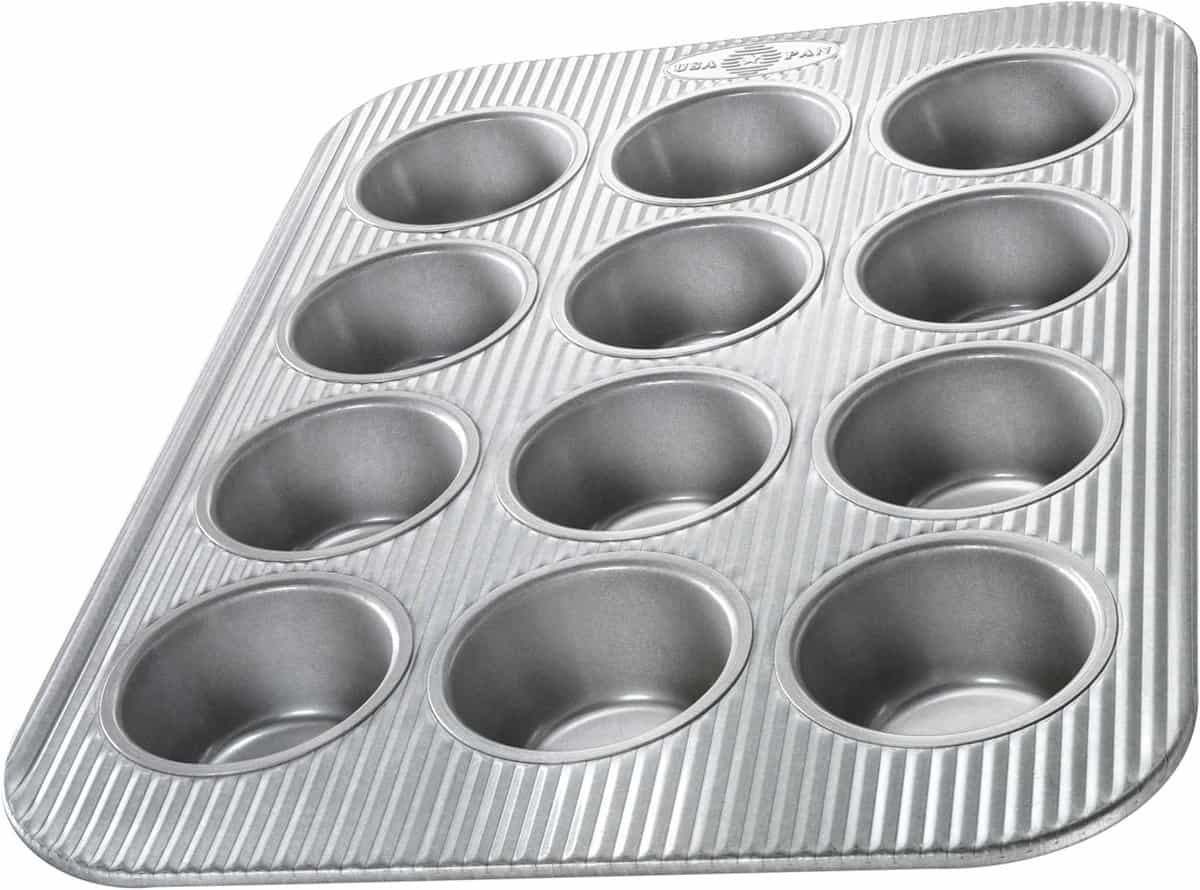
- Close to the 30 minute mark, preheat the oven to 350F and line a cupcake or muffin tin with 12 paper liners.
- Scoop the muffin batter into the liners, careful not to disrupt the fluffiness that has developed over those 30 minutes. Fill each liner to the top and then some.
- Sprinkle with the remaining chopped nuts and a pinch of demerara sugar (or any other raw sugar).
- Bake for 20-25 minutes, or until the edges are lightly golden and a toothpick in the center comes out clean with a few moist crumbs.
- Allow the muffins to cool in the pan for 5 minutes, then transfer the muffins to a cooling rack.
- The muffins are best when still warm, so let them cool for another 10-15 minutes and enjoy!
- Prep Time: 50 minutes
- Cook Time: 20 minutes
- Category: Dessert
- Method: Baking
- Cuisine: American
Join Our Community

Meet Jenna
I’m the creator, baker, and photographer behind Butternut Bakery. Here I share desserts for every diet because I believe everyone should have a chance to indulge!
Question: in your notes, you suggest mixing all dry ingredients in one bowl, “including the sugar”, and all wet ingredients in a separate bowl. However, your instructions tell us to cream the sugar with the wet ingredients. Which method is best for high, soft muffins?
Sincerely,
Little Miss Brain Fog
I made these last night (omitted the nuts, and instead alternated the batter for a single layer of Nutella) topped with chocolate chips and they were delicious! So fluffy, moist and flavourful!
Note: I was able to make 19 normal sized muffins (not bakery style), baked at 350 for 33:00 to 33:30 mins. The family loved them!
Wonderful. The family loved them
These are by far the best muffins I ever made. They are tall, fluffy, not a hint of dryness and the nut and banana flavour are perfect. I’m gonna go through all your muffin recipes because – wow!
Legit the best. These are sooo nostalgic and bring me back to the yummiest banana nut muffins with an actual muffin top. It’s taken me a lifetime to find a recipe I can actually make with an awesome muffin top!
They are in the oven as I type. I didn’t have the same butter or sour cream but I used what I had for butter and used plain Greek yogurt, fingers crossed that everything turns out great. I’m so excited to try them. Oh and I used pecans and dark chocolate chips.
These were fantastic glad I made them and shared with my coworkers. Thank you
These are so good! I did make them with a 1:1 GF flour and it doesn’t seem like I sacrificed much, visually good and they tasted great. Another Butternut Bakery winner!
This is the BEST recipe for Banana nut muffins!! Sooo good!!
These were amazing! Great flavor and texture, so light and airy & moist.
Switched the nuts for chocolate chips, and they were a hit! Jenna you are my go to for any recipe, everything is a hit! And i always love a recipe in grams.
Yes yes and yes!!! These were delicious! I browned the butter and threw in a whole vanilla bean pod because they’re my two favorite things right now and they were great! I don’t think browning the butter did anything, but I figured I would since I had to melt it anyway, but I melted 132g that did equal out to 110g when I finished browning it. The recipe was a success!