Mini Oreo Stuffed Red Velvet Brownie Cheesecakes
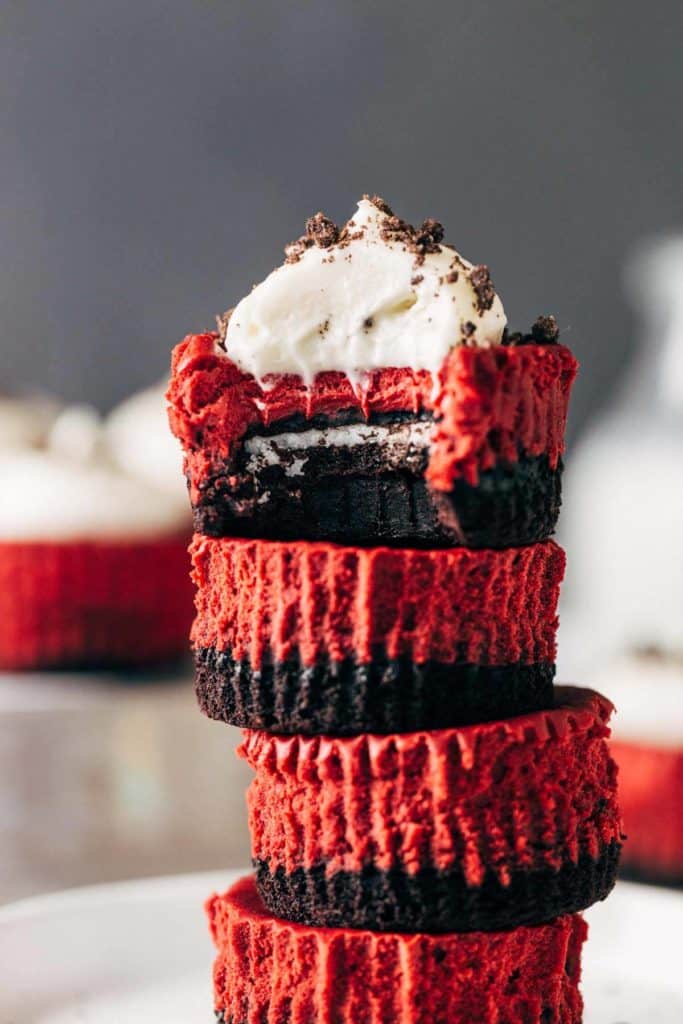
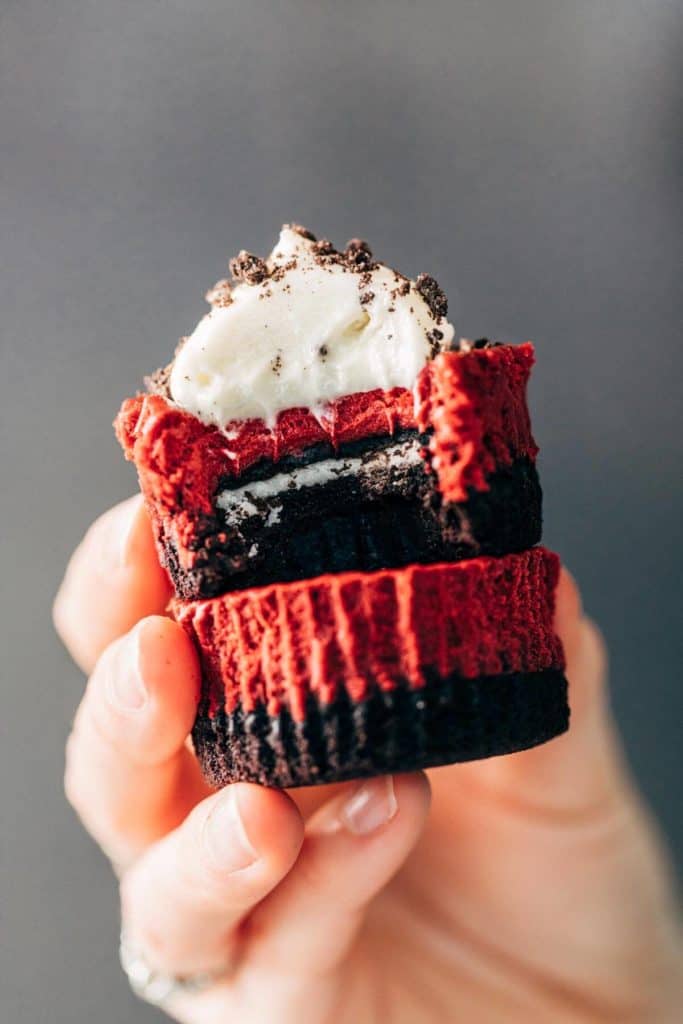
These mini red velvet cheesecakes may be tiny but they pack a punch in both flavor and texture. Each cheesecake is baked with a chewy brownie crust and stuffed with an OREO cookie, all topped with creamy red velvet cheesecake and a dollop of cream cheese whip. Not only are they sinfully delicious, but they’re also so fun and easy to make!
How to make a brownie cheesecake crust
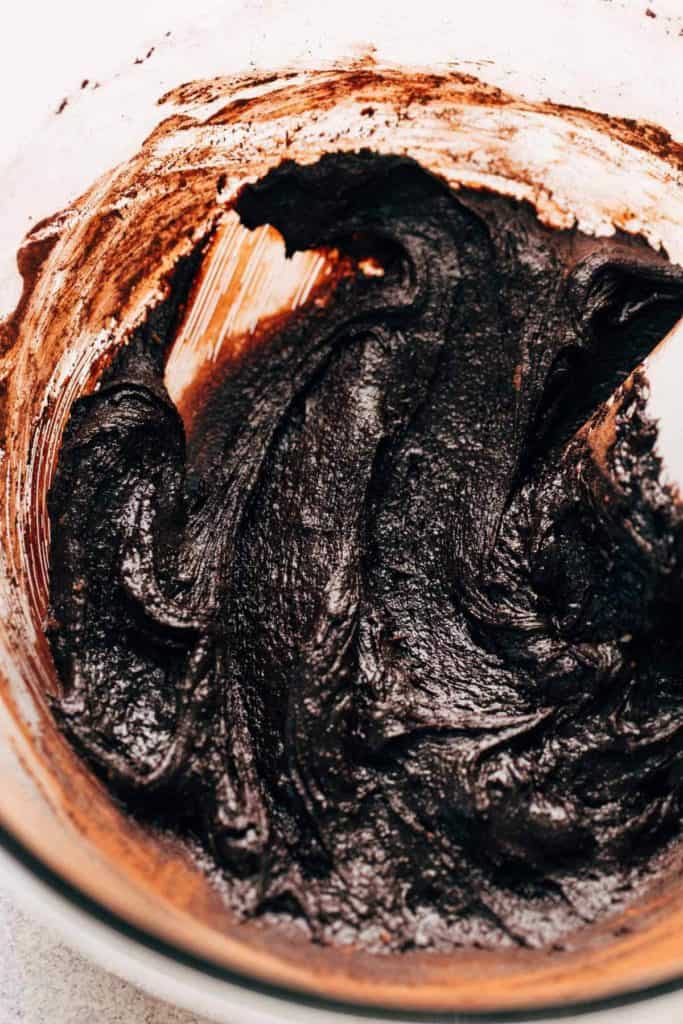
The base of this recipe is a soft and chewy brownie that isn’t cakey, dry, or too firm. It’s the perfect pairing to the creamy red velvet cheesecake and firm OREO cookie that’s stuffed right in the center.
To ensure it’s the right consistency, the brownie batter is made completely from scratch. The batter makes the exact amount to fill 12 cupcake liners, so no excess is left over.
For a perfect brownie crust, here are a few baking tips:
- Allow the melted butter to cool before use. If it’s piping hot when added to the batter, it could curdle the egg and allow the sugar to completely dissolve. This will give you a tough and lumpy brownie texture.
- If available, use dark cocoa powder. This is what gives the base a rich color and flavor. I recommend Hershey’s Special Dark Cocoa as it’s easily accessible at most grocery stores.
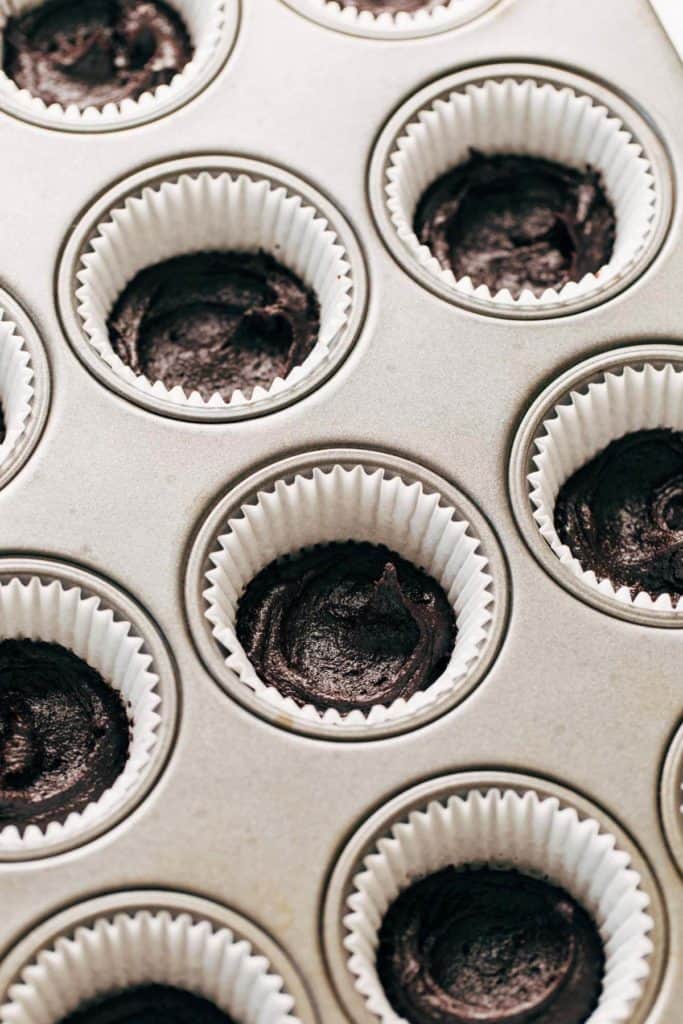
- Place the brownie batter in a piping bag to fill the cupcake liners. When doing so, use one hand to hold the liner in place and the other to pipe in the batter.
- Fill each cup with about a 1 1/2 tablespoon amount of batter. Don’t worry about its evenness just yet, only focus on getting an equal amount into each cup.
- Once placed, go back in with the back of a small spoon and spread the batter to the edges of the cupcake liners (like the photo below). If you’re having trouble, give the back of a spoon a light spritz of nonstick spray to prevent it from sticking.
Once they’re ready, they only need to bake for 5 minutes. This is just enough time to get the tops of the brownies to set. Doing so allows the brownies to bake all the way through once they go back in the oven with the red velvet cheesecake batter on top.
Mini red velvet cheesecake baking tips
What I love about mini cheesecakes is that there’s much more room for error than there is with regular cheesecake. You don’t have to be as careful about how slowly you mix the batter and you don’t have to worry about the cheesecakes cracking in the center. With such a small amount, these cheesecakes are able to bake evenly and rapidly. In the end, you’re left with tiny bites of silky red velvet cheesecake.
To ensure yours turn out just right, here are my top mini cheesecake baking tips:
- This goes for any cheesecake, but always make sure your cream cheese is at room temperature before starting. If it’s still too firm, your batter will turn lumpy with small bits of cream cheese scattered throughout.
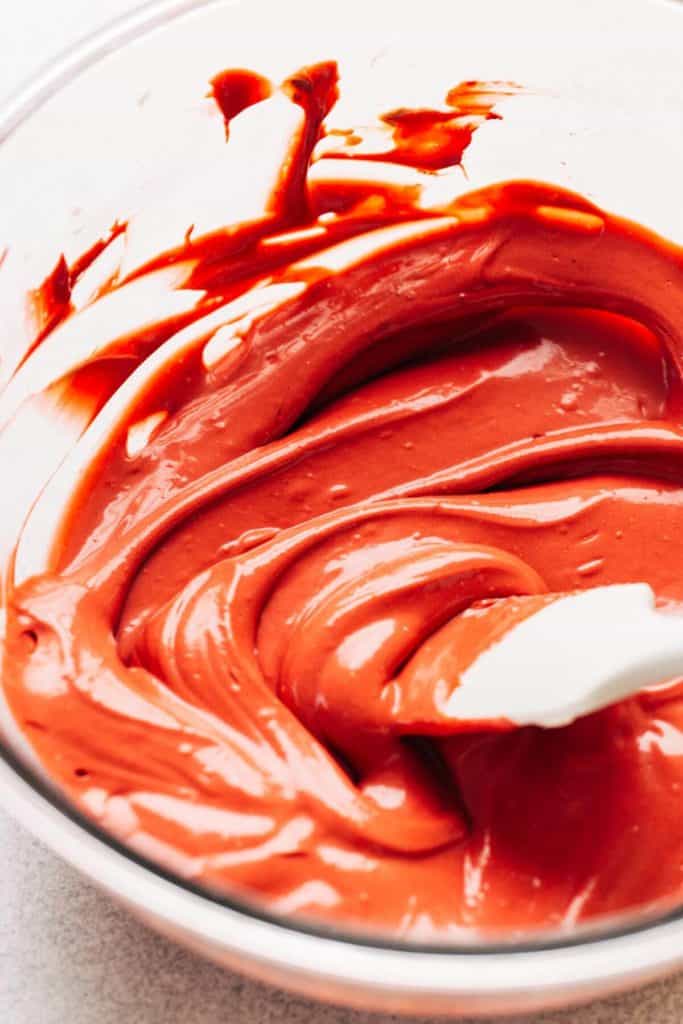
- In between adding the ingredients, scrape down the sides and bottom of the bowl with a rubber spatula. Otherwise, you’ll be left with random lumps of ingredients at the end which are much harder to smooth out once the batter is complete.
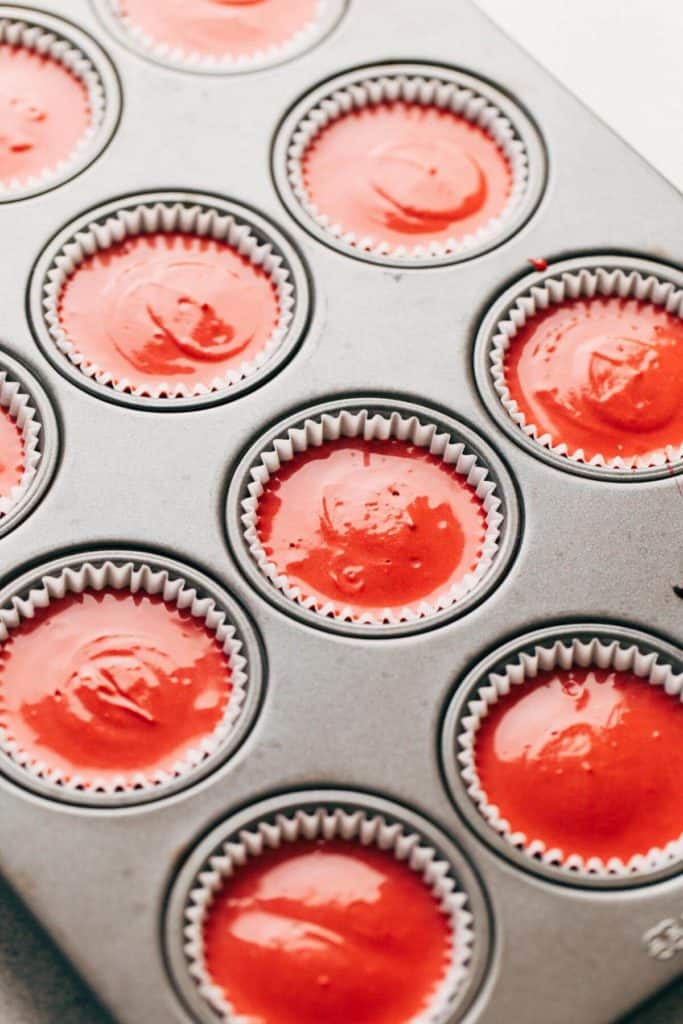
- Transfer the batter to a piping bag to fill the cupcake liners. This makes it much easier to evenly distribute the batter amongst the 12 cheesecakes, filling each almost completely to the top.
- Once filled, tap the pan against your counter and give it a couple shakes. This will allow the batter to flatten and settle into the crack that’s all around the edges of the OREO cookies.
How to prevent the cheesecakes from sticking to the paper
You’ve gone through the entire recipe and the cakes are complete. But when you pull back the paper, all of the cheesecake comes with it. We’ve all been there, whether it was for a cupcake, a brownie, or a mini cheesecake.
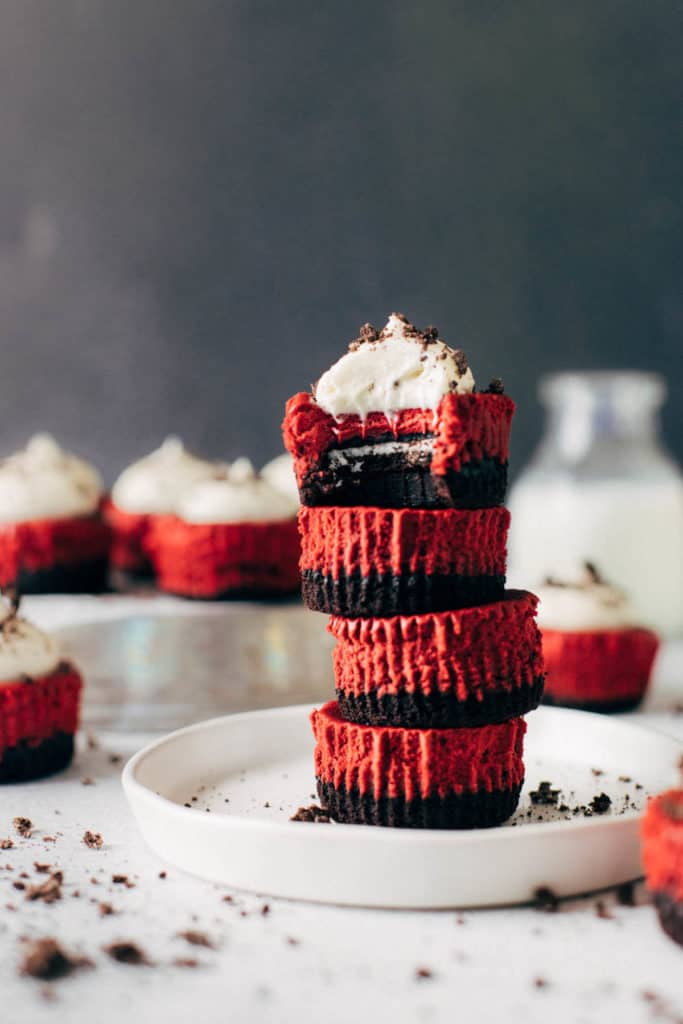
The trick to preventing the paper from sticking to these mini cheesecakes is to make sure they are COMPLETELY chilled before peeling back the paper. When chilled, the cheesecake and brownie crust are firm. This makes it hard for the paper to take anything with it once peeled back.
If the cheesecakes are still warm or if you try to peel back the paper before the 2 hour chilling mark, chances are the cheesecake and brownie will come with it. But if you’re REALLY concerned about them sticking, I highly recommend using parchment paper cupcake liners. Nothing sticks to those!
Can I use box mix brownies instead?
Yes, but you will have a lot of leftover batter and the crust won’t be as dense and chewy. It may turn out a bit more cakey as well. The from-scratch brownie recipe itself is very quick and easy so I don’t find a box mix all that necessary.
Can this recipe be made gluten free?
Although I haven’t tested it, I don’t doubt that a gluten free version would be equally delicious and easy to make. To do so, swap all of the flour with a gluten free all purpose baking flour. I recommend this one by Bob’s Red Mill. As for the cookies, OREO just came out with a gluten free version! They taste nearly identical to the original.
How to store mini cheesecakes
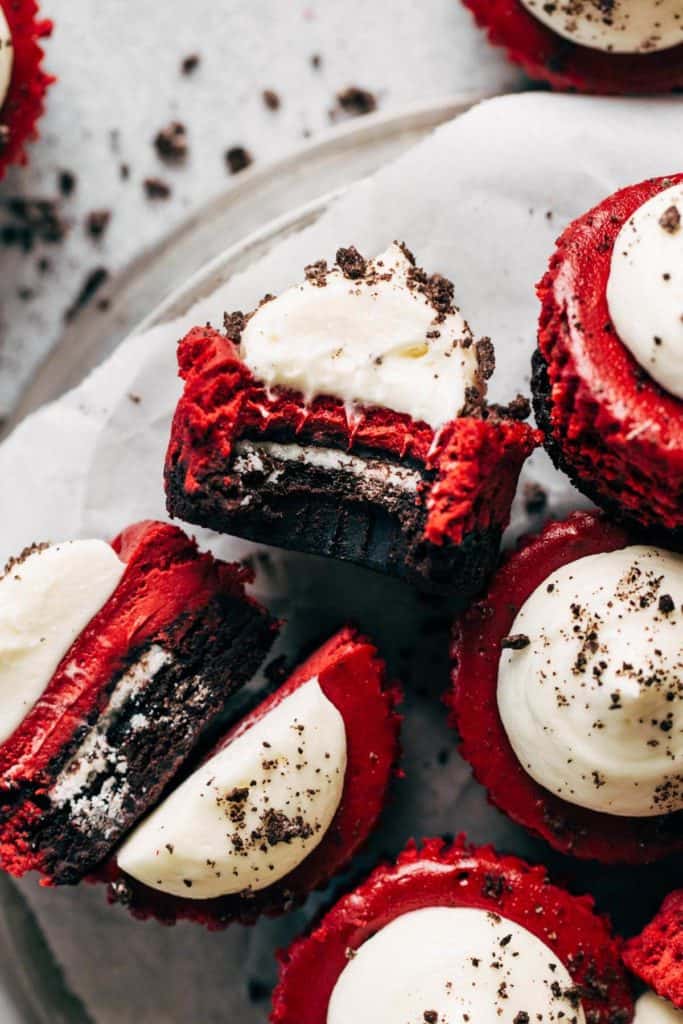
When the cheesecakes are complete and topped with the cream cheese whip, place them into a cupcake container and store in the refrigerator for up to 5 days. After that 5 day mark, I found the OREO in the center started to taste a bit stale. But these cheesecakes are so good that I highly doubt they’ll stick around for more than a day!
For more cheesecake recipes, check out my:
- Oreo Stuffed Brownie Pumpkin Cheesecake Bars
- Chocolate Cheesecake
- Peanut Butter and Jelly Cheesecake Bars
- New York Style Cheesecake
Make sure to tag me @butternutbakery on Instagram and comment below if you make these Mini Red Velvet Cheesecakes. To pin this recipe and save it for later, you can use the button on the recipe card or on any of the photos above. Happy baking!
Print
Mini Red Velvet Brownie Cheesecakes
- Total Time: 42 minutes + 2 hours chilling
- Yield: 12 cheesecakes
Description
Creamy red velvet cheesecakes baked with a brownie crust and stuffed with OREO cookies
Ingredients
Brownie Layer
- 1/4 cup (55g) unsalted butter, melted and cooled
- 1/2 cup (100g) granulated sugar
- 1 large egg, room temp
- 1/2 tsp vanilla extract
- 3 tbsp all purpose flour, or gluten free all purpose baking flour
- 1/2 cup (45g) cocoa powder
- Pinch of salt
- 12 OREO cookies, regular or gluten free
Red Velvet Cheesecake
- 8 oz full fat cream cheese, room temp
- 1/4 cup (50g) granulated sugar
- 1/4 cup (60g) sour cream, room temp
- 1 large egg, room temp
- 1/2 tsp vanilla extract
- 1 tbsp cocoa powder
- 2 tsp red food coloring
Cream Cheese Whip
- 4 oz cream cheese, room temp
- 1/4 cup (55g) unsalted butter, room temp
- 1 cup (120g) powdered sugar
- 1/4 cup (55ml) heavy whipping cream
- 1/4 tsp vanilla extract
- 3–4 crushed OREO cookies, regular or gluten free
Instructions
Brownie Layer
- Preheat the oven to 350F and line a cupcake tin with 12 paper liners.
- In a large mixing bowl, whisk together the sugar and egg vigorously until pale and light (about 1 minute of fast whisking).
- Pour in the melted butter and vanilla. Make sure the butter isn’t hot to the touch, but it can still be slightly warm. Whisk to combine.
- Switch to a rubber spatula and mix in the cocoa powder, flour, and salt. Fold the batter until smooth and thick.
- Transfer the batter to a piping bag or a ziplog bag. Snip off the end and pipe about 1 1/2 tbsp sized dollops into each cupcake liner. Don’t worry about piping in a perfectly even layer of brownie as we’ll smooth them out in the next step. I also recommend holding the liner in place with one hand and piping with the other to prevent the liner from moving as you pipe.
- Next, use the back of a spoon to spread the batter out, just until it touches the edges of the cupcake liner (see picture in post for reference). If you’re having trouble with the spoon sticking too much, give it a light spritz of nonstick spray and continue to spread out the batter.
- Bake for 5 minutes, then remove from the oven and drop the temperature to 325F.
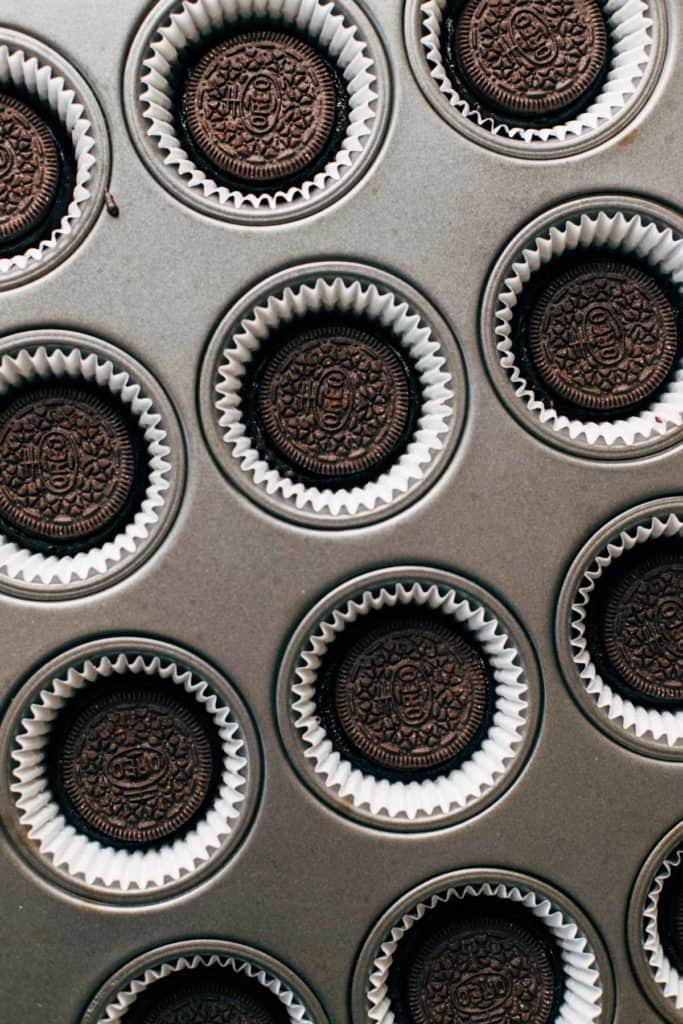
- Let the brownies cool for about 5 minutes, then gently press one OREO into the center of each brownie cup.
Red Velvet Cheesecake
- In a large mixing bowl, mix together the room temperature cream cheese and sugar using a hand or stand mixer which the paddle attachment.
- Once smooth, scrape down the bowl and add the sour cream, egg, and vanilla. Mix until well combined.
- Scrape down the bowl again and mix in the cocoa powder.
- Finally, mix in the red food coloring starting at a low speed and then gradually work your way up to medium speed. This will prevent the dye from splashing out of the bowl.
- Give the batter one final mix with a rubber spatula to ensure all ingredients are completely mixed together.
- Pour the batter into a piping bag or ziplock bag and snip off the end. Pipe on top of the brownie and OREO base, filling each liner nearly to the top.
- Give the pan a couple taps and shakes to level out the cheesecake.
- Bake for 12 minutes, then turn the oven off and continue to bake for another 5 minutes. The cakes should be puffed with a very slight indent in the center.
- Allow the cupcakes to cool at room temperature for about 30 minutes, then carefully lift them out of the pan onto a wire rack or tray (or anything that will fit in your refrigerator). Let the cheesecakes chill for at least 2 hours or overnight. If you choose to chill overnight, cover to cupcakes to prevent them from drying out.
Cream Cheese Whip
- In a small mixing bowl, mix together the cream cheese and butter using a hand or stand mixer with the whisk attachment.
- Once combined, mix in the powdered sugar until smooth.
- Pour in the heavy cream and vanilla and whip on high speed until light and fluffy.
- Transfer the whip to a piping bag fitted with a large round tip, or a ziplock bag with a corner snipped off.
- Pipe dollops of the whip on top of each chilled cheesecake and top with a sprinkling of crushed OREO cookies.
- Store in the refrigerator an an air tight container where they will keep for up to 5 days.
- Prep Time: 20 minutes
- Cook Time: 22 minutes
Join Our Community

Meet Jenna
I’m the creator, baker, and photographer behind Butternut Bakery. Here I share desserts for every diet because I believe everyone should have a chance to indulge!
any recommendations for making this not red velvet? should i just leave out the coloring and added cocoa in cheesecake layer? Thanks!
Excellent recipe. Thank you so… much.
I made these yesterday, and they came out so delicious!!!! My household is not much of a fan when it comes to cheesecakes, but the combination of the OREO and brownie made this straight perfection. This has been bumped up to our favorite recipe. Thank you so much for sharing!
Hi there. Do you use a regular cupcake liner or a mini cupcake??
My red cheescake was more of a burnt lavender color. I followed the directions exactly, I even added an extra half teaspoon of red food coloring but it didn’t make any difference in color. Do you have any idea what happened?