Gluten Free Peanut Butter and Jelly Pop Tarts
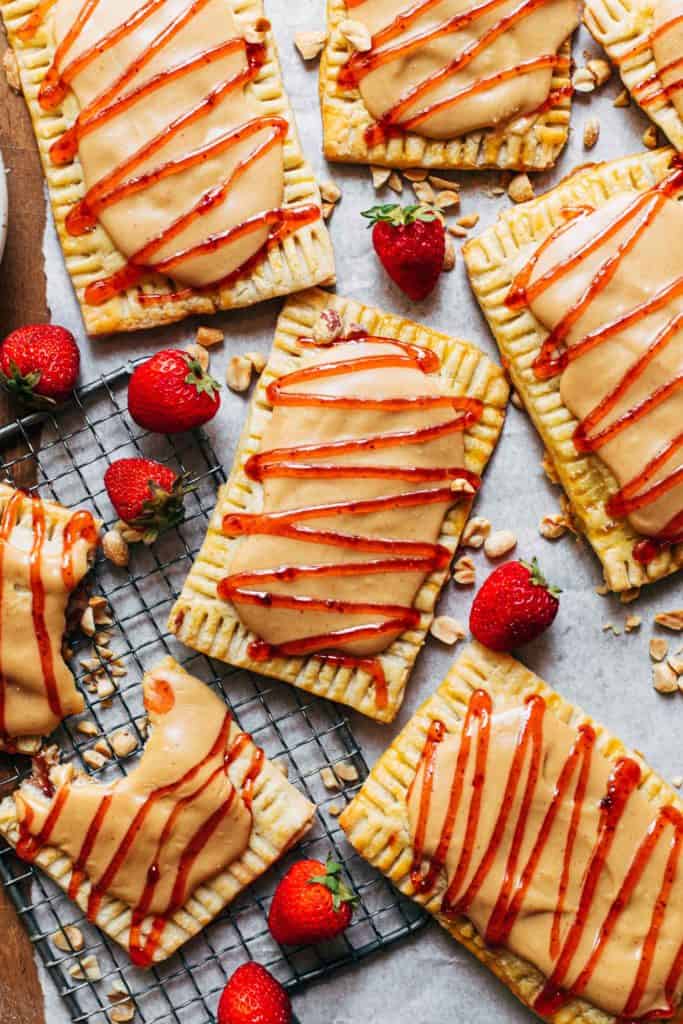
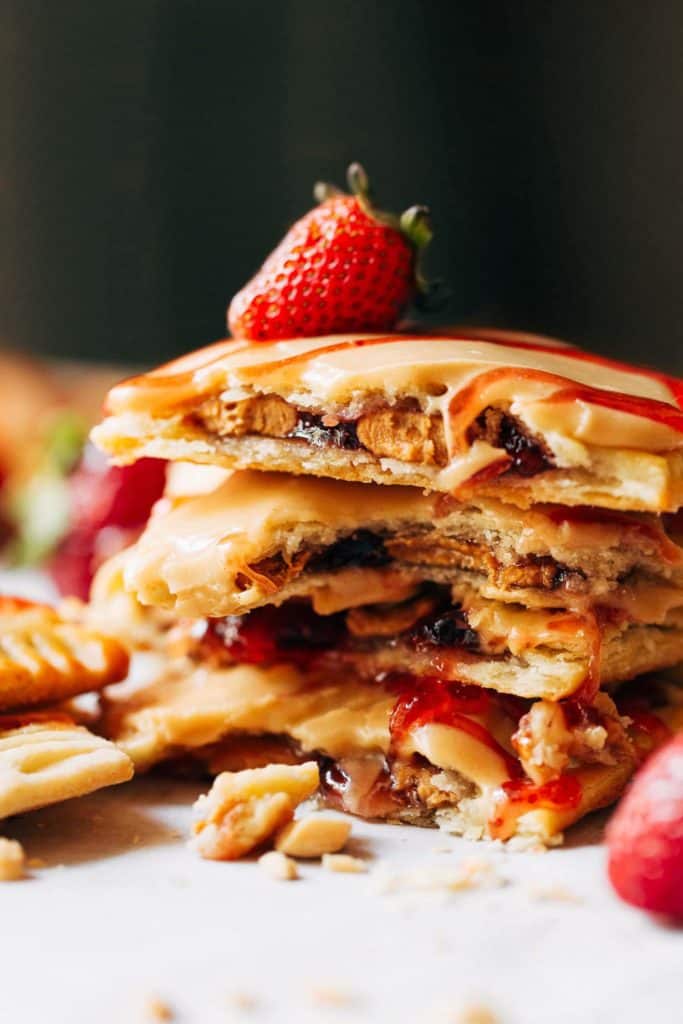
These gluten free pop tarts are so buttery and flaky that you’d never even know they’re gluten free! They’re stuffed with peanut butter and strawberry jelly, and topped with peanut butter icing. It tastes JUST like a pb & j…only better.
How to make flaky gluten free pie dough
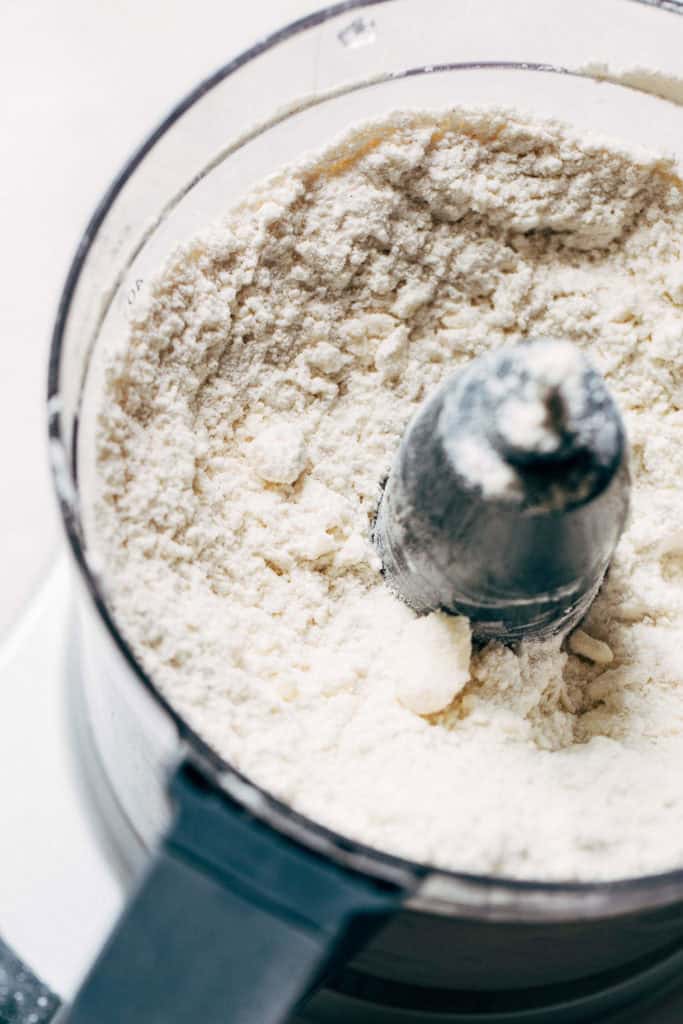
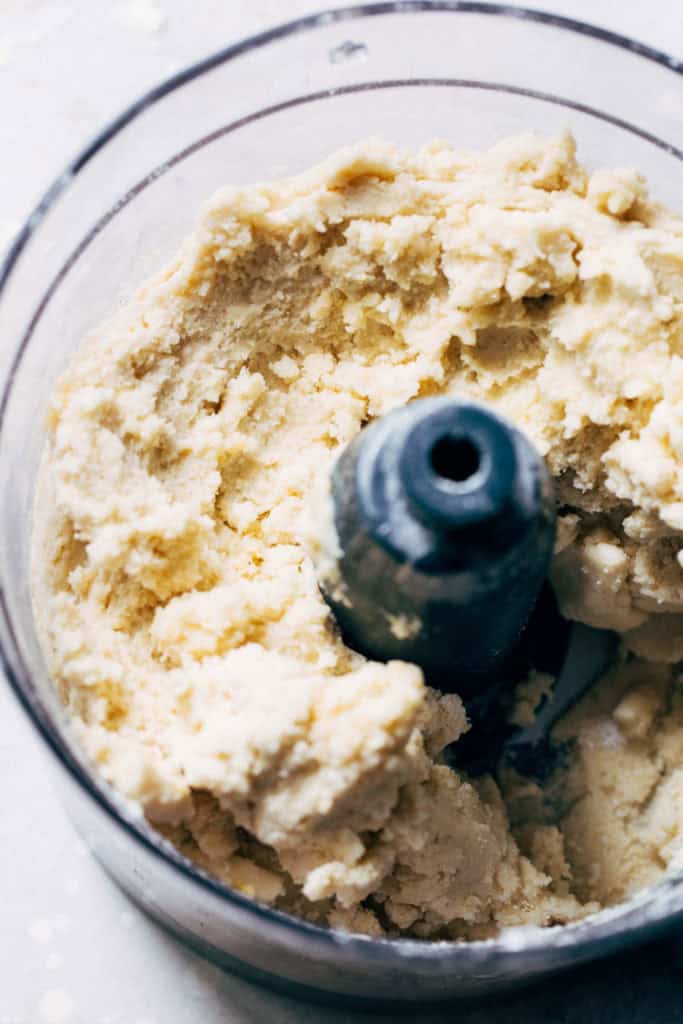
This is my go-to gluten free pie dough recipe and for so many reasons. For one, it’s super easy to make, as any pie dough, and two, it always turns out so buttery and flaky. Here’s the secret to getting that delicious texture WITHOUT the gluten:
- Eggs – Because this dough lacks the strength of gluten, it dough needs a bit of help binding together. Adding eggs to the dough help bring it together, giving it a moldable consistency that won’t break.
- Vinegar – To achieve that flaky texture, the acidity in vinegar is used to lighten the dough and give it that tender consistency.
- Egg wash – Again with the eggs! But for a perfectly golden crust on top, the dough is brushed with a light egg wash.
- Chilling – The dough must chill for about an hour, which is less than typical dough. This is because you don’t want the dough to be SUPER firm, otherwise it will crack easily when rolling it out. It’s a soft dough, so working with it when lightly chilled makes it much more malleable.
Tips for making homemade pop tarts
After the dough has chilled, it’s time to build these peanut butter and jelly pop tarts. This is easily one of my favorite baking processes because it requires precision that’s easy to achieve, so it’s low stress with high reward! To ensure you have an enjoyable pop tart-making experience, here’s what you need to know:
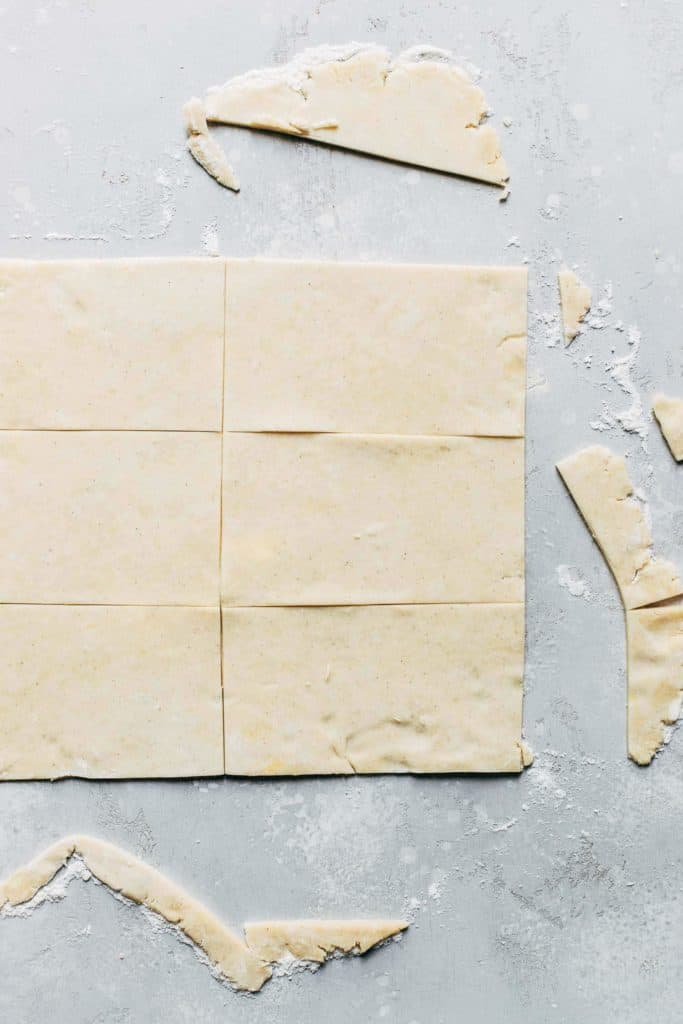
- Rolling – When rolling the dough, it’s likely it will crack due to the lack of gluten. It’s easy to work with once it’s rolled out and softened, but the process of rolling can get tricky. Switch between pressing the dough out with your fingers and rolling it smooth with a rolling pin. And always make sure the surface underneath is well floured, otherwise the pie dough might stick.
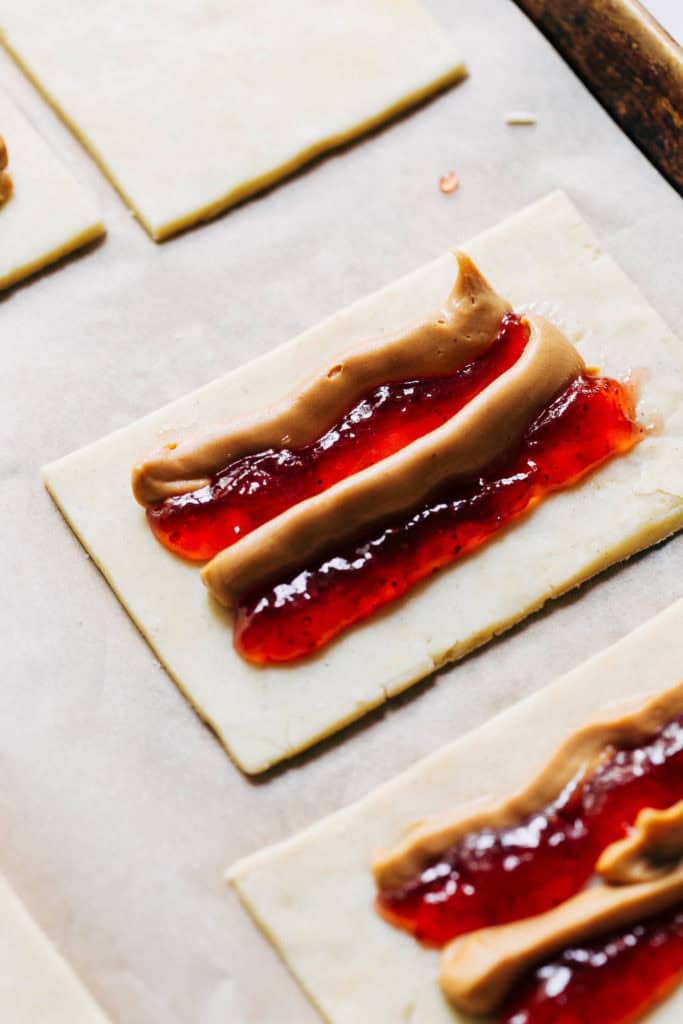
- Piping – Each pop tart is filled with both peanut butter and jelly. To ensure you get a bit of each in every bite, use a piping bag to pipe lines of the pb & j within each rectangle. It makes this entire process so much easier and cleaner!
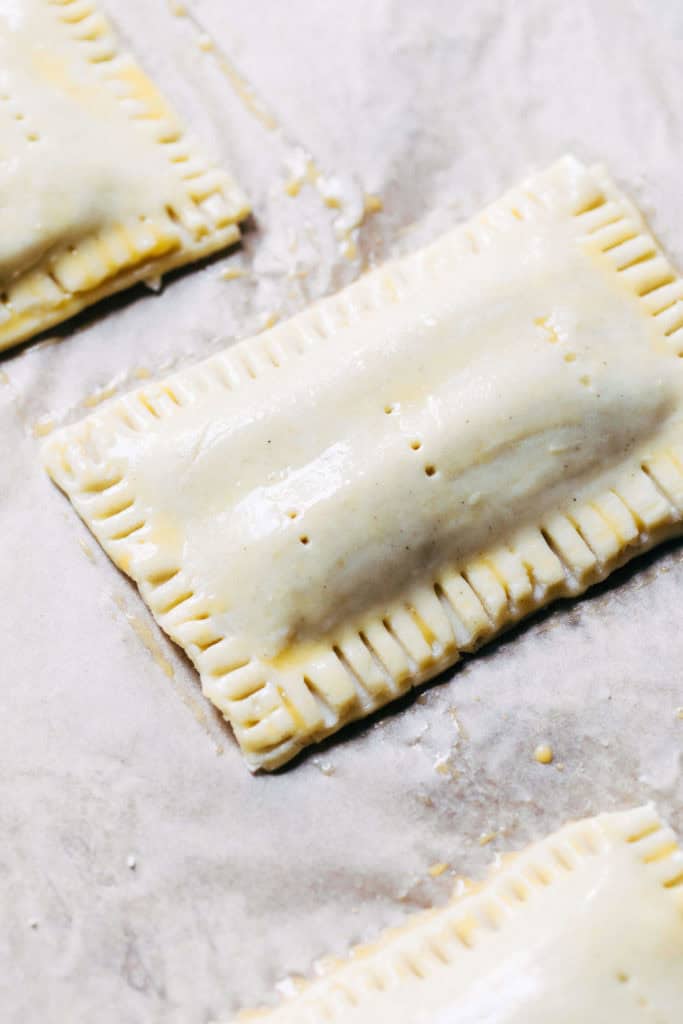
- Crimping – To seal, brush the inside seam of the filled half of the dough with the egg wash. Then lay the other half of dough on top and lightly press down with your fingers to seal it in. Then use a fork to crimp along the edges to ensure nothing leaks out. But don’t press too hard, as this dough is rather delicate.
Signs that the pop tarts are done
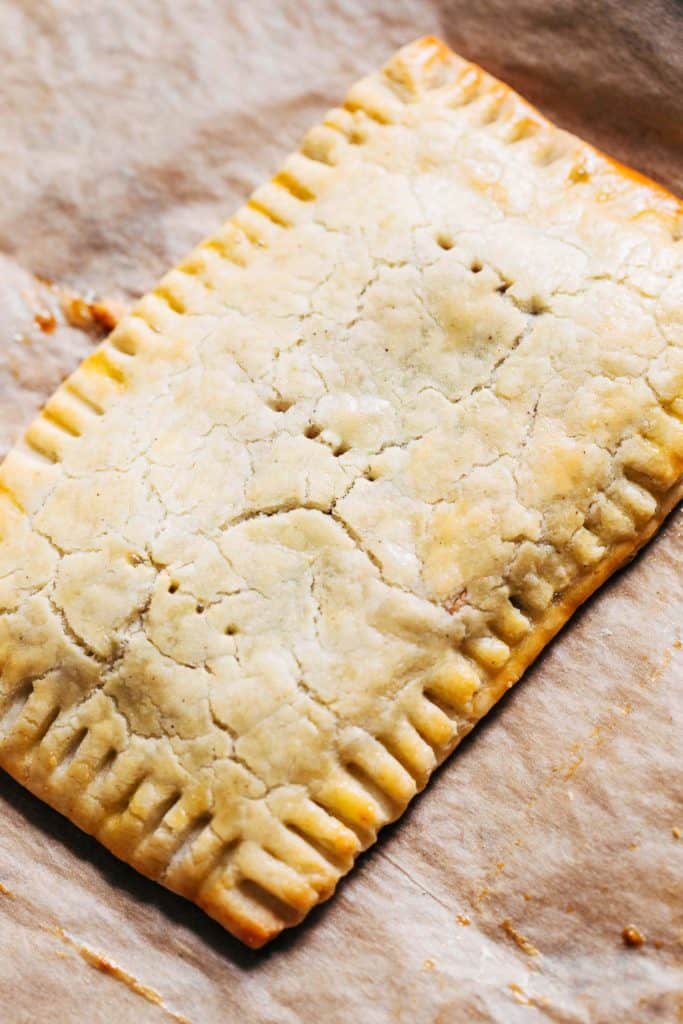
The pop tarts are brushed with an egg wash before baked. This not only provides a beautiful golden crust, but it also signals when the pop tarts are ready. You know they’re done when the edges are a very light golden brown and the center is pale with a glossy sheen .
What is the best type of strawberry filling to use?
Preserves? Jam? Jelly? Which one is best? It all depends on your preference as ANY will work, but some are better options than others.
They wall work on a spectrum, where preserves are made with roughly mashed fruit, jam is made with finely mashed fruit, and jelly is made with the juices from mashed and strained fruit. For this recipe, I prefer jam because it’s nice to have some bit of texture without any major pieces. It also works best for drizzling on top, as no fruit chunks get stuck in the piping nozzle.
As for flavor, this is also up to your preference. Any fruit flavor will work here, as long as it’s classic to a PB & J like grape or raspberry.
What is the best peanut butter to use?
For the best outcome, use traditional creamy peanut butter like Jif or Skippy. It holds its shape well, so it won’t leak out the sides of the pop tart.
Can I make this with regular pie dough?
Sure! See my recipe for homemade brown sugar cinnamon pop tarts where I use regular all purpose flour pie dough.
Can the pop tarts be toasted in a toaster?
Due to the icing, these pop tarts can not be toasted in a toaster. BUT they actually taste really good cold because they mimic that classic pb & j flavor even more.
How long do gluten free pop tarts keep?
Store these pop tarts in an air tight container in the refrigerator and they will keep for up to 5 days.
Can I fill them with something different?
Sure! This gluten free pie dough is like a blank slate. Fill these with any flavors you like, such as all jam, Nutella, cookies & cream (with GF Oreos), or cookie dough!
For more pop tart recipes, check out my:
- Brown Sugar Cinnamon Pop Tarts
- Cookies & Cream Pop Tarts
- Snickerdoodle Puff Pastry S’mores Pop Tarts
- Strawberry Pop Tart Shortbread
Make sure to tag me @butternutbakery on Instagram and leave a review below if you make these gluten free peanut butter and jelly pop tarts. To pin this recipe and save it for later, you can use the button on the recipe card, the buttons above or below this post, or on any of the photos above. Happy baking!
Print
Gluten Free Peanut Butter & Jelly Pop Tarts
- Total Time: 1 hour 50 minutes
- Yield: 6 pop tarts
Description
Buttery and flaky gluten free pie dough with peanut butter and jelly filling and sweet peanut butter icing
Ingredients
Pie Dough
- 2 1/2 cups (345g) gluten free baking flour
- 2 tbsp granulated sugar
- 1/2 tsp salt
- 1 cup (220g) unsalted butter*, cold and cubed
- 2 large eggs, cold
- 1/4 – 1/3 cup ice cold water
- 1 tsp vinegar
Filling
- 1/2 cup creamy peanut butter
- 1/2 cup strawberry jam
- 1 large egg, for brushing on top
Peanut Butter Icing
- 3/4 cup (75g) powdered sugar
- 2 tbsp creamy peanut butter
- 2 tbsp milk
Instructions
Pie Dough
- Add the flour, sugar, and salt in a food processor and blitz to combine. You can also mix in a bowl by hand.
- Add the cold and cubed butter and pulse until you get bean-sized lumps of butter throughout. Or work the butter into the dry ingredients using your fingers.
- Add the eggs and pulse to combine, or stir in with a wooden spoon.
- Combine the 1/4 cup of ice water with vinegar and pour into the pie dough mixture. Pulse again until the dough is evenly moistened. It should be a tad bit more soft and sticky than traditional pie dough.
- Split the dough in half and wrap each half in plastic wrap. Chill for at least 1 hour.
Filling
- Preheat the oven to 350F and line a large baking sheet with parchment paper.
- Fill two ziplock bags – one with peanut butter and one with jelly. Set aside.
- Lightly dust your surface with some gluten free flour and roll out one half of the dough. It will likely crack and break, so alternate between pressing out the dough with your fingers and rolling it thin. As the dough softens, it becomes easier to handle.
- Roll into 1/8 of an inch thickness into a rough rectangular shape. Cut into 6 rectangles and transfer to your baking sheet.
- Snip a corner off of each filled ziplock bag and pipe 4 lines in the center of 3 of the rectangles – two peanut butter lines and two jelly (see picture in post for reference).
- Make the egg wash by beating together the egg and about 2 teaspoons of water. Brush the edges of the filled rectangles. Use a fork to prick holes in the center of the untouched rectangles.
- Place the bare rectangles on top of the filled rectangles and lightly press the seems together with your fingers. Use a fork to crimp the edges.
- Brush the tops of the 3 pop tarts with the egg wash and place in the freezer. Roll out the second half of the dough and repeat this process, placing the pop tarts on a separate baking sheet.
- With both sets of pop tarts in the freezer, chill until firm and easy to move (about 15 minutes). Then, adjust the pop tarts so that all 6 are on one baking sheet.
- Bake for 20-25 minutes, or until the tops are a glossy golden color.
- Allow the pop tarts to cool on the baking sheet for 5 minutes, then transfer to a cooling rack.
- Once they’re completely cooled, make the icing by whisking together the powdered sugar, peanut butter, and milk.
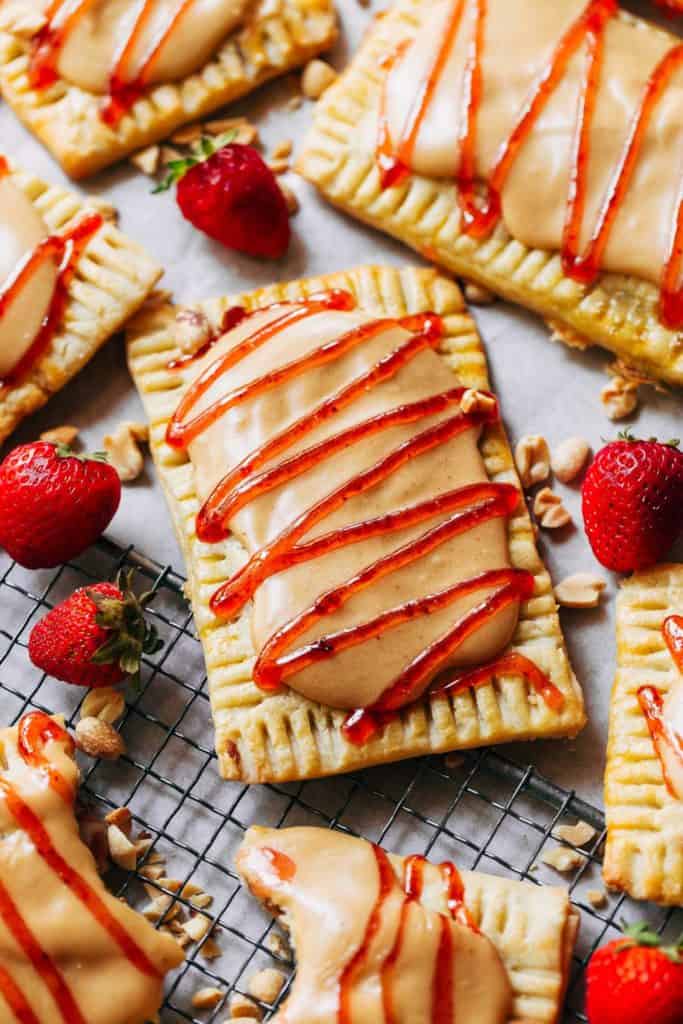
- Spoon on top of each pop tart and drizzle with a bit of jelly (optional). To do so, spoon some jelly into a ziplock bag and snip off a tiny corner.
- Now enjoy!
Notes
STORAGE – Keep the pop tarts in an air tight container in the refrigerator where they will keep for up to 5 days. They taste great warm, but they also taste so good cold as well! Because of the icing, these pop tarts can not be heated up in the toaster.
PIE DOUGH – The dough can be chilled for up to 4 days (or frozen in a freezer safe bag for up to 4 months). You do not have to make all 6 pop tarts at once, so you can make 3 with half of the dough and keep the remainder either in the refrigerator or the freezer.
BUTTER – You can swap the butter with vegan butter baking sticks for a dairy free version!
- Prep Time: 1 hour 30 minutes
- Cook Time: 20 minutes
Join Our Community

Meet Jenna
I’m the creator, baker, and photographer behind Butternut Bakery. Here I share desserts for every diet because I believe everyone should have a chance to indulge!


We enjoyed these Thanks for the recipe!
I just found out that I can’t eat any rice at all, which means no rice flour. I can’t imagine what combination of gluten free flours could work for something like this, with essentially a pie crust. You wouldn’t happen to know, would you? I have a KA paleo flour mix that has no rice flour, and neither does Bob’s Red Mill gluten free all purpose flour, but they are both made with either sorghum, or buckwheat, or millet flours. Pb&j is one of my favorite things, although with raspberry jam!