This post may include affiliate links, please see our privacy policy for details.
Homemade cinnamon rolls are a celebratory treat with my family. We always have a fresh batch around every major holiday, which is why I wanted to create a cinnamon roll recipe that is super quick and easy to make, but still extra special. These rolls are warm and ready in under 2 hours, require simple ingredients, and are made completely by hand. So not only are the perfect for a special occasion, but these rolls can be enjoyed as a quick breakfast treat at any time of year. In the end you’re left with soft and fluffy cinnamon rolls your whole family will enjoy!
This post is sponsored by Fleischmann’s Yeast but all thoughts and opinions are my own. Thank you for supporting the brands that make Butternut Bakery possible!
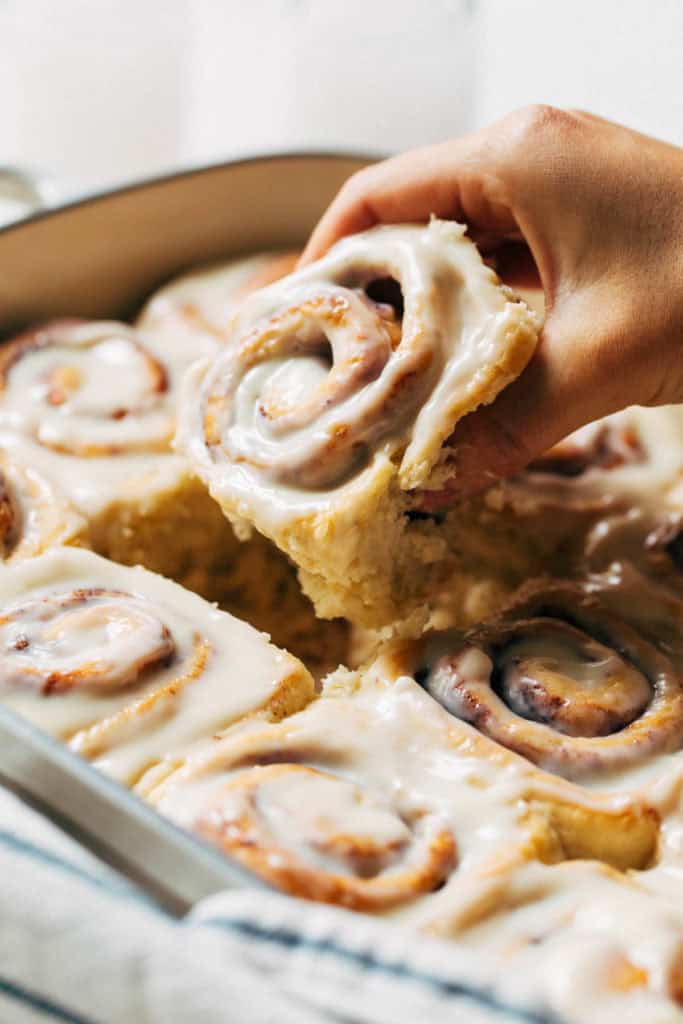
What makes these the BEST cinnamon rolls?
Since this is such a special treat for my family, we have high standards when it comes to cinnamon rolls. We want soft, fluffy, gooey, and moist cinnamon rolls that are no fuss and quick to make. That’s exactly what you get with this recipe.
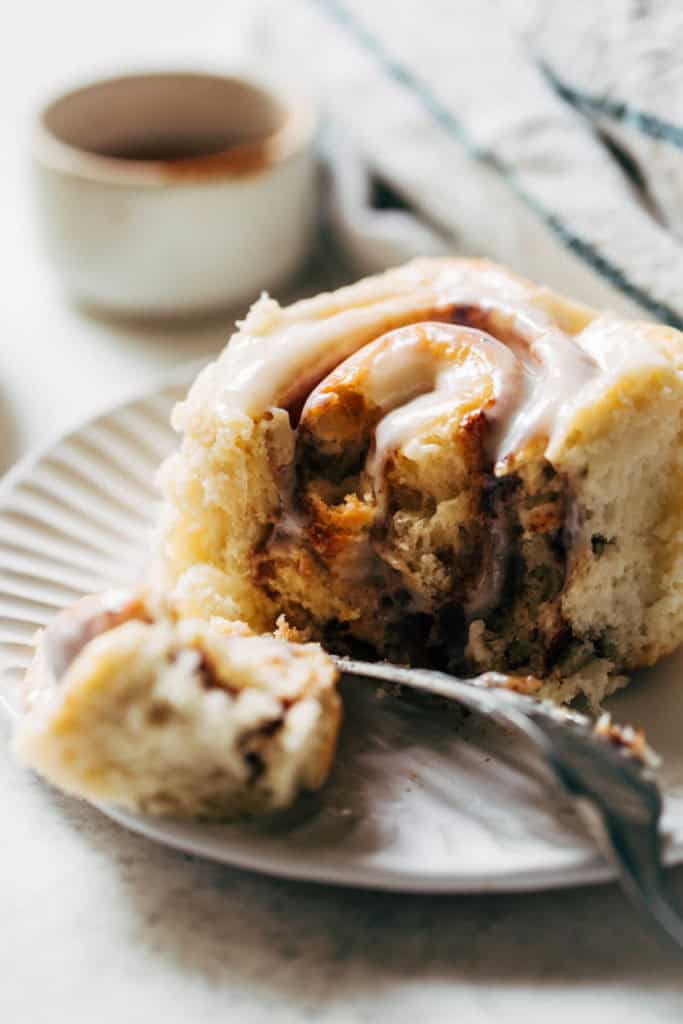
These rolls puff up nice and tall but are completely soft all the way through. They’re so tender and gooey all throughout and each bite just melts in your mouth.
On top is a silky cream cheese icing that soaks right into these warm rolls. It’s slightly sweet with that classic cream cheese flavor. And this recipe makes plenty so you never have to worry about not having enough. Each roll gets the perfect (and hefty) amount of icing.
These are also so easy to make. Using Fleischmann’s® RapidRise® Yeast allows these rolls to proof quickly, so the dough only has to proof for 1 hour before baking. This is unlike other recipes that require a double proof, the first for 30 minutes to an hour and the second for another hour. No one wants to wait around for their rolls!
Last but not least, you do not need an electric mixer or any other fancy equipment for this recipe. It’s completely made by hand, and a majority of it stays within the mixing bowl. This makes clean up really quick so you can get back to spending time with your family!
Tips for making cinnamon roll dough
This is a foolproof recipe and the rolls turn out perfect every single time (trust me, I’ve made these MANY times). But if you’re brand new to working with yeast, or it’s your first time making cinnamon rolls from scratch, here are a few times to follow:
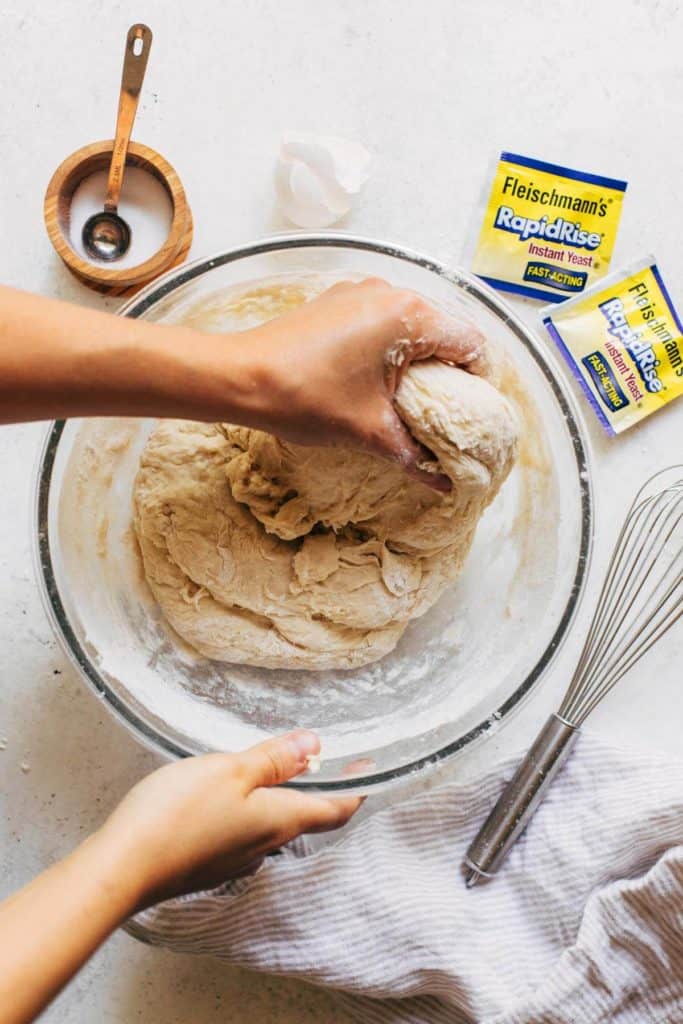
- The Yeast – For the best cinnamon rolls, use a quality yeast with fast activation. That’s why I made these with Fleischmann’s® RapidRise® Yeast. It helps these rolls rise quickly and is the secret to that fluffy, soft, and moist texture.
- Wet Ingredients – The water and butter must be warmed before adding to the dry ingredients. This is to help activate the yeast, so it’s important that the mixture isn’t too hot. If it’s too hot, it will kill the yeast. If it’s too cool, the yeast won’t activate. Microwave in 15 second intervals until the mixture is just warm to the touch.
- Mixing and Kneading – To make this a mixer-free recipe, we gradually add the flour in order to hydrate the dough without overwhelming it. It goes in 3 phases. The first is a few thin and wet batter. The second is a thick but very sticky dough, and the third is a shaggy dough that’s still sticky but more manageable. At this point, it’s time to knead the dough until it’s smooth.
- The Stick Test – After kneading, the dough should still feel sticky because your fingers will be covered in the dough. Give them a rinse and then with a dry finger, press it into the surface of the dough. If it sticks, keep kneading. If it bounces back with a clean finger, then it’s ready.
For even more baking techniques, check out Fleischmann’s® Yeast Baking Basics. It’s full of helpful tips to prepare your dough. Or, if you have any trouble along the way, their troubleshooting guide for yeast dough is very useful.
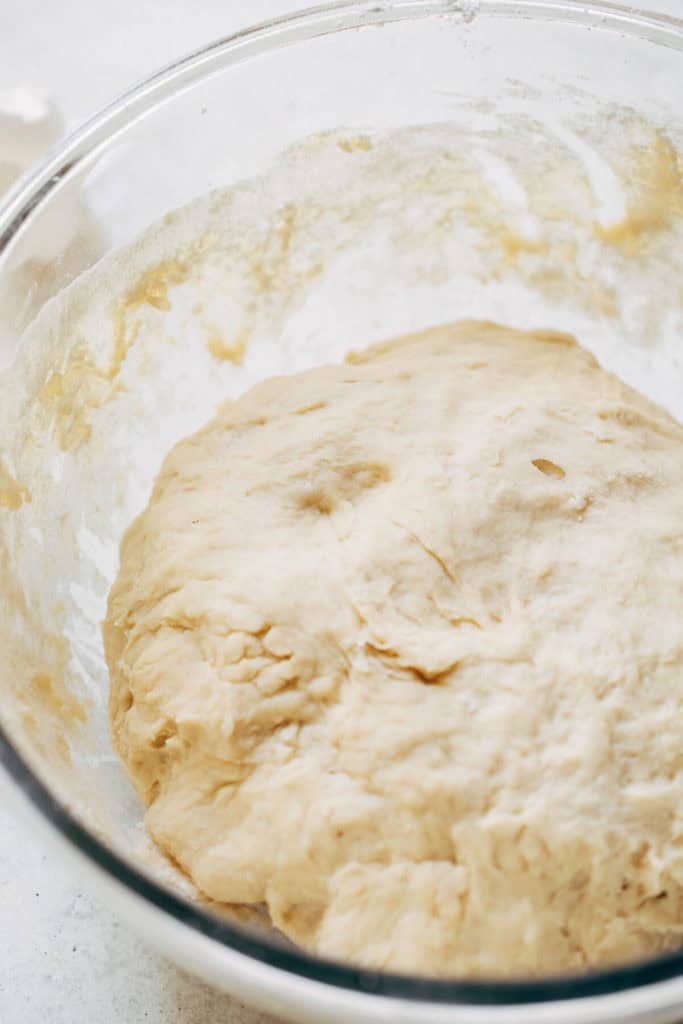
Once the dough is finished, let it rest for 10 minutes before filling, rolling, and cutting. This allows the dough to rise, gives the dry ingredients a chance to fully absorb, the gluten strands to relax. After 10 minutes, the dough will nearly double in size and become much easier to roll out.
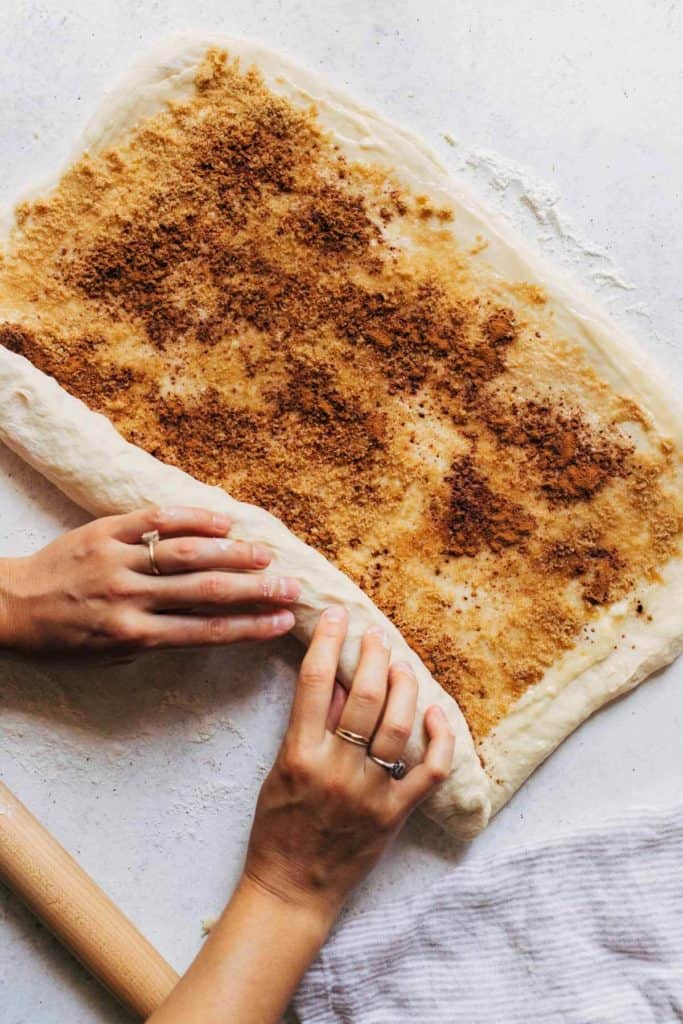
Quick cinnamon roll filling
To make this a fast and simple recipe, I wanted to ensure the filling didn’t take up any extra time. For this step in the recipe, all of the mixing is done right on the surface of the dough so no extra bowls or utensils are needed.
But before you start, make sure the butter is at room temperature. This is important for 2 reasons. One, if the dough is too firm it will be very difficult to spread and create tears and possibly holes in the dough. Two, if it’s too thin or melted, it filling will slip and slide all around the surface of the dough and could squish out the sides when you cut the rolls.
So with the room temperature butter, place a few tablespoons all around the surface of the rolled dough. Spread it even with a spoon, leaving a 1/2 inch border around all 4 edges. This gap gives the cinnamon rolls a chance to seal up at the ends.
Sprinkle a layer of brown sugar on top and spread it even with your hand. Then finish it with an even layer of cinnamon.
Now roll the dough from the longest end to create a giant log. Let it rest on top of the seam and press the two ends in towards the center. This will help condense the log just a bit to undo any stretching that may have happened during the rolling.
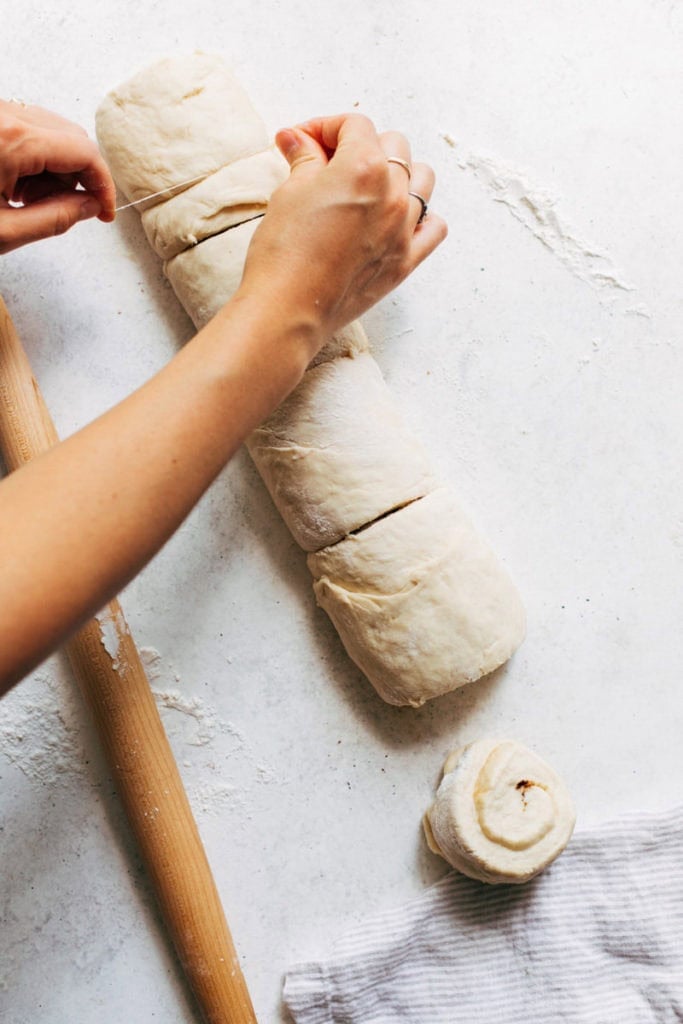
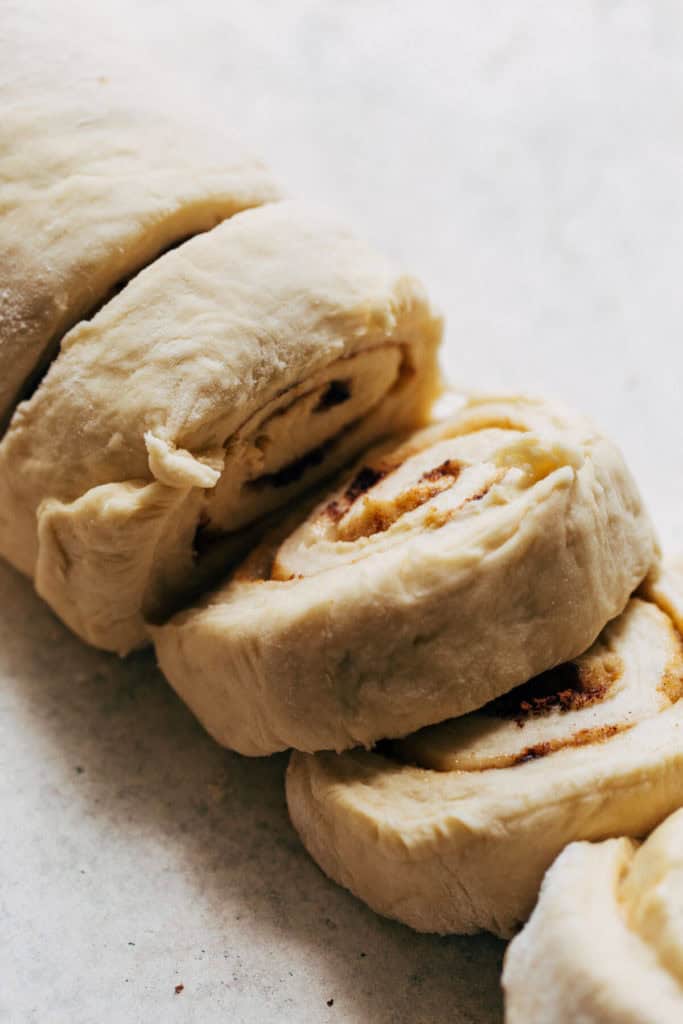
The best way to cut cinnamon rolls
Ditch the knife, it’s time to use dental floss on these rolls! Yes, unflavored dental floss is the BEST for cutting cinnamon rolls. Why? Because it cuts from the inside to the center, rather than cutting straight down like a knife.
Because this dough is so soft, a knife has the potential to squish the rolls. If you don’t have floss as an option (thin sewing thread works well too), use a really sharp knife and gently saw back and forth. Don’t press straight down into the roll otherwise the cinnamon rolls will turn out misshapen.
For the floss, grab a piece about 10 inches long and pull it tight. Run it along the bottom of the rolls and toss the two ends of the floss over top of the roll, crossing them over each other. Pull the to ends tight to slice through the roll.
Now you’re left with perfectly shaped rolls that are ready to proof and bake.
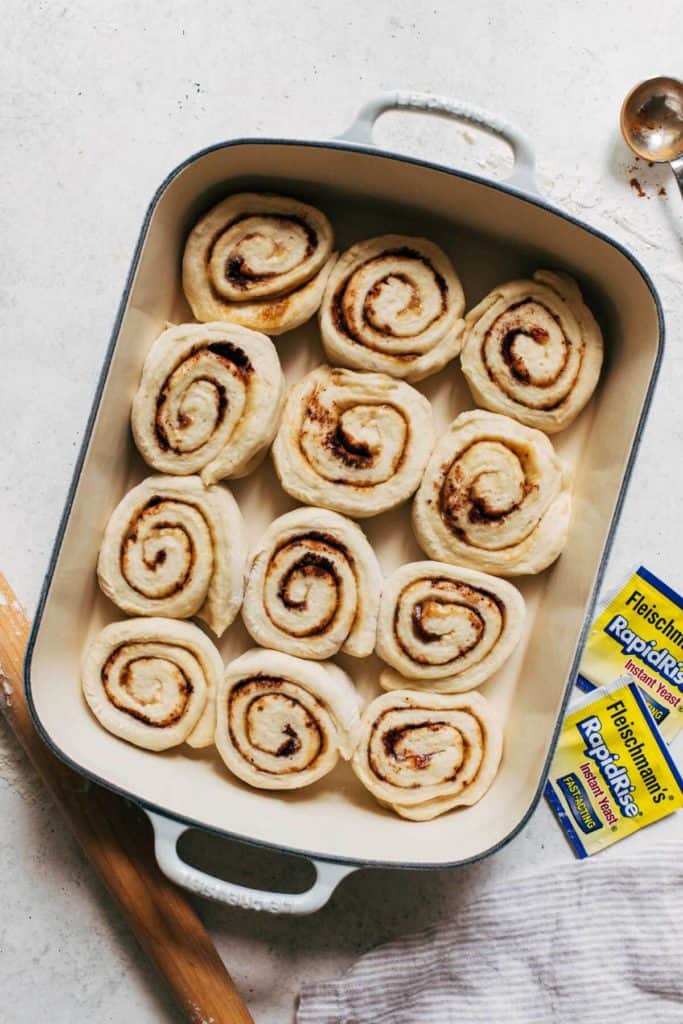
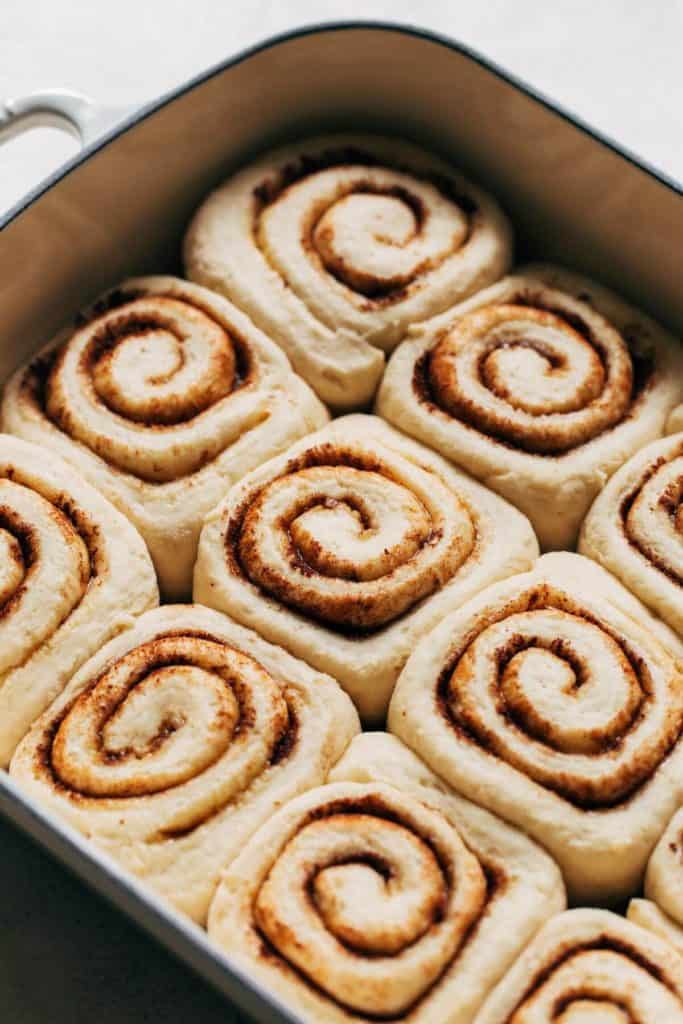
Overnight cinnamon rolls
The next step can go either way. If you want to bake these rolls the day of, cover your baking dish with a towel and let them rise for about an hour. If you’d prefer to bake these the next morning, follow these instructions:
After placing the rolls into the baking dish, cover the dish in plastic wrap and store in the refrigerator overnight. When you’re ready to bake them the next morning, let the rolls rest at room temperature for about 45 minutes (still covered).
The rolls may not puff up as much as they would if they were proofed the day of but that’s OK. They will still puff up when baked. Bake according to the original recipe and serve!
Alternatively, you can also freeze your cinnamon roll dough if you’d like to prepare this recipe a few days or weeks in advance.
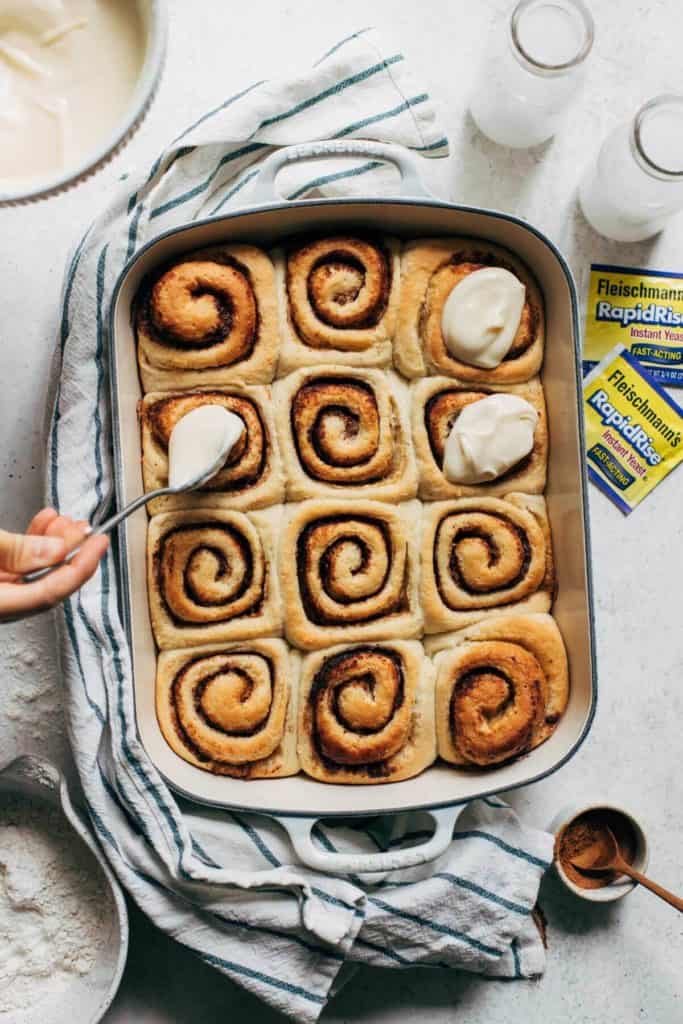
When to ice the cinnamon rolls
When the rolls are fresh from the oven, make the icing. This takes about 5-10 minutes to whip up so the rolls will be nice and warm by that time.
When the icing is mixed and smooth, spread it onto the warm rolls. This allows the icing to melt into the rolls and down into the nooks and crannies, giving you a gooey rolls.
How to store cinnamon rolls
These rolls are to be served when they’re fresh and warm. With any leftovers, cover the dish tightly in plastic wrap and store at room temperature for 2-3 days. You can also place a couple slices of bread in the baking dish with the rolls which will keep them from drying out.
For longer, cover the rolls and store in the refrigerator for 4-5 days. Although I find they dry out a bit in the fridge. To revive them, place a roll in a plate and spread a bit of butter on the sides. Warm for 20-30 seconds in the microwave and enjoy!
For even more delicious breakfast and brunch recipes:
For gluten free cinnamon rolls, check out my:
Make sure to tag me @butternutbakery on Instagram if you make these EASY Homemade Cinnamon Rolls. I love seeing my recipes come to life in YOUR kitchen! To pin this recipe and save it for later, you can use the button on the recipe card, the buttons above or below this post, or on any of the photos above. Happy baking!
Watch how to make these cinnamon rolls:
Easy Homemade Cinnamon Rolls
These BEST EVER cinnamon rolls are soft, moist, fluffy, and topped with a silky cream cheese icing.
- Prep Time 20 minutes
- Cook Time 25 minutes
- Total Time 1 hour 45 minutes
- Yield 12 rolls
Ingredients
Cinnamon Roll Dough
- 4 1/2 – 5 cups all purpose flour
- 1/3 cup (75g) granulated sugar
- 2 packets Fleischmann’s® RapidRise® Yeast (about 4 1/2 tsp)
- 1 tsp salt
- 1 1/2 cups (355g) water
- 6 tbsp (85g) unsalted butter
- 1 large egg
Filling
- 1/4 cup (55g) unsalted butter, room temp
- 1/2 cup (100g) light brown sugar, packed
- 1 tbsp cinnamon
Cream Cheese Icing
- 4 oz cream cheese, room temp
- 1/4 cup (55g) unsalted butter, room temp
- 1 cup (120g) powdered sugar
- 2 tsp vanilla extract
Instructions
Cinnamon Roll Dough
- In a large mixing bowl, whisk together 2 cups flour, sugar, yeast, and salt.
- In a heat-safe bowl, combine the water and butter (cut into tablespoons). Heat in the microwave for 30 sec – 45 sec, until warm to the touch but not hot. The butter will not melt completely.
- Pour into the dry ingredients with the egg and mix with a wooden spoon.
- Add in 2 more cups of flour and mix. It should turn pretty thick and sticky at this point.
- Add in 1/2 cup of flour and mix again. It should now turn shaggy and become difficult to stir. Once it reaches that point, set the spoon to the side and use your hands to mix and knead the dough.
- It will be sticky, so add another 1/4 cup of flour and continue to mix and knead by hand. It should turn into a smooth mass that’s soft and tacky.
- With a clean finger, press it into the dough. If your finger is sticking, add another 1/4 cup of flour and knead. If it’s not, then shape it into a ball and let it rest uncovered for 10 minutes.
- When the 10 minutes is up, the dough should have puffed up quite a bit but not quite doubled in size.
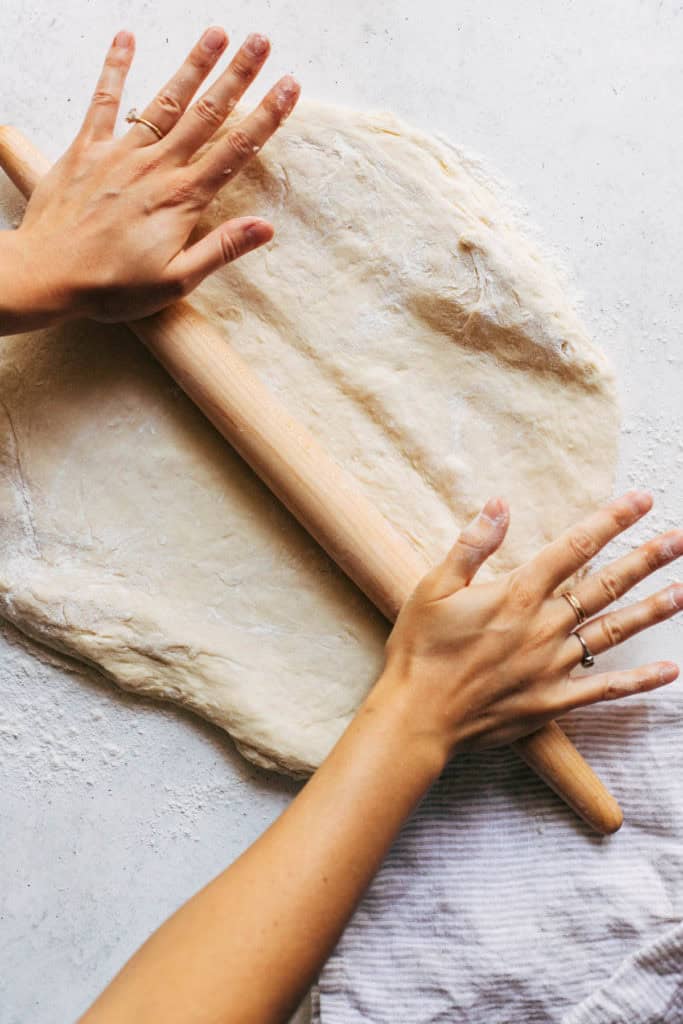
- Place the dough on a lightly floured surface and pat it into a rough rectangle shape. Roll it into a 10×15 inch rectangle using a rolling pin.
- Spread the room temperature butter into a thin and even layer, leaving about 1/2 inch border all around the outside of the dough.
- Sprinkle with the brown sugar and spread it even with your hand. Then top it with the cinnamon.
- Working from the 15 inch end of the dough, roll it up into a log. Place your hands at each end of the log and give it a gentle squeeze in to compact the log of dough. It may have stretched out a bit during the rolling process so this brings it back together.
- For best results, use unflavored dental floss to cut the rolls. If you don’t have floss, you could also use really thin sewing thread. If using a sharp knife, gently saw back and forth and try not to press straight down into the rolls. This will squish them into an odd shape.
- Using the floss, slide it under the roll and toss both ends of the floss over top. Pull them through to create a cut. Cut off the two ends of the log and then cut the remainder into 12 pieces.
- Cut the entire log in half, then cut those two halves in half to create 4 segments. Cut each of those 4 segments into 3 rolls to get a total of 12.
- Place the rolls in a buttered or greased 9×13 dish (you could also use two 9″ round pans, placing 6 rolls in each). It’s OK if all of the rolls are touching. *See notes for overnight instructions
- Place in a warm spot and cover with a towel to rise for 1 hour. If you live in a colder climate, preheat the oven to the lowest temperature. Once it’s ready, turn the oven off and place the rolls inside. This creates a warm environment for the rolls to proof.
- Preheat the oven to 350F (first remove the rolls if you proofed them inside) and check on the rolls. They should have doubled in size and now take up the entire dish.
- Bake for 25-30 minutes or until the tops are a light golden brown. While they cool, make the icing.
Cream Cheese Icing
- Place the cream cheese and butter in a bowl and use a fork to mash the two together. Make sure they’re both softened to room temperature, otherwise the icing will be lumpy.
- Add the powdered sugar and vanilla and mash again with the fork. Once the mixture starts to loosen, switch to a whisk and mix until smooth.
- Spread onto the warm rolls and dig in!
Notes
OVERNIGHT CINNAMON ROLLS – After step 16, cover the rolls in plastic wrap and place in the refrigerator overnight. Before baking the next day, allow the rolls to rest at room temperature (covered) for about 45 minutes. They may not puff up but that’s OK. Follow the same baking instructions.
GLUTEN FREE CINNAMON ROLLS – For a gluten free version, see my gluten free cinnamon roll recipe




Rate & Review