This post may include affiliate links, please see our privacy policy for details.
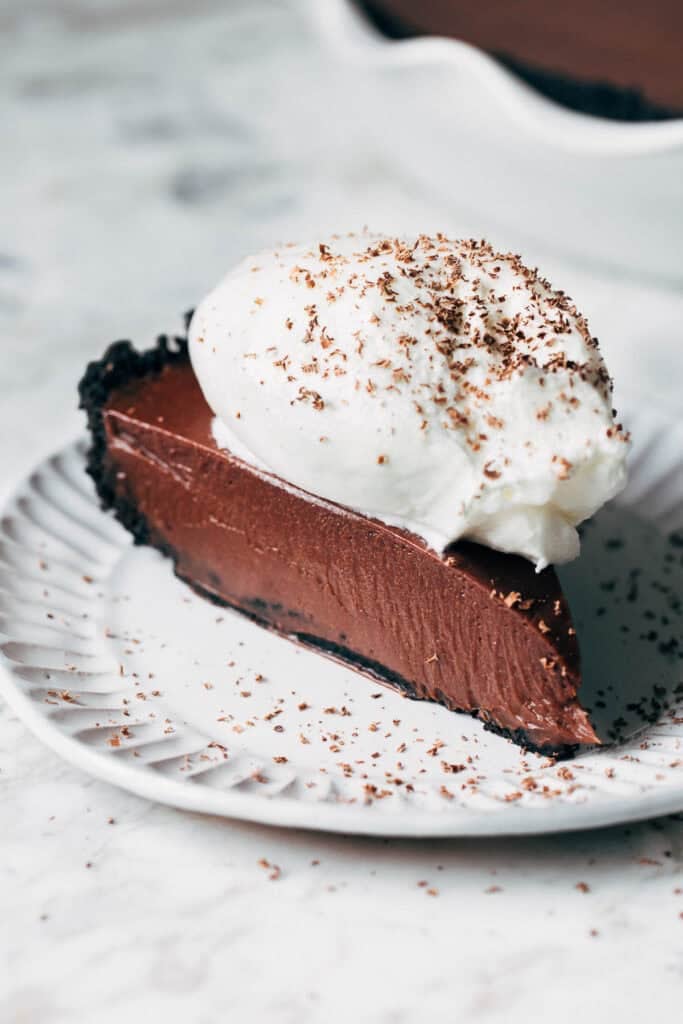
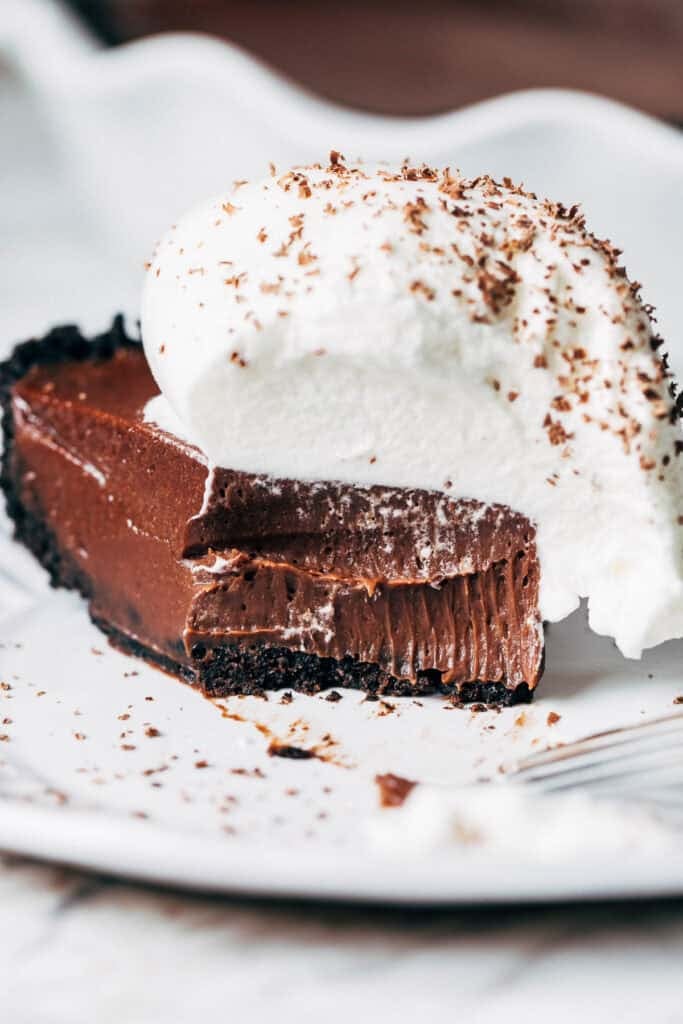
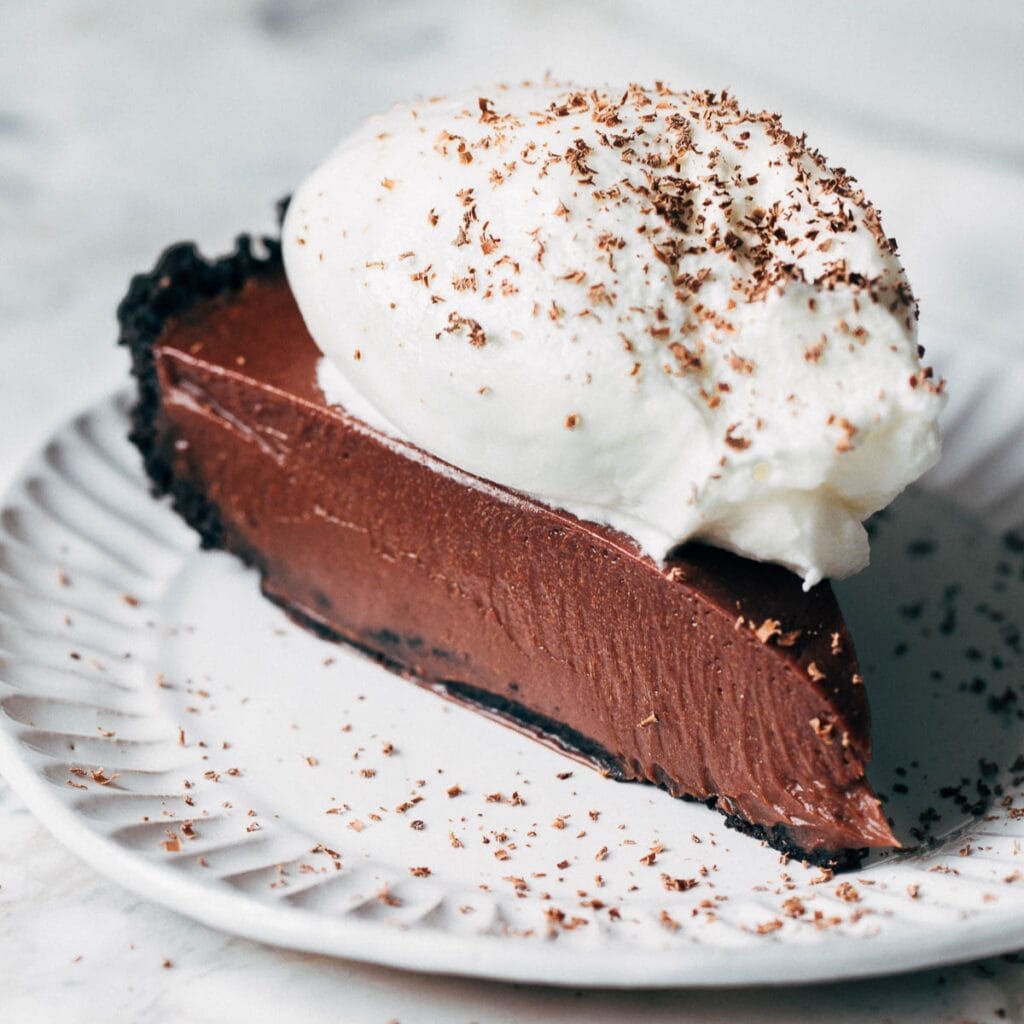
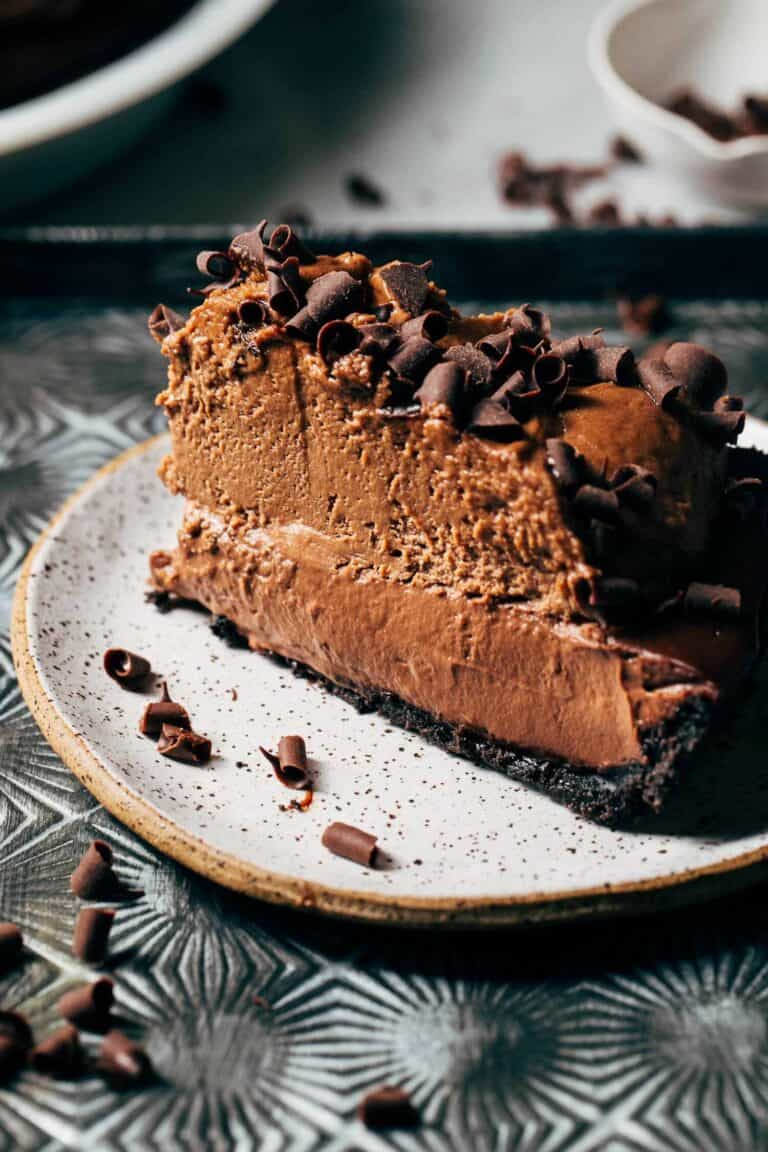
The name is not an exaggeration. This chocolate pie is as incredible as it looks! It has a chocolate filling that is so creamy and rich that every bite tastes like creamy fudge. And while it looks impressive, it’s actually incredibly easy to make. Bring this to your next party and it will absolutely be the star of the show!
Why is This Chocolate Pie so Good?
This pie is actually inspired by a dessert at one of Chicago’s most famous steak houses, Bavette’s. And because it’s so famous, it’s hard to get a reservation…so I’ve never been able to get a table. However, their chocolate pie looks like an absolute dream! And since I can’t get my hands on it, I decided to make it myself.
I’ve had to gather clues from the internet to see what this pie is all about and I learned two things:
- It’s a MILK chocolate pie but appears dark and rich.
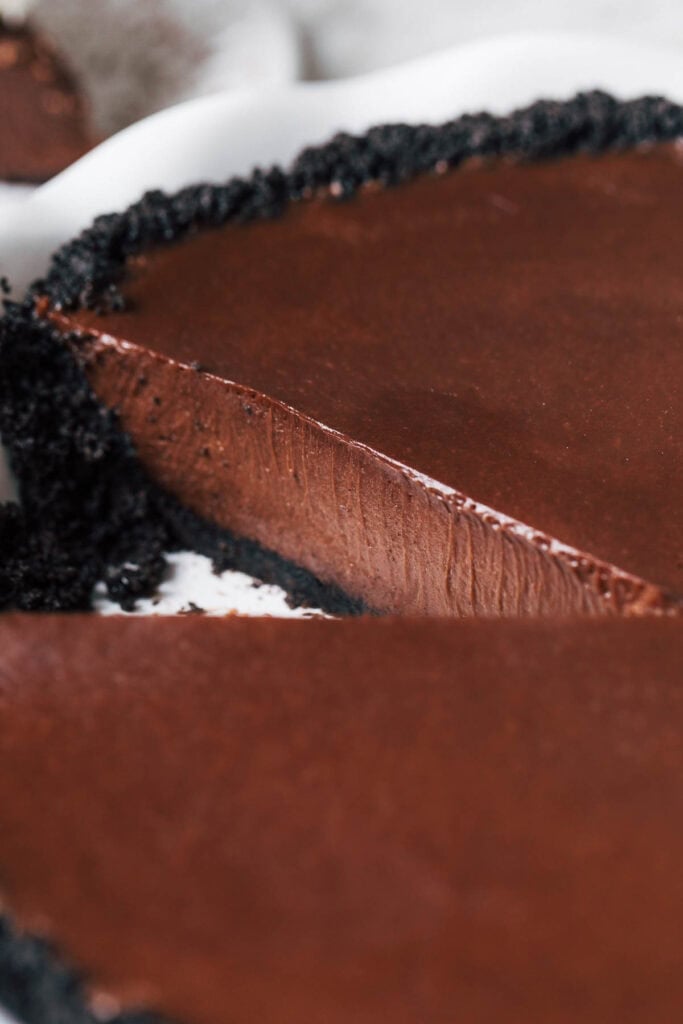
- It has a texture that’s like a mix between ganache and mousse.
So with only those two things to go off of, I somehow made it happen! This pie is made like a ganache, but with added marshmallow fluff to great that mousse-like consistency.
We’re also using a mix of dark and milk chocolate in order to create the perfect sweet balance. This pie is definitely rich, but it’s not too sweet which is VERY important here.
Last, their pie is topped with a heaping cloud of whipped cream so we’re mimicking that with my magic whipped cream recipe. It’s a combination of heavy cream and marshmallow fluff which makes a lightly sweet but very stable whipped cream. Top with a shaved chocolate and your pie is ready to serve!
Tips for Making the Creamiest Chocolate Pie
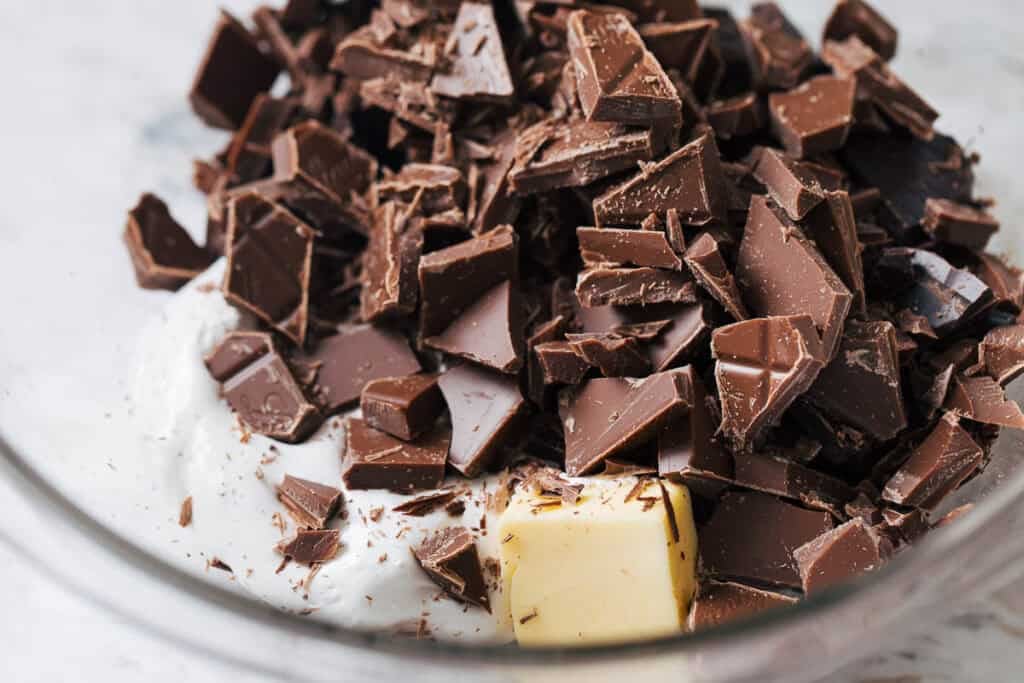
- Use Quality Chocolate – For best results, use Lindt chocolate bars. These can be found in the candy aisle. They will provide the best consistency and flavor.
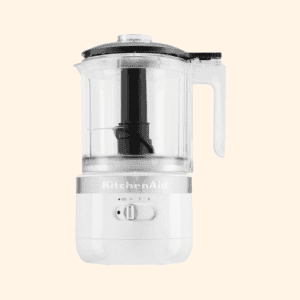
- Finely Chop – To ensure the chocolate melts evenly, give everything a very fine chop.
- Marshmallow on Bottom – Adding the marshmallow to the bottom of the bowl will prevent it from floating to the surface. By keeping it under, it will melt much easier.
- Don’t Scorch the Cream – It’s important to not let the cream bubble. Instead, heat to 160F or until just steaming. If it gets too hot, the pie will not set properly.
- Rest the Pie – Leave it at room temperature for about an hour before transferring to the refrigerator. This ensures a strong emulsification for a creamy, set pie.
- Serve Chilled – This pie is best when it’s straight from the refrigerator. Just slice and serve with a big dollop of whipped cream!
Chocolate Pie FAQs:
Absolutely! Just use gluten free Oreo cookies for the crust. Also make sure your chocolate is gluten free. For example, I use Lindt milk chocolate for this pie but it contains barley malt syrup which isn’t gluten free. Moser Roth (Aldi brand) has milk chocolate that doesn’t contain any wheat products but is not specifically labeled gluten free.
I don’t suggest straying from the recipe as it can alter how the pie sets. Most importantly, avoid chocolate chips and use bars of chocolate for the best texture and flavor.
You can try substituting the fluff in the filling with 1/2 cup of marshmallows. For the whipped cream, replace the fluff with 2 tablespoons of powdered sugar.
Store the pie covered in the refrigerator and it will keep for about a week.
Yes and I’ve done so many times! After it has had its initial chill overnight, cover it in foil and it will keep in the freezer for months. To thaw, transfer it to the refrigerator to gradually soften. Do not thaw at room temperature as this can disrupt the crystallization and turn the filling into pudding.
Once the pie has set overnight, you can top the entire pie with whipped cream and serve that way. This whipped cream is very stable, so it will hold up really well over time!
For more chocolate desserts, check out my:
- Moist Chocolate Cake
- Double Chocolate Chip Cookies
- Chocolate Sheet Cake
- Fudgy Brown Butter Brownies
- Chocolate Mousse Cupcakes
- Double Chocolate Cream Pie
- Chocolate Mousse Cake
Watch how to make this Chocolate Pie!
Get my Top 10 Recipes ebook, free!
Join the newsletter and I’ll send it straight to your inbox.
Life Changing Chocolate Pie
This extraordinary chocolate pie will be your new favorite! It’s silky smooth, perfectly rich, and not too sweet. While it also looks impressive, it’s incredibly easy to make. Bring this to your next party and everyone will be asking you for the recipe!
- Prep Time 20 minutes
- Chill Time Overnight
- Total Time Overnight
- Yield 10-12 slices
Ingredients
Chocolate Crust
- 26 Oreos (the whole cookies), ground *SEE NOTES FOR GLUTEN FREE
- 6 tbsp salted butter, melted *add a pinch of salt if using unsalted
Chocolate Pie Filling
- 7 oz jar marshmallow fluff, divided
- 2 tbsp salted butter, sliced *add a pinch of salt if using unsalted
- 7 oz Lindt 70% dark chocolate, finely chopped
- 6 oz Lindt milk chocolate, finely chopped
- 2 3/4 cups heavy whipping cream, divided
Instructions
Chocolate Crust
- Stir together the ground cookies and melted butter. Press into a deep 9” pie dish and place in the refrigerator.
Chocolate Pie Filling
- In a large bowl, add HALF the jar of fluff along with the butter and chocolate in that order so that the fluff is at the bottom of the bowl. Scatter the chocolate so it completely covers the marshmallow.
- In a medium saucepan, add 1 3/4 CUPS (420g) of heavy cream and place over medium heat. Heat until it just starts to steam and reaches 160F, stirring occasionally, about 5 minutes. Do not bubble otherwise the filling with not set properly.
- Pour over the bowl of chocolate and let it sit for a minute. Then whisk until smooth and all of the chocolate and marshmallow is melted. The marshmallow will appear clumpy at first, but keep whisking and it will slowly break up and dissolve into the chocolate.
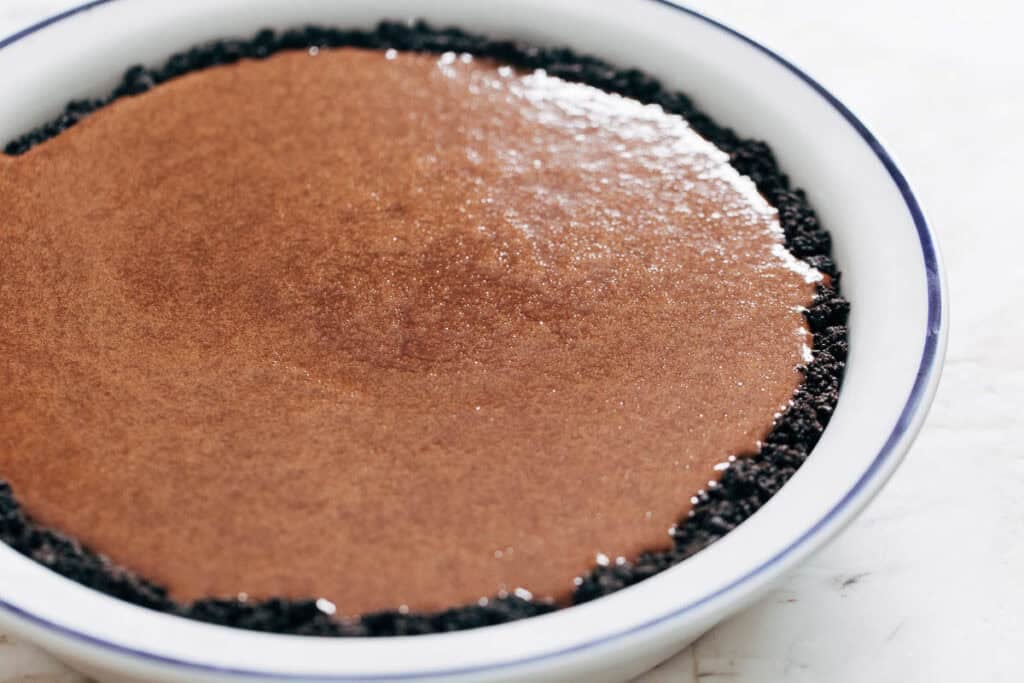
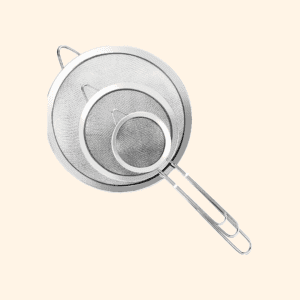
- Pour the filling through a fine mesh sieve and into the crust. If you have any filling that won’t fit, pour into a container and chill for a nice little snack!
- Use a toothpick to break up any large bubbles on the surface. Let the pie rest at room temperature for 1 hour to thicken, then transfer to the refrigerator to chill overnight.
- Now make the whipped cream. In a large bowl using a hand or stand mixer with the whisk attachment, whip the remaining 1 CUP (240g) of heavy cream on high speed until it just starts to thicken. Then scoop in the remaining fluff and whip until thickened, about 1 minute. Scoop the whipped cream into a container and chill overnight as well.
- To serve, dish out the slices when the pie is fresh from the refrigerator. Dollop each slice with a good scoop of whipped cream and shave some extra chocolate on top, if desired. Enjoy!
Equipment
 Buy Now
 Buy Now
 Buy Now
 Buy Now
Notes
GLUTEN FREE – To make this pie gluten free, use the same amount of gluten free Oreo cookies. As for the chocolate, make sure to use gluten free chocolate. I use Lindt in this pie and the 70% chocolate doesn’t contain any wheat products, but it is not a certified gluten free chocolate. Their milk chocolate also contains a barley ingredient which isn’t gluten free. I find that Moser Roth (Aldi brand) doesn’t contain any wheat products but does not specially say it is certified gluten free. So double check your labels and use what you are comfortable with!
- Category: Dessert
- Method: No Bake
- Cuisine: American





Rate & Review