Life Changing Chocolate Pie
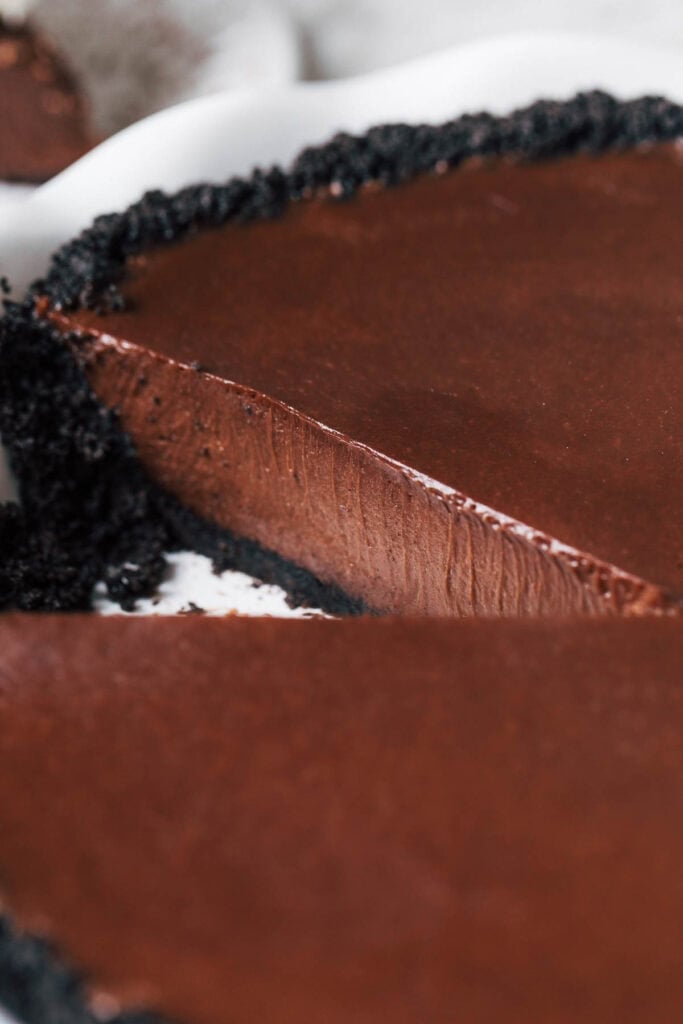
The name is not an exaggeration. This chocolate pie is as incredible as it looks! It has a chocolate filling that is so creamy and rich that every bite tastes like creamy fudge. And while it looks impressive, it’s actually incredibly easy to make. Bring this to your next party and it will absolutely be the star of the show!
Why is This Chocolate Pie so Good?
This pie is actually inspired by a dessert at one of Chicago’s most famous steak houses, Bavette’s. And because it’s so famous, it’s hard to get a reservation…so I’ve never been able to get a table. However, their chocolate pie looks like an absolute dream! And since I can’t get my hands on it, I decided to make it myself.
I’ve had to gather clues from the internet to see what this pie is all about and I learned two things:
- It’s a MILK chocolate pie but appears dark and rich.
- It has a texture that’s like a mix between ganache and mousse.
So with only those two things to go off of, I somehow made it happen! This pie is made like a ganache, but with added marshmallow fluff to great that mousse-like consistency.
We’re also using a mix of dark and milk chocolate in order to create the perfect sweet balance. This pie is definitely rich, but it’s not too sweet which is VERY important here.
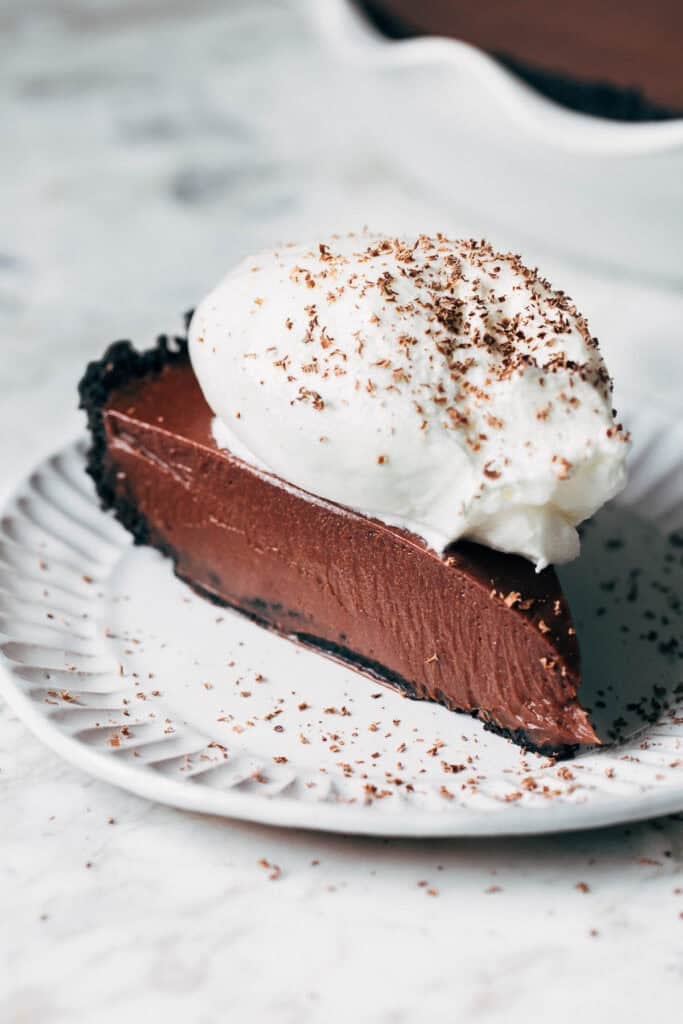
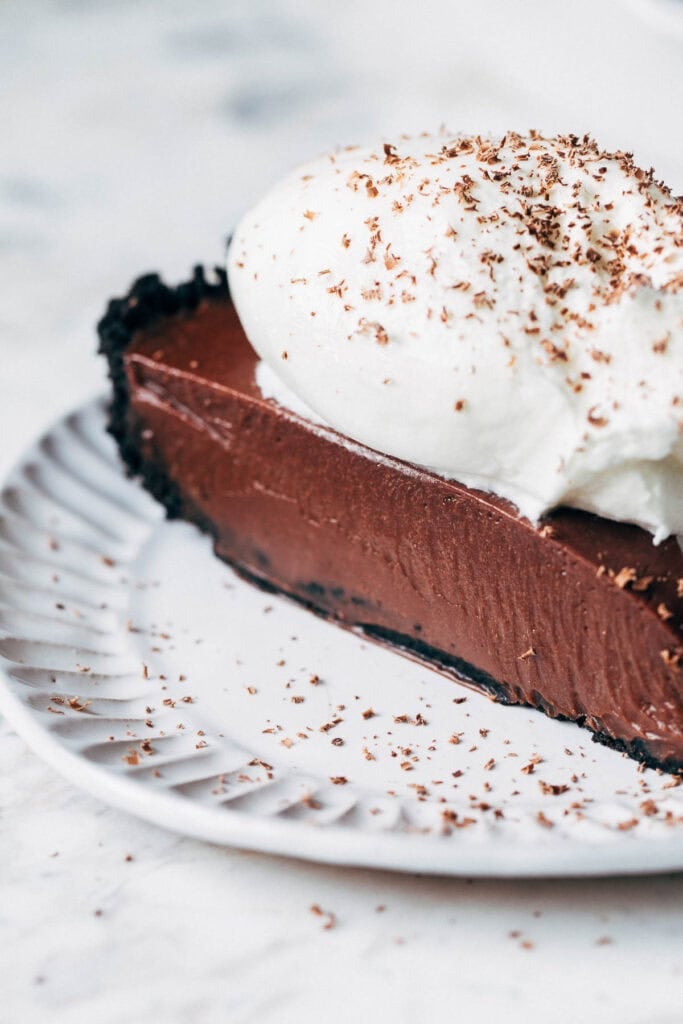
Last, their pie is topped with a heaping cloud of whipped cream so we’re mimicking that with my magic whipped cream recipe. It’s a combination of heavy cream and marshmallow fluff which makes a lightly sweet but very stable whipped cream. Top with a shaved chocolate and your pie is ready to serve!
How to Serve Chocolate Pie
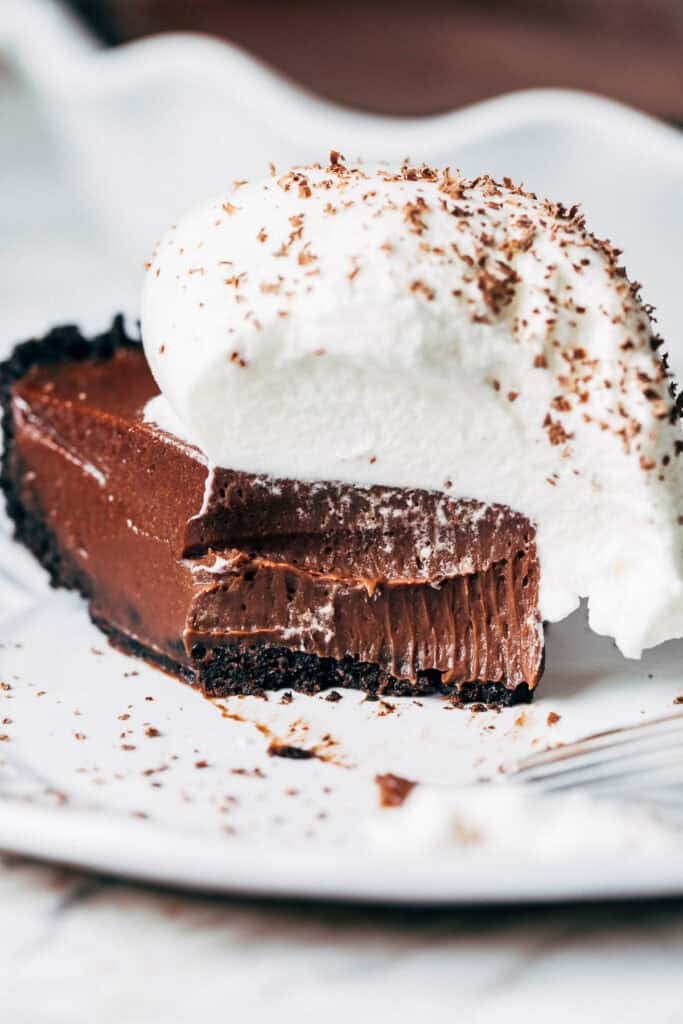
In order to set the filling, the pie chills overnight. Trust me, it’s just as delicious served straight from the refrigerator BUT if you want a more restaurant-quality slice, here’s what you can do:
- Set the oven to the lowest temperature possible (mine is 200F). Once it’s preheated, turn it off.
- Place the chilled pie in the oven and leave it for about 15 minutes (this helps soften the pie without melting it).
- Run a large knife under hot water and wipe it clean. Make one cut into the pie, then heat the knife again, wipe it clean, and make your other cut.
- Slide the slice out of the pan and transfer to a small plate. Top with a large dollop of whipped cream and shave chocolate on top.
- Now dig in to the most decadent slice of chocolate pie you’ve ever had!
Chocolate Pie FAQs:
Absolutely! Just use gluten free Oreo cookies for the crust.
I don’t suggest straying from the recipe as it can alter how the pie sets. Most importantly, avoid chocolate chips and use bars of chocolate for the best texture and flavor. I love Lindt, but Moser Roth from Aldi is a great option as well!
You can try substituting the fluff in the filling with 1/2 cup of marshmallows. For the whipped cream, replace the fluff with 2 tablespoons of powdered sugar.
Store the pie covered in the refrigerator and it will keep for about a week.
Yes and I’ve done so many times! Just cover it in foil and it will keep in the freezer for months.
Once the pie has set overnight, you can top the entire pie with whipped cream and serve that way. This whipped cream is very stable, so it will hold up really well over time!
For more chocolate desserts, check out my:
- Moist Chocolate Cake
- Double Chocolate Chip Cookies
- Chocolate Sheet Cake
- Fudgy Brown Butter Brownies
- Chocolate Mousse Cupcakes
- Double Chocolate Cream Pie
- Chocolate Mousse Cake
Life Changing Chocolate Pie
- Total Time: Overnight
- Yield: 10-12 slices
Description
This extraordinary chocolate pie will be your new favorite! It’s silky smooth, perfectly rich, and not too sweet. While it also looks impressive, it’s incredibly easy to make. Bring this to your next party and everyone will be asking you for the recipe!
Ingredients
Chocolate Crust
- 26 Oreos (the whole cookies, regular or gluten free), ground
- 6 tbsp salted butter, melted
Chocolate Pie Filling
- 7 oz jar marshmallow fluff, divided
- 2 tbsp salted butter, sliced
- 7 oz Lindt 70% dark chocolate, chopped (minus 1 square for shaving)
- 6 oz Lindt milk chocolate, chopped
- 3 cups heavy whipping cream, divided
Instructions
Chocolate Crust
- Stir together the ground cookies and melted butter. Press into a deep 9” pie dish and place in the refrigerator.
Chocolate Pie Filling
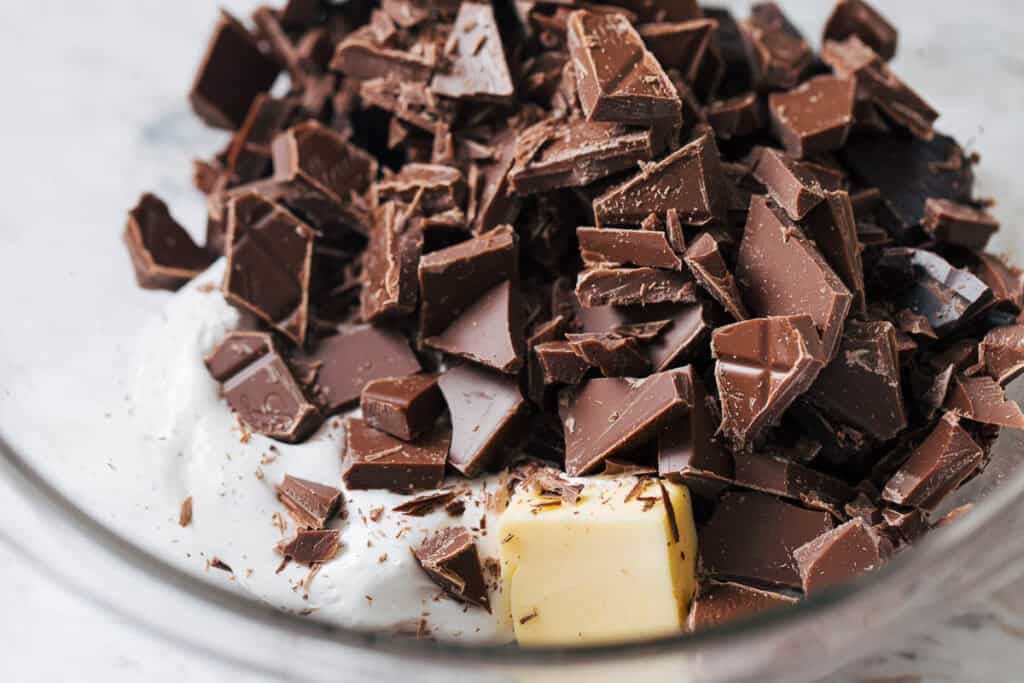
- In a large bowl, add half the jar of fluff, butter, and chocolate in that order so that the fluff is at the bottom of the bowl.
- In a medium saucepan, add 2 cups of heavy cream and place over medium heat. Heat just until it starts to steam, about 5 minutes. Do not bubble.
- Pour over the bowl of chocolate and let it sit for a couple minutes. Then whisk until smooth. The marshmallow will appear clumpy at first, but keep whisking and it will slowly break up and dissolve into the chocolate.
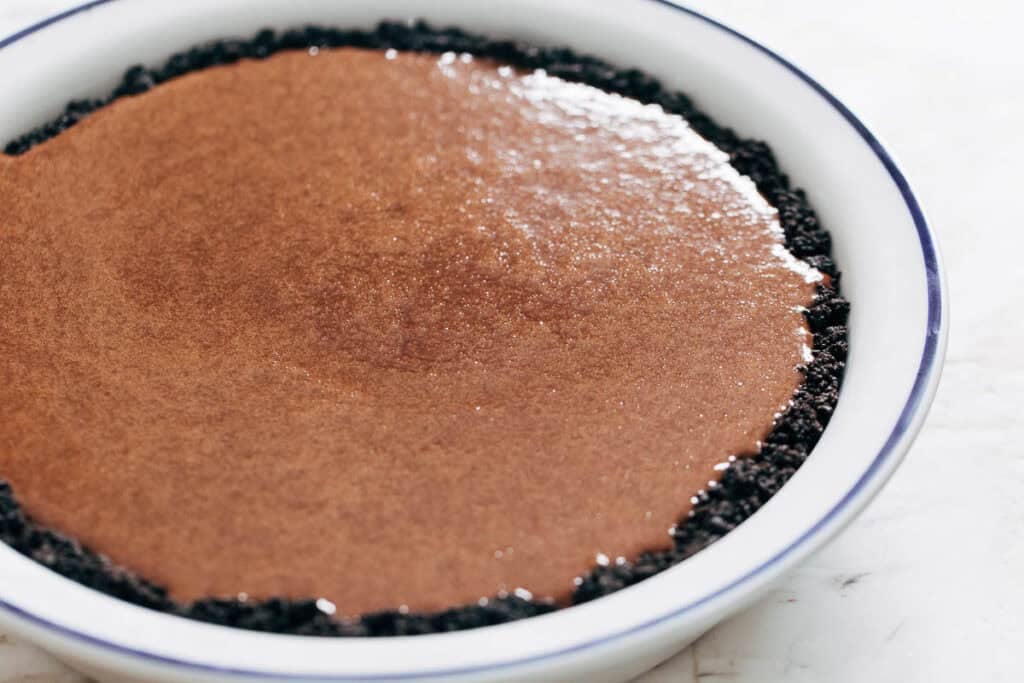
- Pour the filling through a fine mesh sieve and into the crust. If you have any filling that won’t fit, pour into a container and chill for a nice little snack!
- Tap the pan a couple times to release any air bubbles and carefully transfer to the refrigerator to chill overnight. If this transfer feels a little too risky, I like to let the pie rest at room temperature for about an hour to thicken so that it’s easier to carry to the fridge.
- Now make the whipped cream. In a large bowl using a hand or stand mixer with the whisk attachment, whip the remaining 1 cup of cream on high speed until it JUST starts to thicken. Then scoop in the remaining fluff and whip until thickened, about 1 minute.
- Scoop the whipped cream into a container and chill overnight as well.
- To serve, you can dish out the slices when the pie is fresh from the refrigerator or has been sitting out to room temp. But if you want a restaurant-quality slice, preheat your oven to the lowest temperature possible. Once preheated, turn the oven off and place the chilled pie inside. Leave it there for about 15 minutes.
- Then remove it from the oven and run a large knife under hot water. Wipe it dry and slice into the pie, running the knife under hot water for each cut.
- Dollop the slice with a good scoop of whipped cream and shave some chocolate on top from that reserved dark chocolate square. Now dig in!


- Prep Time: 20 minutes
- Chill Time: Overnight
- Category: Dessert
- Method: No Bake
- Cuisine: American
Join Our Community


Meet Jenna
I’m the creator, baker, and photographer behind Butternut Bakery. Here I share desserts for every diet because I believe everyone should have a chance to indulge!