This post may include affiliate links, please see our privacy policy for details.
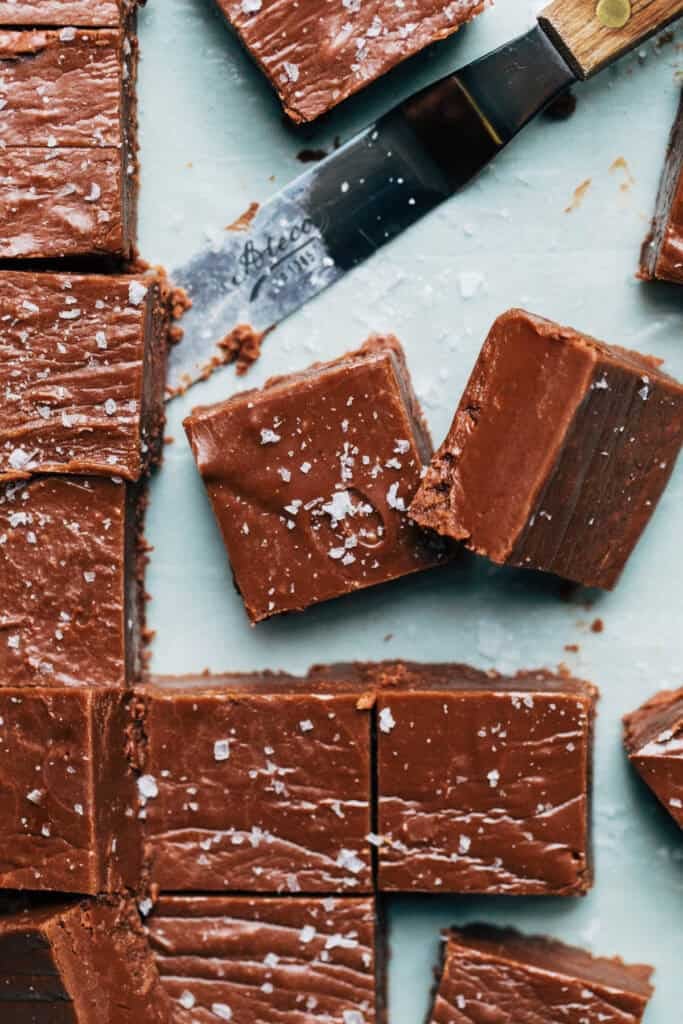
This is THE fudge recipe to make for your holiday cookie boxes! I’m incredibly picky when it comes to fudge. It needs to be simple to make, full of flavor, and extra creamy with that melt-in-your-mouth texture where your teeth sink effortlessly into every bite. This recipe checks every single box and then some! Plus, it makes a generous batch, making it perfect for sharing and gifting.
Doing The Research
When developing my own fudge recipe, I knew it had to be absolutely perfect. It holds a special place in my heart, as it’s a treat our family friends would always gift us every year for the holidays. But with so many different ways to make homemade fudge, what makes this recipe stand out?
I did so much research on old and new recipes. More recent versions rely on sweetened condensed milk, but I’m not a fan of the flavor that it gives fudge. Older recipes are incredibly sweet and use a crazy amount of sugar and corn syrup with barely any salt. However, I do love the texture of some old-fashioned fudge!
So this recipe marries the two together to create the best fudge recipe for the modern day. It uses a balance of milk and dark chocolate for layers of flavor, along with marshmallow fluff for creaminess, extra butter for a soft bite, and just the right amount of salt to balance everything out. It’s unfussy, reliable, and a recipe you’ll be turning to again and again.
Why You’ll Love This Homemade Fudge Recipe
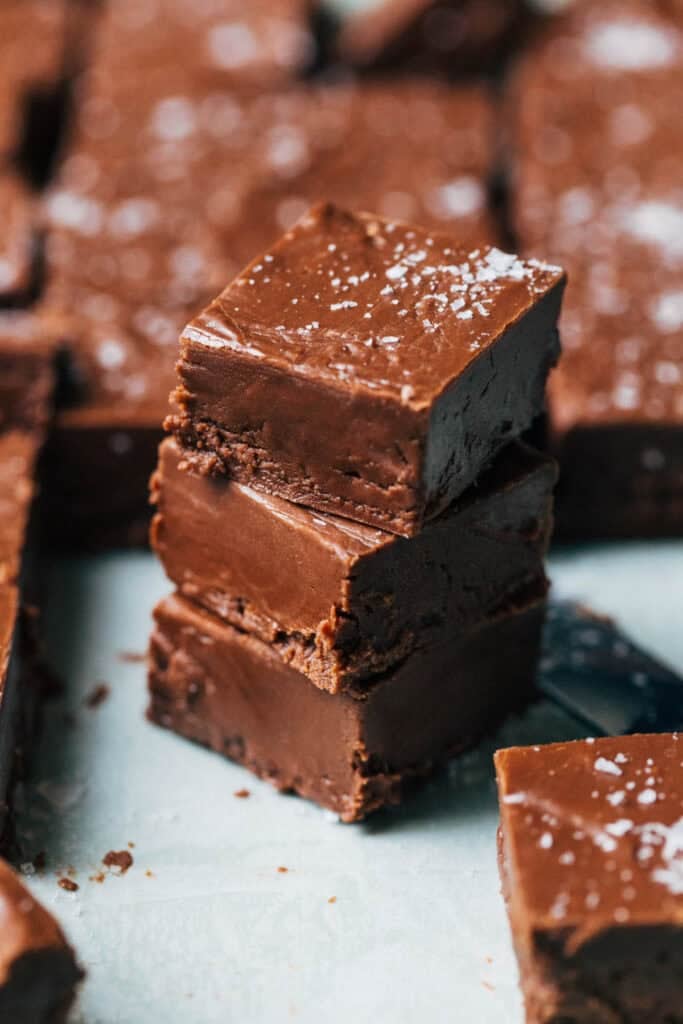
- Incredibly creamy: Every bite has a smooth, melt-in-your-mouth texture that isn’t too firm or crumbly. It’s like the fudge you get at a shop!
- Rich chocolate flavor: It’s full of deep chocolate flavor without being overly sweet, balanced with milk and dark chocolate and a good amount of salt.
- Easy to make: No complicated techniques or special equipment needed. The ingredients do all the work for us.
- Perfect for sharing: This recipe makes a big batch, so there’s plenty to go around, which is exactly what fudge was meant for!
- Great for the holidays: Homemade fudge is one of my favorite additions to Christmas cookie boxes and holiday dessert trays. Everyone always loves it and it keeps for a long time.
Ingredients You’ll Need
This recipe is easy to follow as it’s ALL about the ingredients. Don’t swap anything out and you’ll end up with incredibly delicious chocolate fudge!
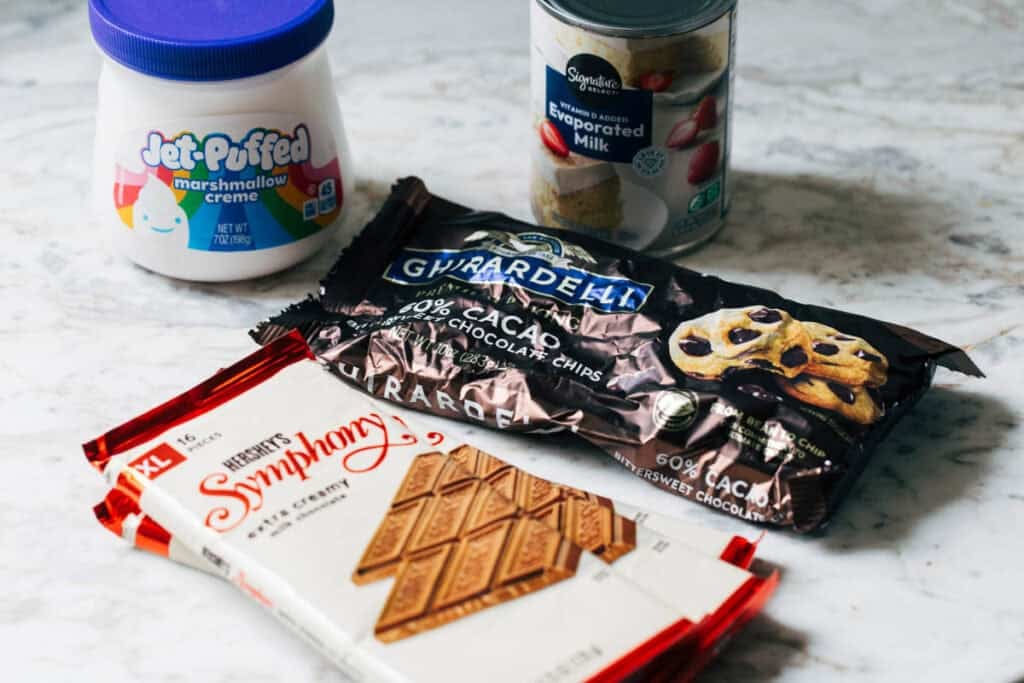
- Hershey’s Symphony Chocolate – There’s something about the very specific milk chocolate flavor of a Hershey’s bar that just works so well in fudge. It’s sweet, creamy, and gives off a marshmallow-like flavor which pairs well with our other key ingredient!
- Dark Chocolate Chips – To balance the sweetness of the milk chocolate, we’re using an entire bag of dark chocolate chips. The best part, you don’t have to measure any of the chocolate.
- Marshmallow Creme – I’ve always loved fudge made with marshmallow. It adds a soft and unique texture that just can’t be replicated otherwise. We’re using a whole jar to really up the melt-in-your-mouth texture.
- Sugar – Since fudge is a candy, expect to use a lot of sugar. This recipe calls for 4 cups, but we use a few simple techniques to ensure there’s no crystallization.
- Evaporated Milk – The lack of water in a can of evaporated milk is what allows this fudge to set. It also adds so much richness, further enhancing the creamy consistency.
- Butter – This fudge uses a slightly higher amount of butter to ensure each piece is perfectly soft.
- Vanilla – An entire tablespoon goes in here, because it makes a lot! And we want as much flavor as we can get.
- Salt – Most fudge recipes only use about 1/4 teaspoon of salt. But between the chocolate, marshmallow, and sugar, that’s just not going to cut it! So we’re 4x the amount and using 1 teaspoon in this recipe.
Tips for Making the Creamiest Fudge
- Preparation – Have everything chopped and prepared ahead of time. Fudge is all about timing, so it’s important that every ingredient is ready to go right when you need it.
- Ingredients – Don’t stray from the specific ingredients listed. They were selected for a reason! And the slightest variation in chocolate can prevent fudge from setting properly.
- Crystallization – If this happens, your fudge will set grainy rather than creamy. When sugar clings to the sides of the pot and hardens, it then gets mixed back into the batch and causes this reaction called crystallization. To prevent this, very carefully stir the fudge all throughout the process in order to avoid sloshing it up against the sides of the pot.
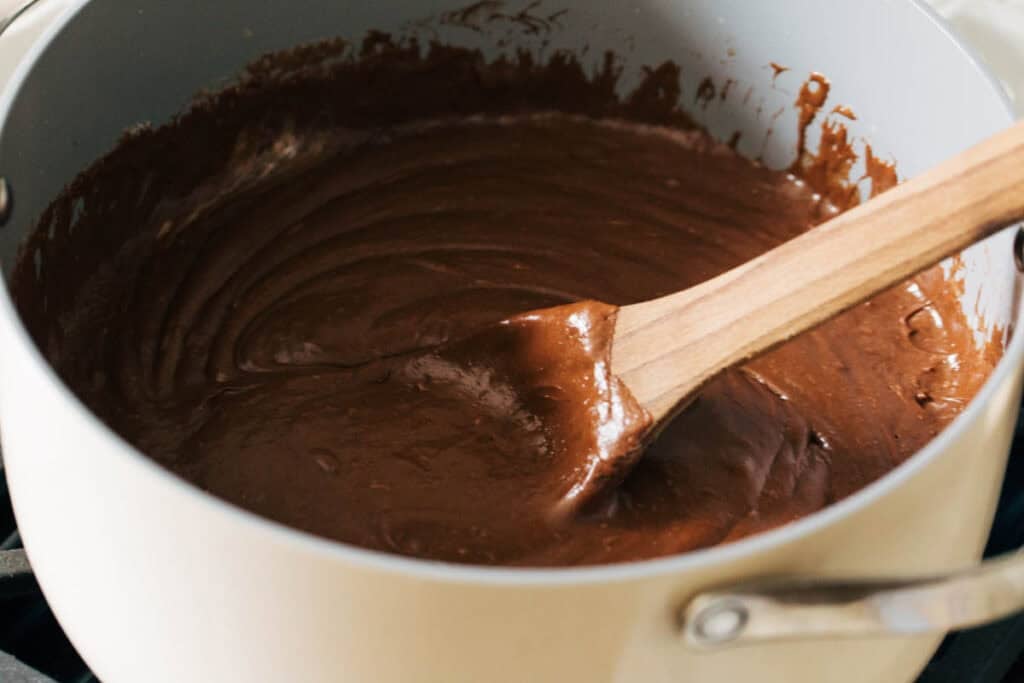
- Stir – When the chocolate is added to the hot syrup, don’t whip it with a whisk. Instead, stir with a wooden spoon until everything is evenly melted. We don’t want to whip air into our fudge, as this can also cause crystallization.
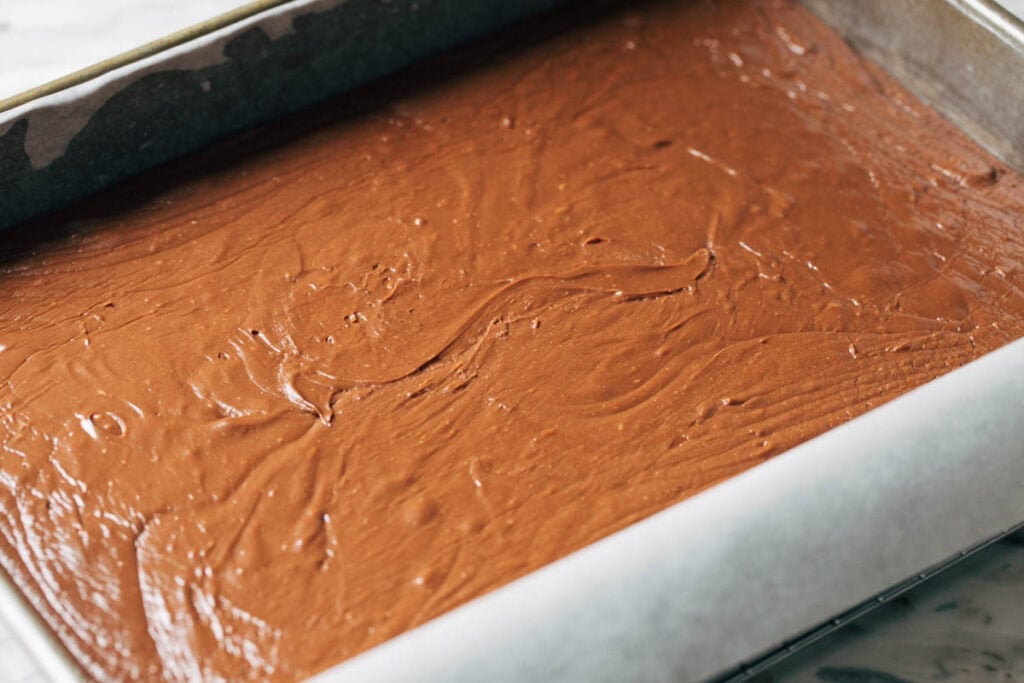
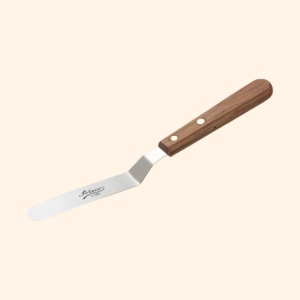
- Pour – Right when the fudge comes together, immediately pour it into the prepared pan and spread it as fast as you can. The surface wants to set almost immediately so to get a smooth top, have your offset spatula ready to go.
- Set – For best results, allow it to set at room temperature. This takes a few hours but is worth it! You can always transfer the fudge to the refrigerator after it has set at room temperature.
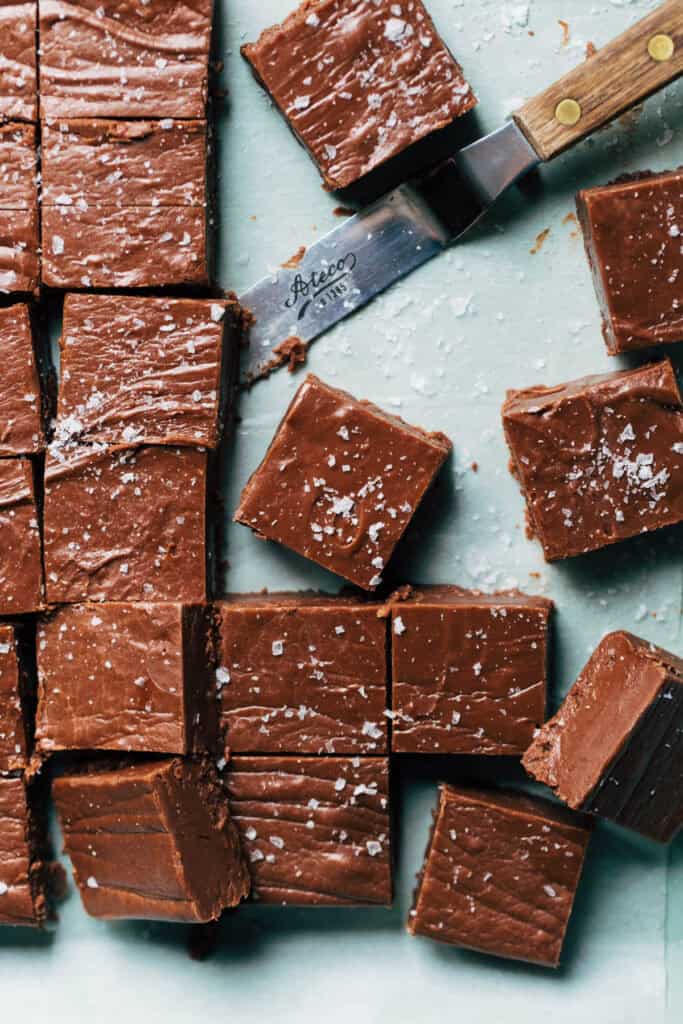
- Slice – For clean slices, use a large knife and run it under hot water. Wipe it clean and make swift cuts. Avoid dragging it through the fudge. Also rinse and wipe down the knife between each slice.
Meltaway Fudge FAQs:
This can happen if the sugar isn’t heated to a high enough temperature, or if improper chocolate was used. Just the slightest change in either can affect how the fudge sets.
This is due to crystallization. It happens when sugar gets sloshed up against the sides of the pot and then hardens. To prevent this, make sure to spray the pot with nonstick spray before starting. Then carefully mix the sugar to prevent it from sloshing up the sides.
The slightest variation in cocoa butter can affect how the fudge sets. I recommend sticking with the chocolates in the recipe as they were carefully selected!
Absolutely! Fudge is a wonderful make-ahead dessert, especially during the holidays. Prepare it a few days in advance and store it in an airtight container in the refrigerator or at room temperature until you’re ready to serve or package it.
Yes! Fudge freezes well when stored in an airtight, freezer-safe container or bag. Separate the layers with parchment paper to keep the pieces from sticking together.
It’s one of my favorite additions! Fudge holds its shape well when properly set, is easy to portion into individual pieces, and adds something a little different to a box. It also holds up well over time.
Sure! Add in 1 cup of chopped walnuts or pecans with the bowl of marshmallow and chocolate. Mix everything in at the same time.
For even more holiday recipes, check out my:
- Cream Cheese Sugar Cookies
- Chocolate Peppermint Pudding Cake
- BEST Gingerbread Cookies
- Sugar Cookie Cheesecake
- Blossom Cookies
- Gingerbread Cake with Coconut Cream Cheese Frosting
- Christmas Sprinkle Sugar Cookie Bars
Make sure to tag me @butternutbakery on Instagram if you make this chocolate fudge recipe. I love seeing my recipes come to life in YOUR kitchen! To pin this recipe and save it for later, you can use the button on the recipe card, the buttons above or below this post, or on any of the photos above. Happy baking!
Print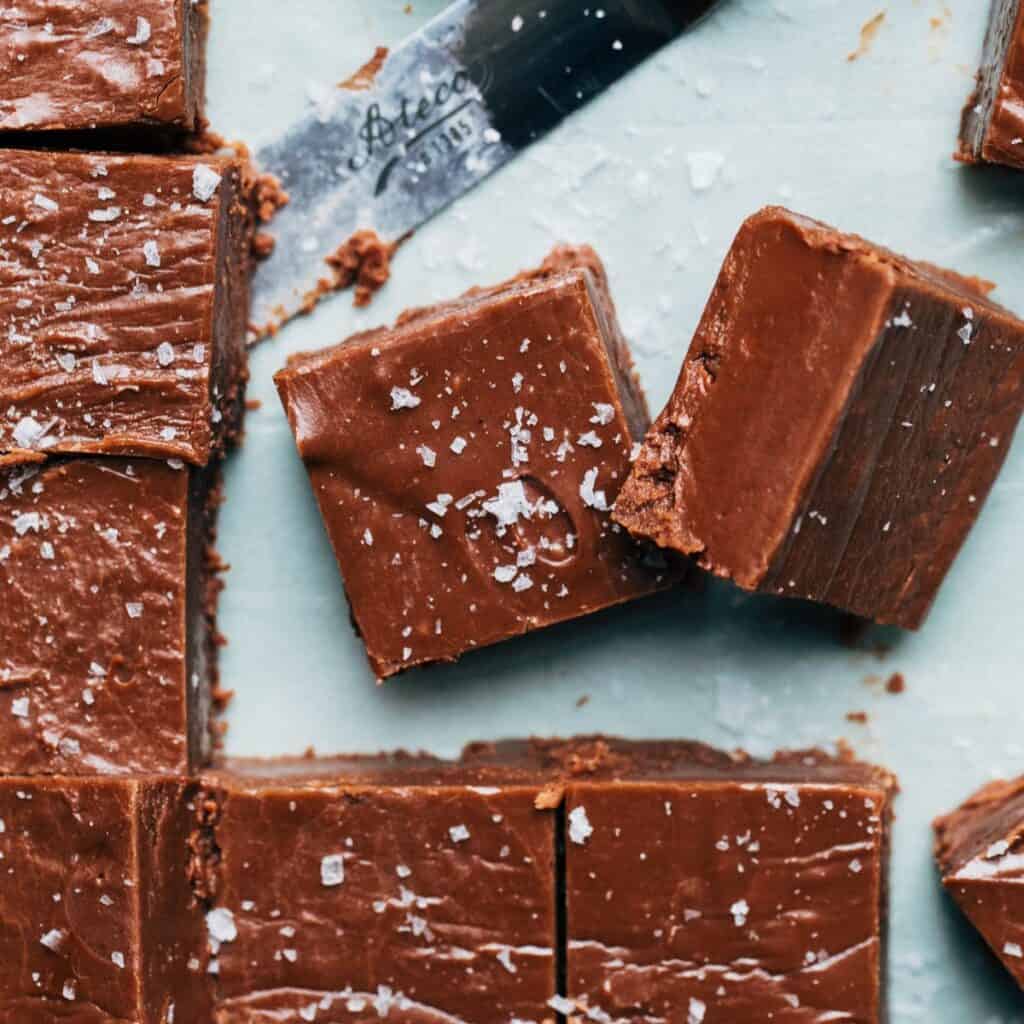
Meltaway Fudge
If you’re looking for the perfect homemade fudge recipe, this is it! This chocolate fudge is incredibly creamy, rich, and full of chocolate flavor. It has that classic melt-in-your-mouth texture that makes it almost impossible to stop at just one piece. Best of all, it’s easy to make and requires just a handful of simple ingredients.
- Prep Time 10 minutes
- Cook Time 15 minutes
- Total Time 2 hours 25 minutes
- Yield 48 pieces
Ingredients
- 3 XL Hershey’s Symphony milk chocolate bars, broken into small pieces (12.75 oz total) *see notes for GF instruction
- 10 ounce bag Ghirardelli 60% bittersweet chocolate chips
- 7 ounce jar marshmallow creme
- 1 tablespoon vanilla extract
- 4 cups (800g) granulated sugar
- 12 ounce can evaporated milk
- 1/4 cup (56g) unsalted butter, sliced
- 1 teaspoon kosher salt
- Flaky sea salt, for sprinkling (optional)
Instructions
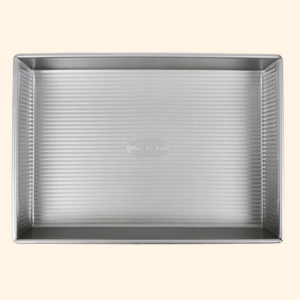
- Grease a 9×13 pan with nonstick spray and line with a sheet of parchment paper to cover the bottom and two long sides with some overhang.
- Place the Hershey’s chocolate, chocolate chips, marshmallow creme, and vanilla in a large bowl. Set aside.
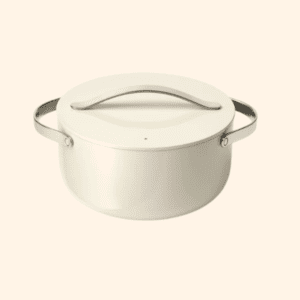
- Now spray the entire inside of a large heavy-bottomed pot with a light coating of nonstick spray. NOTE: It’s important to not slosh the mixture up against the sides of the pot during this entire process as this can cause crystallization and a gritty fudge, so gently and carefully stir throughout.
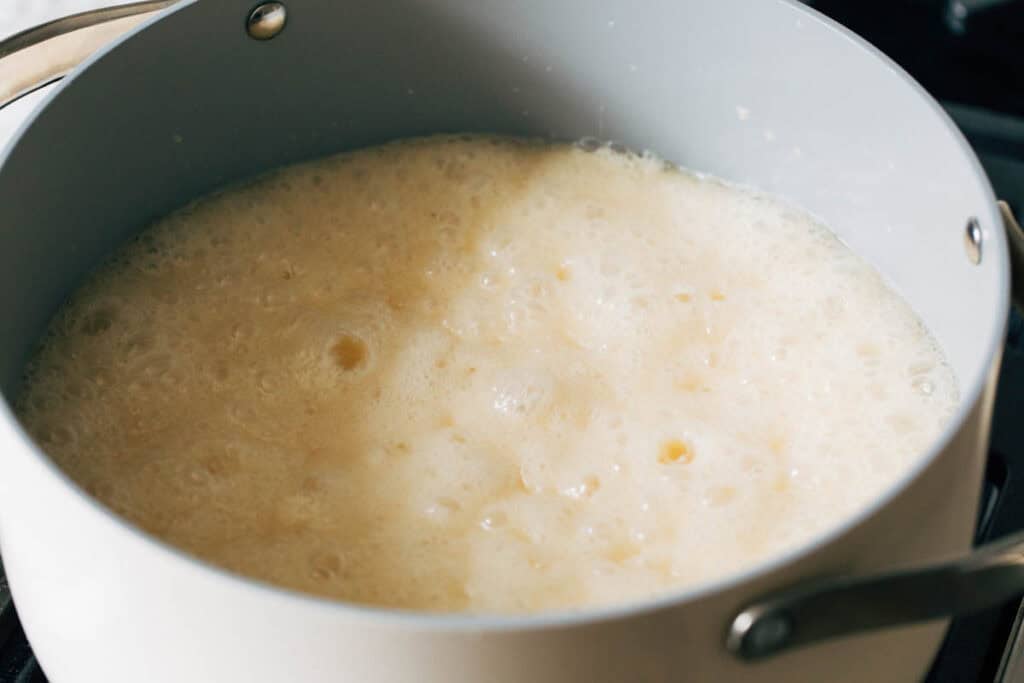
- Add the sugar, evaporated milk, butter, and salt to the pot and use a wooden spoon to gently stir to combine. Place over medium-low heat and stir occasionally until the sugars dissolve and the mixture looks uniform, about 5 minutes.
- Bring to a boil over medium heat. Once boiling, gently stir occasionally to prevent the bottom from burning. Let it bubble and heat to 234°F, about 6 minutes boiling.
- Immediately remove from heat and pour in the chocolate and marshmallow. Using your wooden spoon, stir until completely melted and smooth. Avoid beating it vigorously, which can encourage crystallization as the fudge cools.
- Immediately pour into the pan and quickly spread into an even layer. Work fast as the surface likes to set very quickly. Let it set at room temperature until firm, about 2 hours, then slice and enjoy! Top with sea salt after they’ve set, if desired.
Equipment
 Buy Now
 Buy Now
 Buy Now
Notes
STORAGE – Once the fudge has set at room temperature, you can then transfer it to the refrigerator if desired. Otherwise, it can be stored at room temperature where it can last for 1 to 2 weeks.
GLUTEN FREE – None of the ingredients include gluten-containing ingredients, but they are not specifically labeled gluten free so make at your own discretion.
- Cooling Time: 2 hours
- Category: Dessert
- Method: No Bake
- Cuisine: American






Rate & Review