This post may include affiliate links, please see our privacy policy for details.
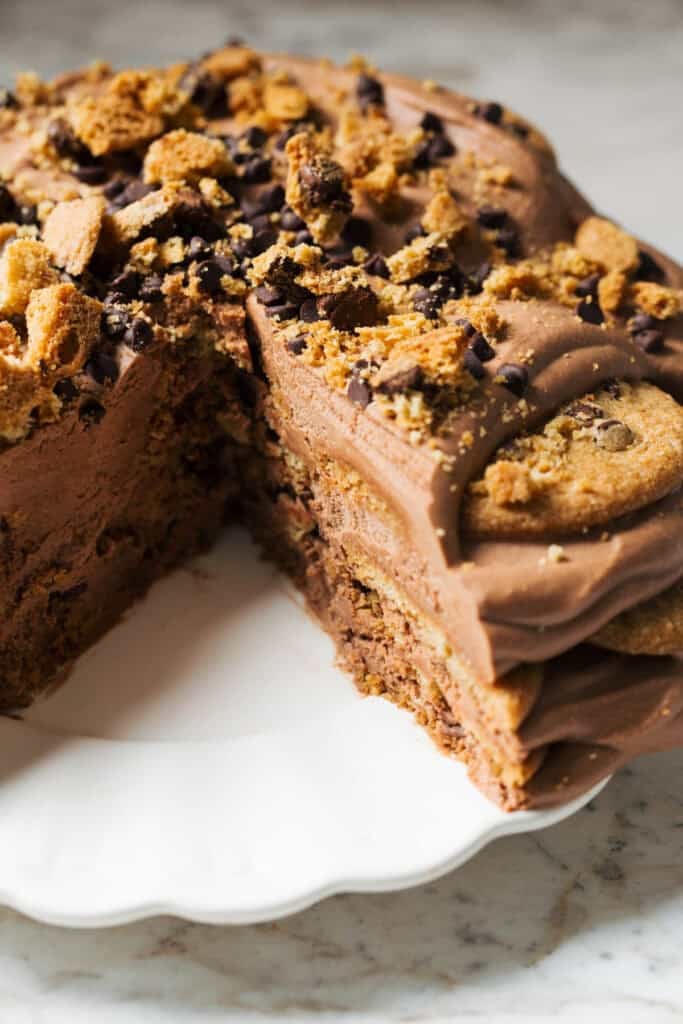
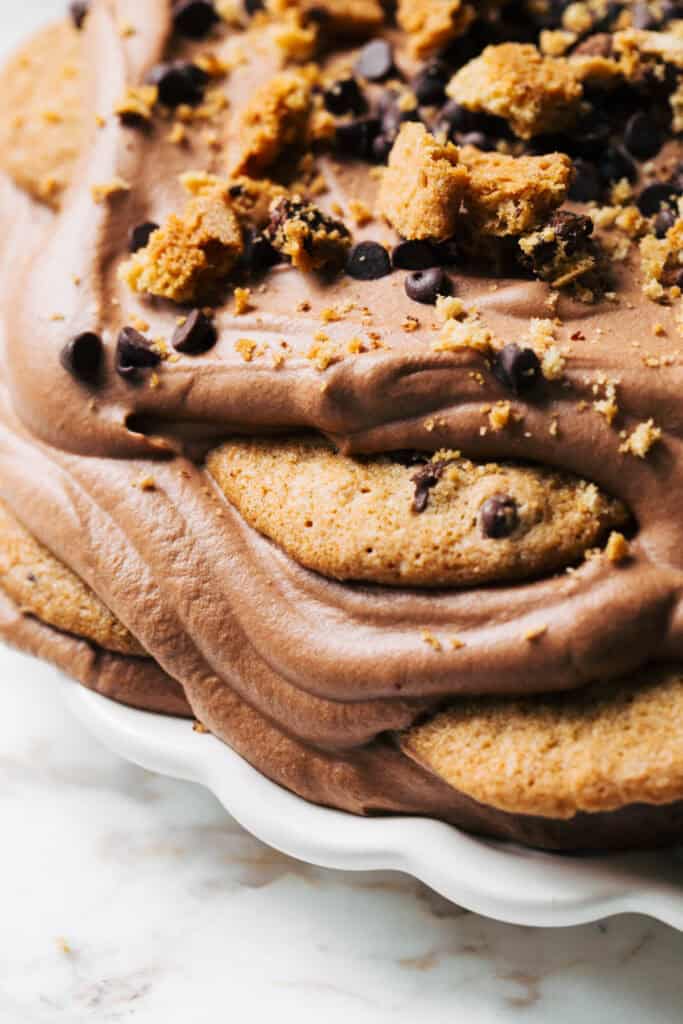
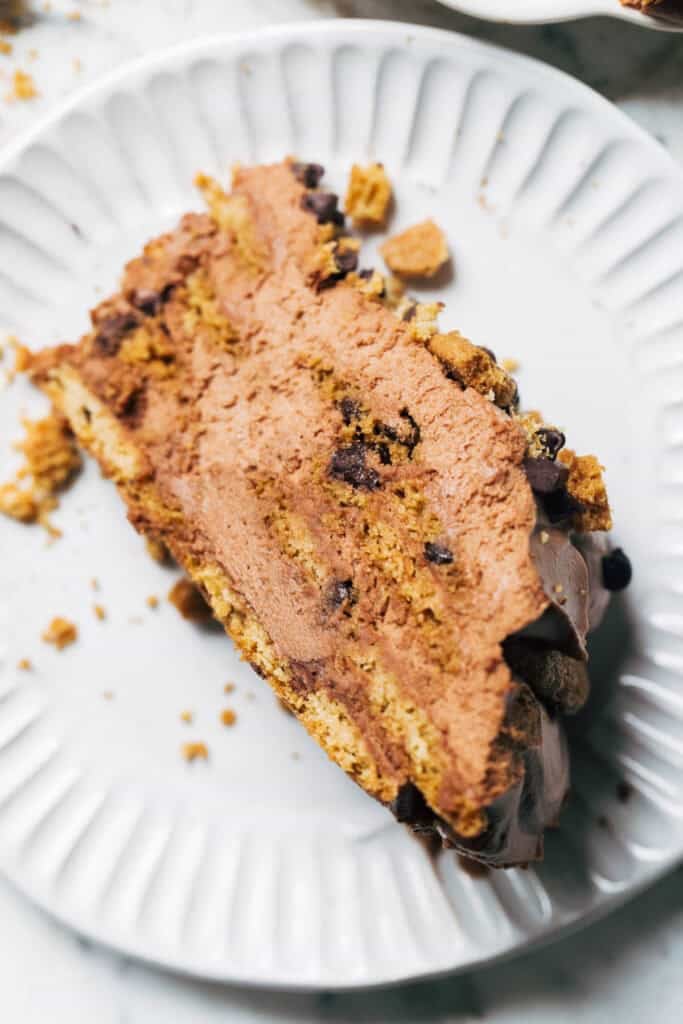
This Chocolate Mousse Cookie Cake starts with layers of crisp chocolate chip cookies and fluffy homemade chocolate mousse. After an overnight chill, something incredible happens! The cookies absorb just enough moisture from the mousse to become impossibly soft and tender, creating delicate cake-like layers with almost no effort. Every slice looks elegant, but it’s secretly one of the easiest desserts you’ll ever make.
Why You’ll Love This Recipe
There’s something nostalgic about an icebox cake. It relies on time instead of baking, letting the refrigerator do all the work. Here, crisp chocolate chip cookies replace traditional wafers, giving every bite buttery cookie flavor with rich chocolate mousse tucked between each layer.
It’s the kind of dessert that feels bakery-worthy but is surprisingly simple. There are no cake layers to bake, no complicated decorating techniques, and no need to worry about perfectly frosted edges. Just stack, chill, and slice. And also…
- It’s the perfect make-ahead dessert for a special occasion
- No oven is required, so it’s very hard to mess up!
- Can easily be tailored to gluten-free needs
- Perfect for mid-summer parties
- Has that “WOW” factor with very minimal effort
Tips for Icebox Cookie Cake Success
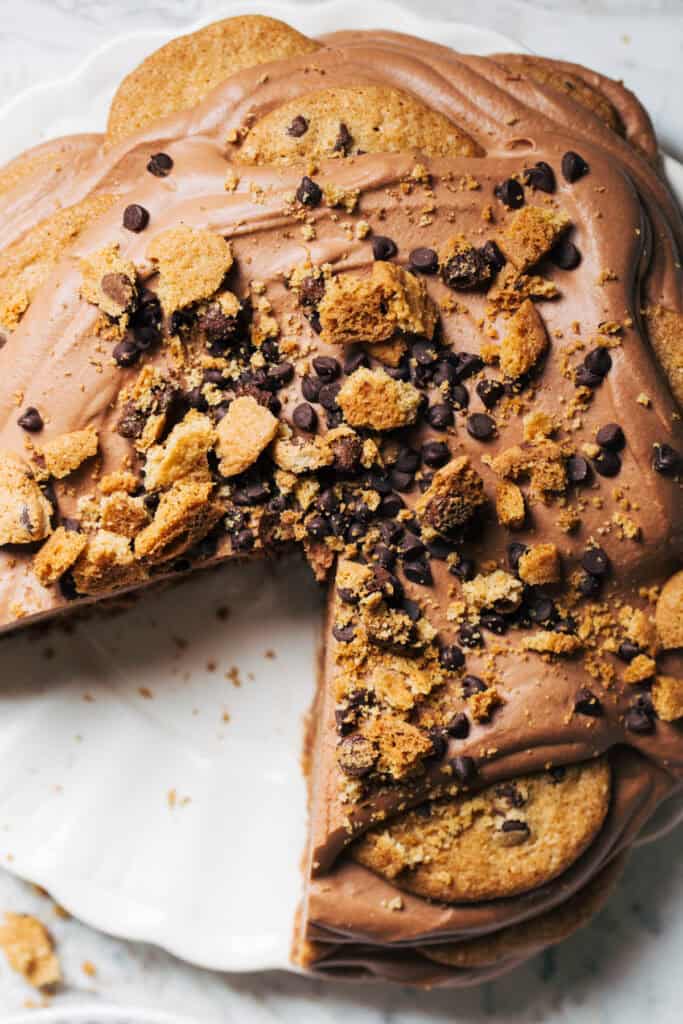
- Use crisp, crunchy chocolate chip cookies, not soft or chewy ones. The crisp texture is what allows them to transform into soft cake-like layers. My favorite are by Tate’s Bake Shop! Especially because they offer both a regular and gluten-free chocolate chip cookie.
- Finely chop the chocolate. If the chocolate is too chunky, it will have a hard time completely melting under the hot cream.
- Don’t let the cream get TOO hot. Microwave just until it starts to steam and bubble.
- Allow the ganache to rest and cool. Otherwise, the mousse won’t be thick enough during layering and if that happens, your cake won’t stack properly.
- Don’t over whip the cream. It should be thick enough to hold its shape while still remaining smooth and silky.
- Don’t skimp on the chill time. The longer the cake rests, the more beautifully the layers come together.
- Slice with a sharp knife, wiping it clean between cuts for neat, bakery-style slices. Serve the cake straight from the refrigerator for the cleanest slices and fluffiest mousse.
Chocolate Mousse Cookie Cake FAQs:
Any thin and crispy cookie will work! Tate’s is just the ideal option for this recipe.
This is the secret ingredient that makes the mousse so fluffy and delicious. I don’t recommend skipping it but if you don’t have access to marshmallow creme, it’s ok to leave out.
Lindt chocolate bars are the absolute best! Avoid chocolate chips as these contain emulsifiers that can prevent the mousse from setting properly.
You can make this up to two days in advance! Just to make sure the cake tastes fresh and not stale.
Sure! Let it sit overnight in the fridge, then cover and place in the freezer. Thaw in the fridge overnight before serving.
Keep this cake in the refrigerator! I find it stores just fine without having to be inside of a container.
Sure! A 9″ springform pan would be best. Run a knife around the edge before releasing it.
For more no bake desserts, check out my:
- No Bake Peanut Butter Pie
- Chocolate Mousse for Two
- Classic Tiramisu
- Life Changing Chocolate Pie
- Banana Pudding Ice Cream
- Key Lime Cookie Pie
Make sure to tag me @butternutbakery on Instagram and leave a review below if you make this chocolate mousse cookie cake. To pin this recipe and save it for later, you can use the button on the recipe card, the buttons above or below this post, or on any of the photos above. Happy baking!
Watch how to make this chocolate mousse cookie cake!
Print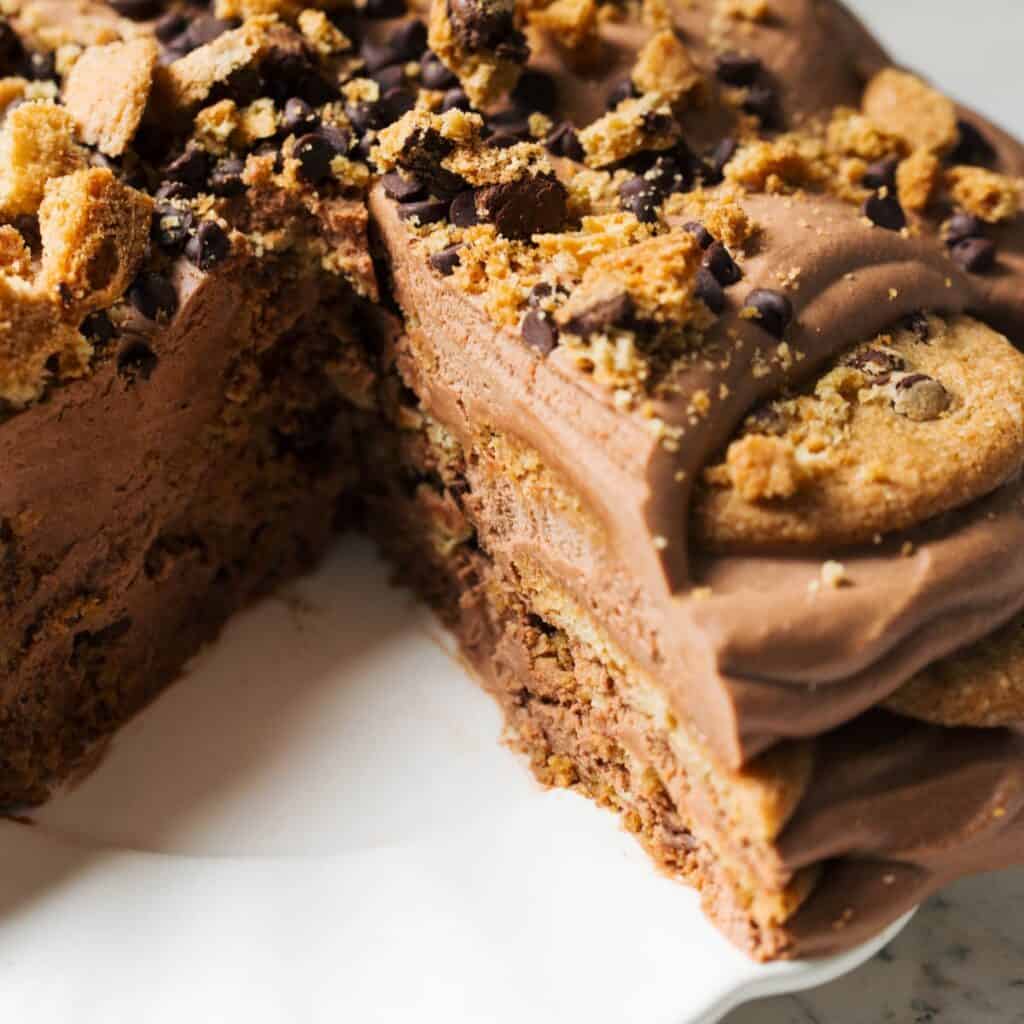
Chocolate Mousse Cookie Cake
This Chocolate Mousse Cookie Cake is what happens when an icebox cake meets a chocolate lover’s dream. Crisp chocolate chip cookies are layered with light, creamy chocolate mousse, then chilled overnight until the cookies soften into tender, cake-like layers. Rich, silky, and incredibly easy to make, it’s an impressive no-bake dessert that’s even better when made ahead!
- Prep Time 1 hour
- Chill Time Overnight
- Total Time 1 hour + Overnight
- Yield 12 slices
Ingredients
Chocolate Mousse Cookie Cake
- 4 oz 70% dark chocolate, finely chopped (don’t use chips)
- 4 oz milk chocolate, finely chopped (don’t use chips)
- 2 3/4 cups (660g) heavy whipping cream, divided
- 1/2 cup (42g) marshmallow creme
- 2 7 oz bags Tate’s Bake Shop chocolate chip cookies (regular or gluten free)
- Mini chocolate chips, for topping (optional)
Instructions
Chocolate Mousse Cookie Cake
- Add the chopped chocolate to a large bowl. In a microwave safe bowl (like a measuring glass), heat 3/4 cup (180g) of heavy cream just until it starts to bubble, about 90 seconds. Immediately pour it over the chocolate and jiggle the bowl until the chocolate is fully submerged. Rest for a few minutes, then whisk smooth. Set aside to cool for about 30 minutes before moving on.
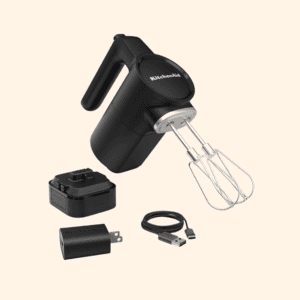
- In a large mixing bowl using a hand or stand mixer with the whisk attachment, whip the remaining 2 cups (480g) of heavy cream on high speed until it turns frothy (about 30 seconds), then add the marshmallow creme and whip on high until you reach stiff peaks, another minute. Be careful not to overwhip as it should hold its shape while still remaining smooth and creamy.
- Add half of the whipped cream to the cooled chocolate and fold to combine. Then add the rest and fold to create a silky smooth consistency.
- Dollop a small amount of mousse onto a large plate, just enough to allow the cookies to stay in place. Lay down 5 or 6 cookies (depending on the size of your plate) and spread ¼ of the mousse on top. Add another layer of cookies, then another ¼ of the mousse. Repeat this two more times with cookies, mousse, cookies, mousse.
- Top with a sprinkle of mini chocolate chips and save any leftover cookie pieces for tomorrow. Place the cake in the refrigerator overnight.
- The next day, crush the remaining cookies on top then slice and enjoy!
Equipment
 Buy Now
  Buy Now
 - Category: Dessert
- Method: No Bake
- Cuisine: American



Rate & Review