Artificial Lighting for Food Photography
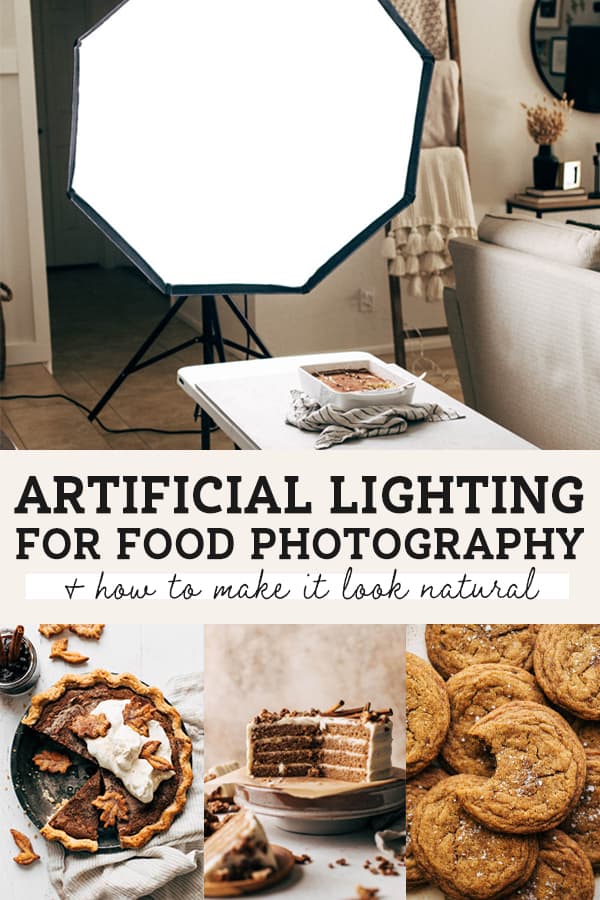
If you’re looking to transition your food photography lighting from natural to artificial, this post will help you make the switch. It can seem intimidating, overwhelming, and you may just not know where to start. Trust me, I’ve been there! But through tons of research and experimentation, I’ve found a feasible artificial lighting set up that closely mimics natural light. So much so that I now prefer artificial lighting and it’s the only light I use for my food photography!
Why make the switch from natural to artificial lighting?
This is something I toyed with for a very long time. I had become so used to natural light that I began making excuses as to why I should just stick with it. It’s something I already know very well, so why change it?
But the more I learned about artificial lighting, the more I realized that it was a better fit for me. Especially because I began to grow frustrated with natural light and wanted to explore other options. So if you’re still on the fence or need some convincing, here’s a few main reasons why I now prefer artificial lighting over natural light.
- Consistency – With natural light, I would have so much variation in the temperature and brightness of my photos. I could be shooting a plate of cookies and in one shot it would be well balanced and another it could show up very warm or way too bright. The natural light outside reflects off of buildings, grass, and cars which can reflect in on your scene. Now with artificial lighting, my photos come out much more consistent because there’s no variability in the temperature or brightness of my light source.
- Editing – Because of this consistency, editing my photos has become much more enjoyable. Before, I would have to tediously go back into my naturally lit photos to balance the temperature and brightness. With artificial lighting, I can now easily copy and paste my edits from one photo to the next with very few extra edits needed.
- Timing – Artificial lighting offers so much flexibility as far as when and where I want to shoot. With natural light, it used to be a race against the clock. I would have to start and end my shoots at very specific times in order to capture the BEST lighting of the day. Now, I can set up and shoot whenever I want. I can even shoot process shots one day and final shots the next, knowing that both shoots will be done under the exact same lighting.
- Manipulation – It is so much easier to adjust and manipulate my light to my liking. I can physically move around my light source and even adjust the strength of my light. This gives me so much more flexibility not only in my final shoots, but also with experimentation. It’s not until you can fully control your light that you begin to understand how light works.
This list could go on and on, especially because of how much I LOVE artificial lighting now. But to be honest, I heard all of these pros before making the switch and I was STILL hesitant to try it out. Mainly because I thought…these points are coming from people who have work with artificial lighting for years. It’s going to take me so long to make it look natural. Spoiler alert – it only took me 2 shoots before I started to become comfortable with my new artificial lighting set up. And the same can happen for you!
How to make artificial lighting look natural
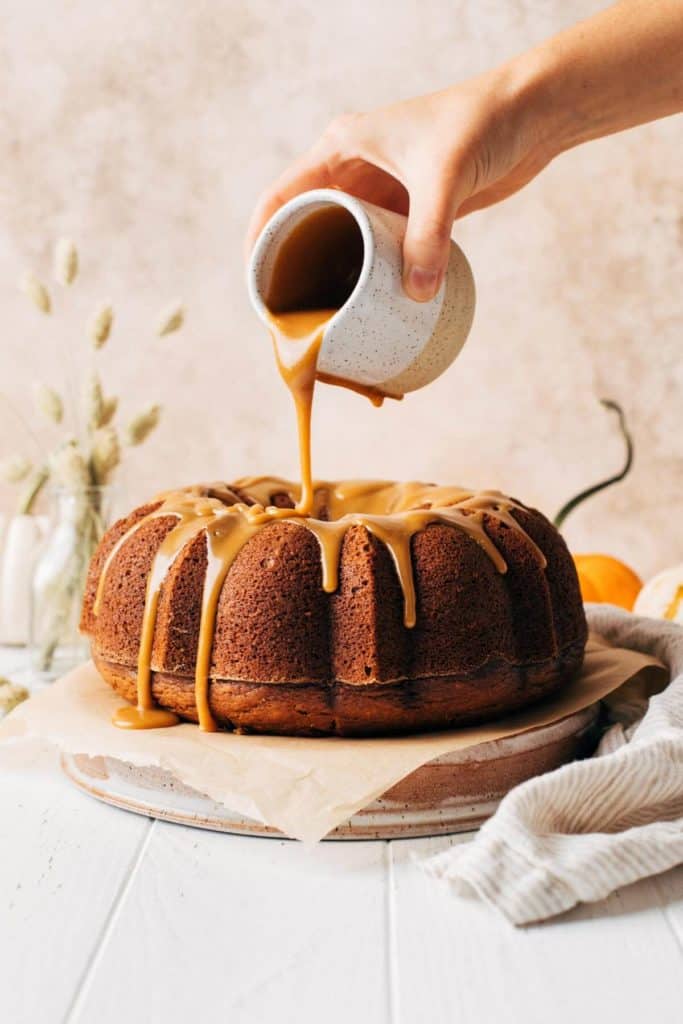
Can you believe the photo above was taken with artificial light? It’s bright, warm, and has a good balance of highlights and shadows. Can you also believe it was only my third time using my artificial lighting set up? With the right equipment, it really does most of the work for you. Here’s what you need to understand in order to make artificial light look as natural as possible:
Think about natural light first – What makes natural light look…natural? It’s how large the light source is, illuminating your entire set up. It’s how warm the temperature is, as it’s rarely ever too orange or too blue. It’s how it bounces off the highlights of your dish, while also cascading muddled shadows. It’s how soft and glowy it can be, especially when used with diffusers. This is all perfect for food photography, and can easily be mimicked by artifical lighting.
How to apply to artificial lighting – First, natural light often provides a huge light source. So, a large softbox is used to provide a wide glow to your photos (we’ll get into the technical terms like “softbox” below). As for the temperature, artificial lighting gets a bad reputation for giving off too blue of a light, but not if you look for the right kind of light. Many lights are now made to look just like natural daylight, and I’m sharing my favorite one down below. And since artificial lighting can sometimes be too strong or harsh, light diffusers are used to soften the light and evenly disperse that glow across your food scene.
What is the best artificial light equipment for food photography?
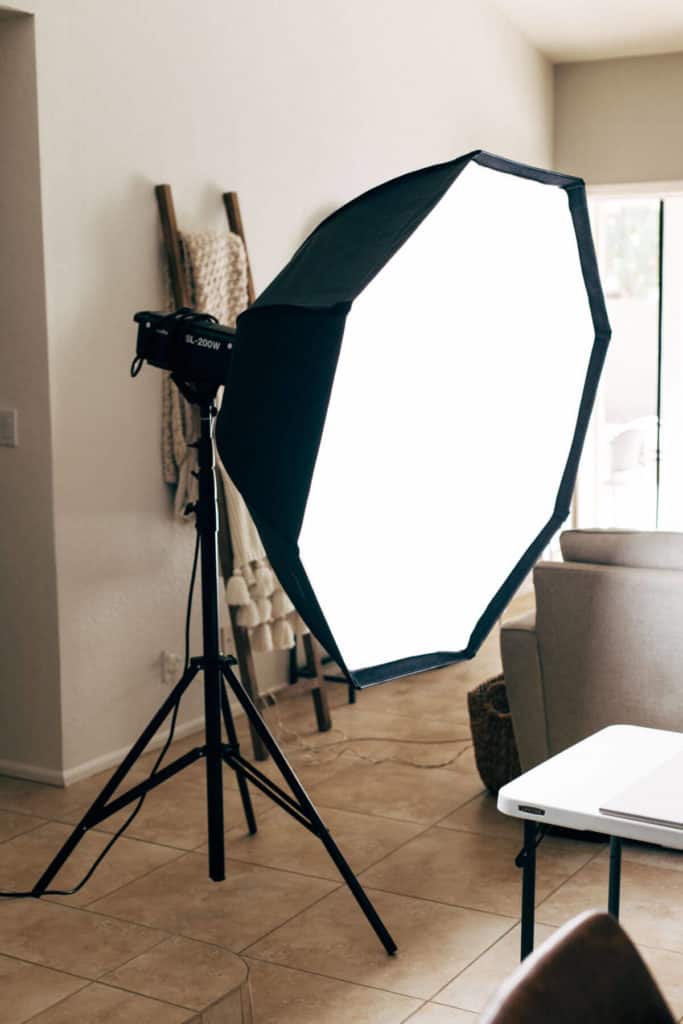
Now, there are MANY different types of light you can use which fall into two main categories – flash or continuous light. With flash, you can’t physically see the light on your food until you snap a photo. Continuous light, as shown here, acts like natural light as it’s constantly shining on your food. I prefer this option as it’s something I’m more comfortable with and I can utilize it for food videos as well. But if you want to dive in even further, I HIGHLY recommend watching The Bite Shot on YouTube. She breaks down everything you need to know about artificial lighting in easy-to-digest videos.
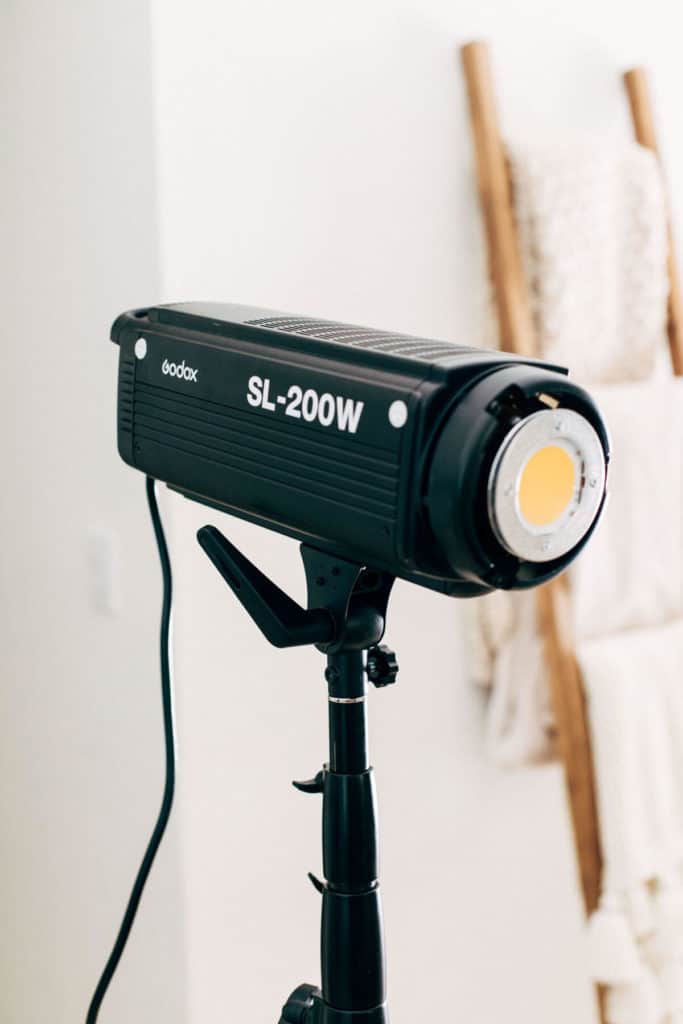
Here is what I use for my artificial lighting set up and I absolutely love it. It’s quick to set up and tear down, can easily be stored away, and does not require a steep learning curve.
Godox SL-150W Daylight Balanced LED Continuous Video Light – This light is very inexpensive compared to most high quality artificial lights, as some can cost thousands of dollars. It’s designed to work at a similar temperature to daylight, so it won’t read too blue or too orange in your photos. I personally use the 200W but I find I don’t need a light nearly that strong (here is my exact one). The 150W will do just fine and is a bit cheaper.
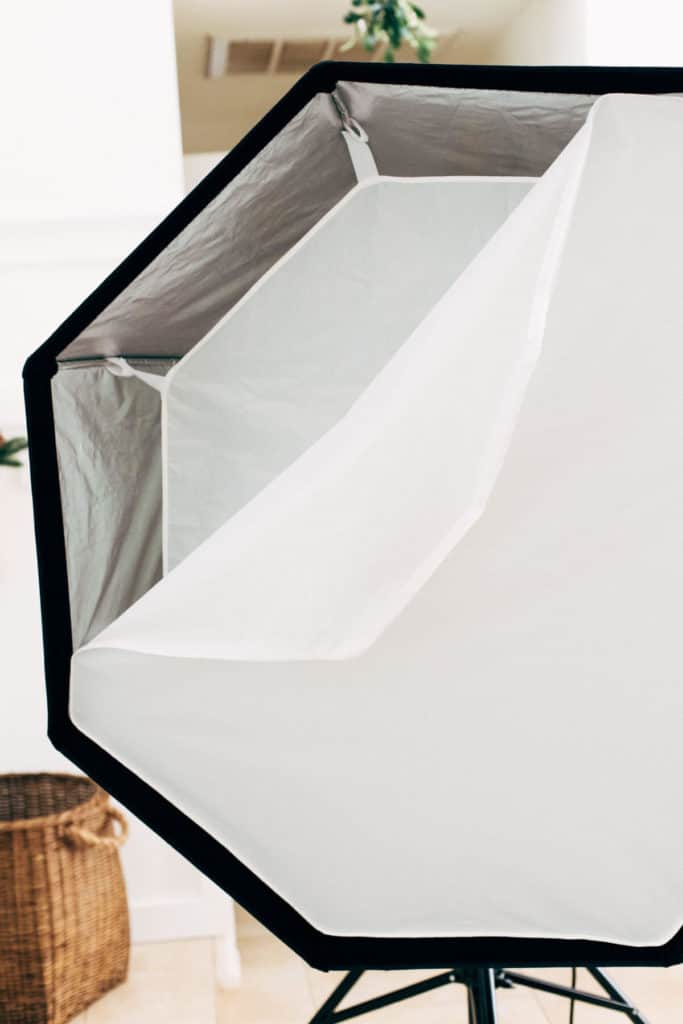
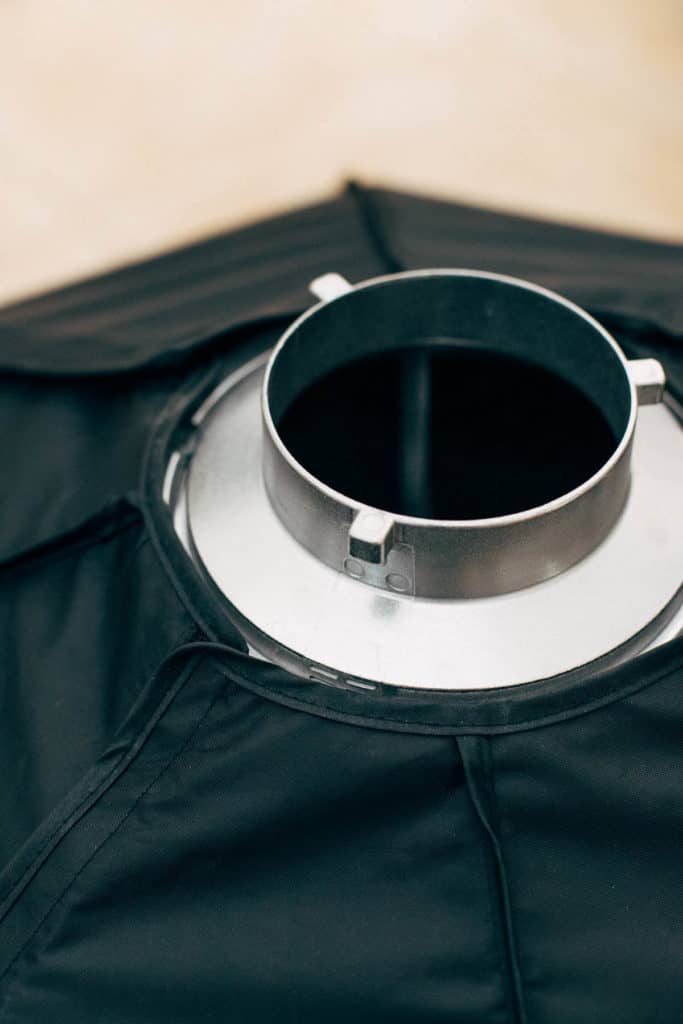
Octagon Softbox 48″ – The bigger the softbox, the better. This attaches on to your light in order to soften and diffuse. The reason why I love this 48″ softbox is because it’s basically the size of a large window. This will allow you to evenly glow your entire food set up, while also making it appear natural. Whichever softbox you go with, make sure it comes with a bowens mount. This is the most common mounting system for most lights as it just clicks right on. The light also comes with 2 diffusers, one for inside and outside of the light. These are necessary in order to further soften and disperse your light, just like natural light.
Light Stand – When using a large softbox, you’ll also need a tall light stand to hold its size. For me, this light stand is the perfect height. At its lowest, it’s level with my food photography table which provides me with the perfect amount of side light. But if needed, it can also reach up to 13 feet.
For any additional information about my camera gear and photography set up, check out this post.
Tips for shooting with artificial light
- Turn off all other overhead lights before shooting. Even if it’s in the next room, that subtle warm glow can affect your photos.
- Do not shoot near another window, as that light will also affect your scene. I tend to shoot with some windows in the distance and I haven’t had any issues, but you may or may not decide to block them out completely when shooting. It all depends on your preference.
- Run a few test shoots. Grab some cupcakes from the grocery store and experiment with your new set up. Play with the distance in which the light is from your scene, or at which height and tilt the light sits at. But remember the positioning of natural light, as copying that position will likely give you the best results.
- Watch out for your shadows, as they may be a bit darker than you’re used to. I found this was the case for me, but I also preferred it. If you still want that light and bright look, use a large white board and place it opposite of your light source. This will help lighten those dark shadows.

Now that you’ve learned the basics and understand which equipment works best, you’re on your way to fully converting to artificial lighting. As someone who shot with natural light for 2 years, the short time I’ve been shooting with artificial light has provided me with polished and professional photos that I always struggled to get with natural.
It has easily leveled up my photography game and made the entire shooting process much more enjoyable. No more chasing down that late morning light, no more cramming shoots into a few hours, and no more time wasted balancing my photos in editing. It has been life changing for me and I know it will do the same for you!
Join Our Community

Meet Jenna
I’m the creator, baker, and photographer behind Butternut Bakery. Here I share desserts for every diet because I believe everyone should have a chance to indulge!
This really helped. Though I don’t have a lot of money to buy all of these, I will be starting a food business to save money. This was really good worded and helped me understand even as English not my first language! Thank you.
Thank you for this helpful article, Jenna! I followed your instructions and am now experimenting with this new set up. Question: It seems that the Godox SL200 video light has a fixed color temperature of 5600k. Is yours the same? Did you have any issues with this being too blue for mimicking artificial light? Curious how you handled this.
Thank you and thank you again for the helpful article!