Fudgy Peppermint Brownies
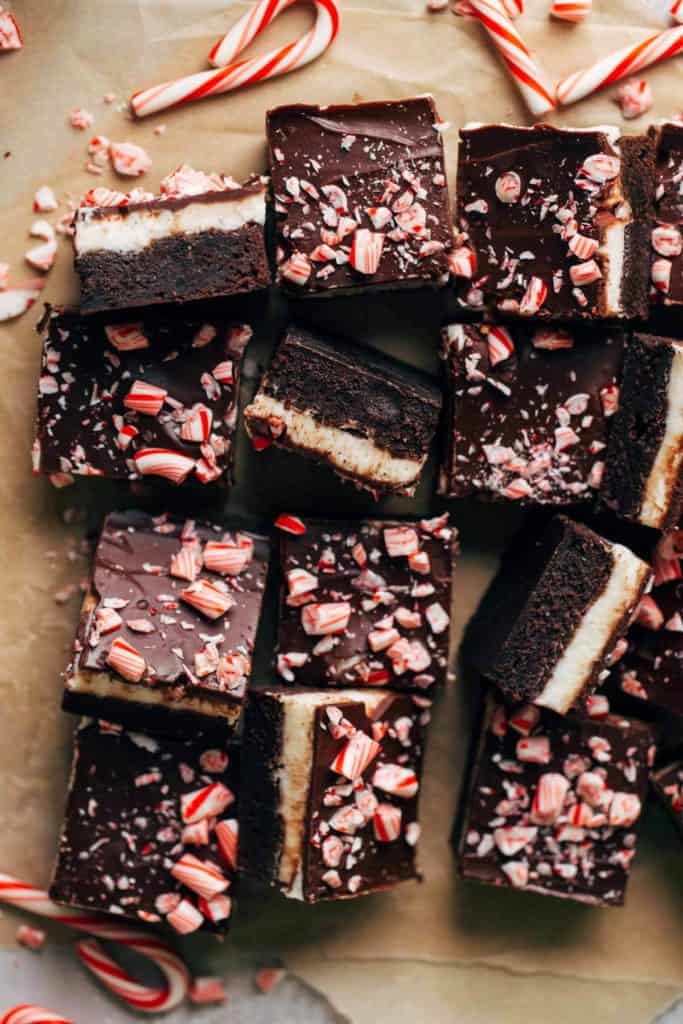
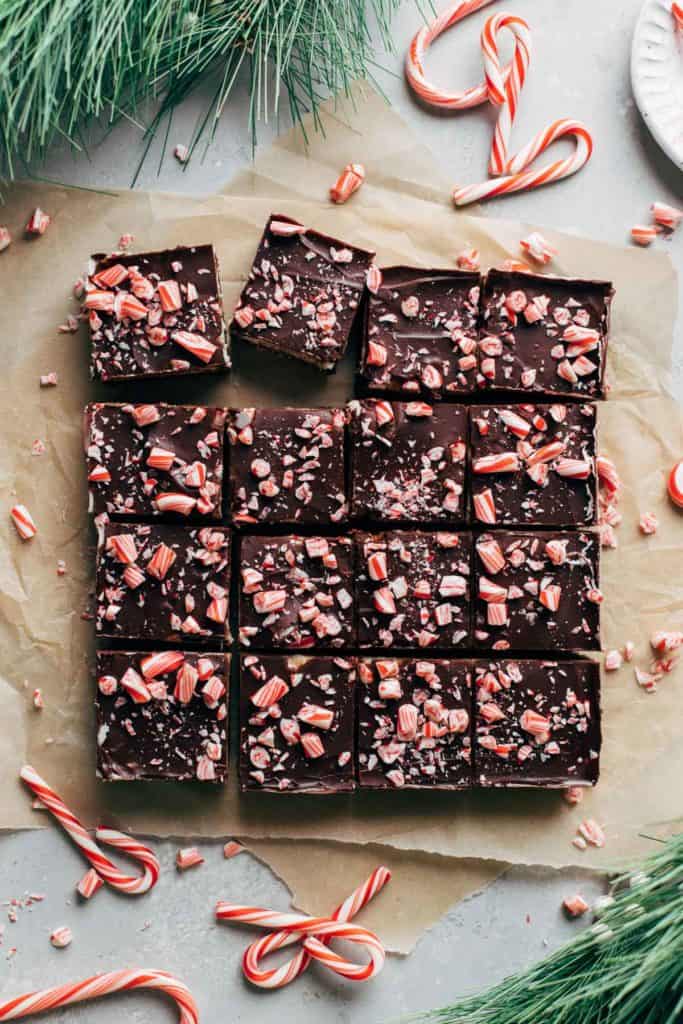
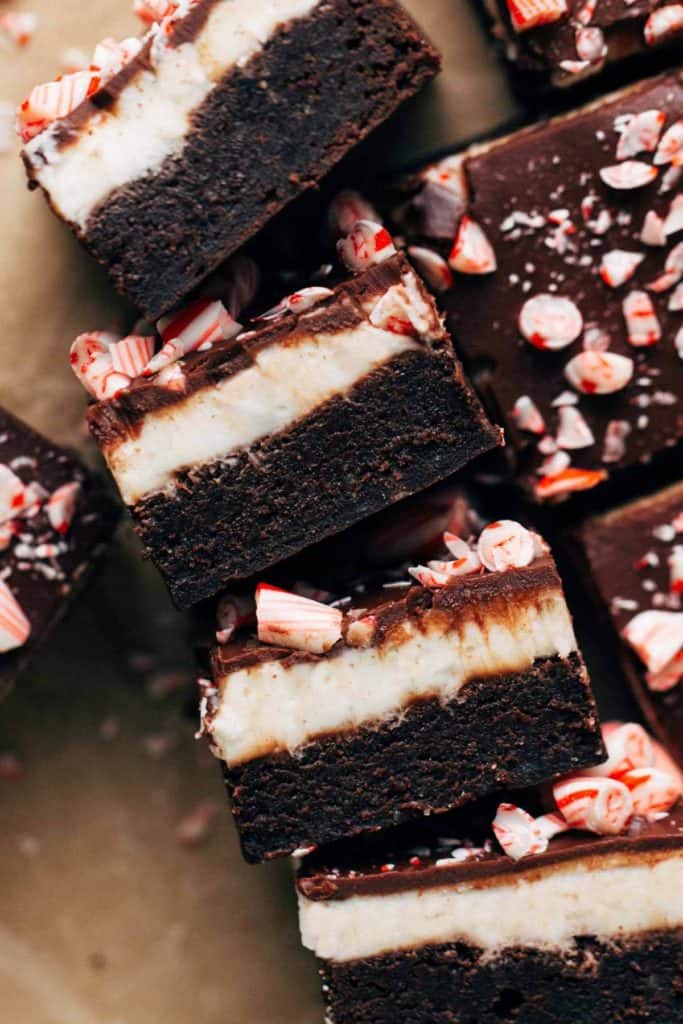
These extra fudgy peppermint brownies are the perfect holiday treat! The brownie base is quick and easy to make, which is then topped with a silky peppermint cream, more chocolate and a sprinkling of crushed candy canes. It has the perfect balance of rich chocolate and bright peppermint flavor, all with a rich and creamy texture and hints of crunchy candy canes.
This post is sponsored by Eggland’s Best but all thoughts and opinions are my own. Thank you for supporting the brands that make Butternut Bakery possible!
The secret to dense and fudgy brownies
Achieving that perfect fudgy brownie texture can be so tricky. They either turn out too cakey, too runny, or a bit too dense. But not with this recipe! These brownies turn out perfectly fudgy and chewy every single time. Here are a few things to keep in mind to ensure yours turn out just right:
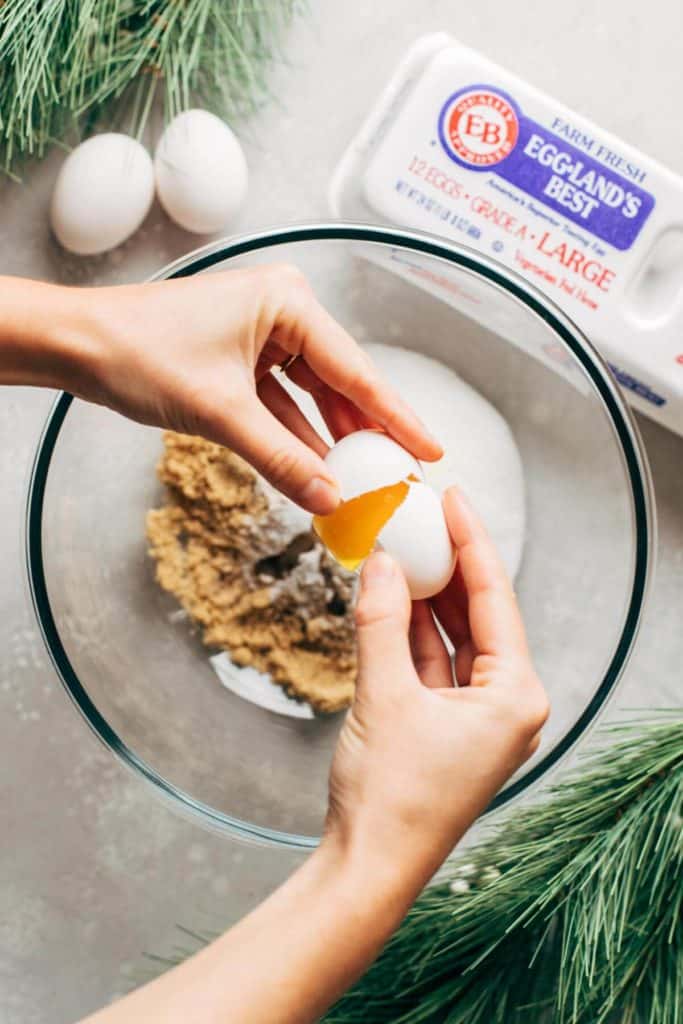
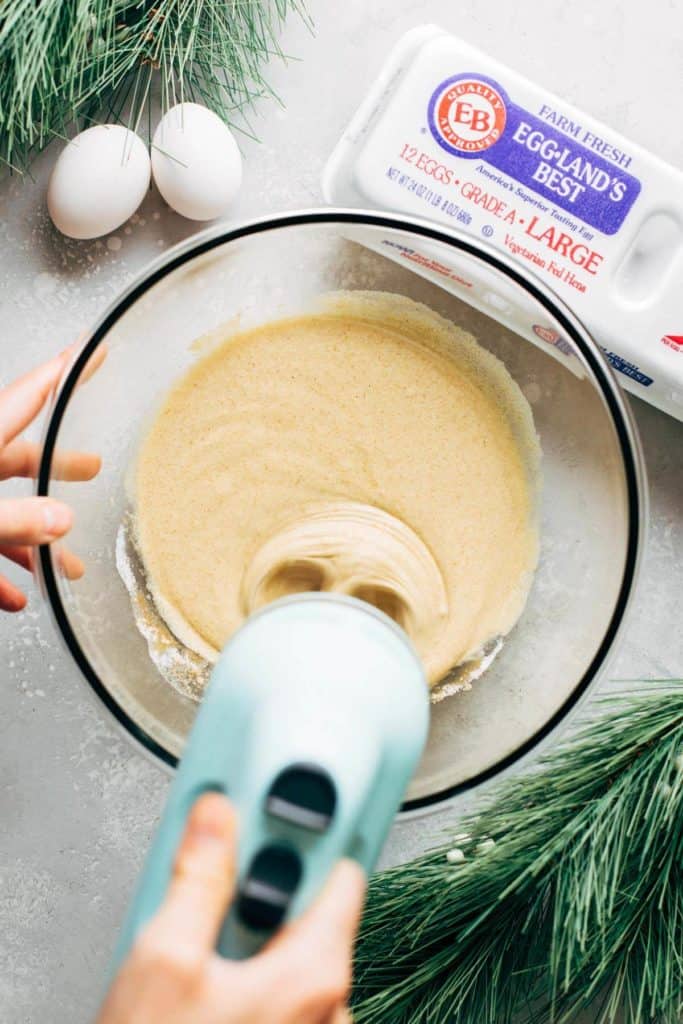
- Fully whip the sugar and Eggland’s Best eggs – This is the secret to getting chewy and fudgy brownies but is a step that’s often neglected. Whipping the sugar and eggs until pale and frothy ensures the sugar is completely dissolved, leaving you with a really smooth brownie texture. I always bake my brownies with Eggland’s Best eggs. This step requires real quality ingredients as it’s the base to any good brownie recipe, and Eggland’s Best always gives me the best outcome (they have the word “best” in their name after all). Not only do their eggs stay fresher longer than ordinary eggs, but they contain 6x more vitamin D and more than double the Omega-3’s than ordinary eggs. This richness provides a really stable base that’s sure to give you the best homemade brownie you’ve ever had. You can learn more about Eggland’s Best superior nutrition here.
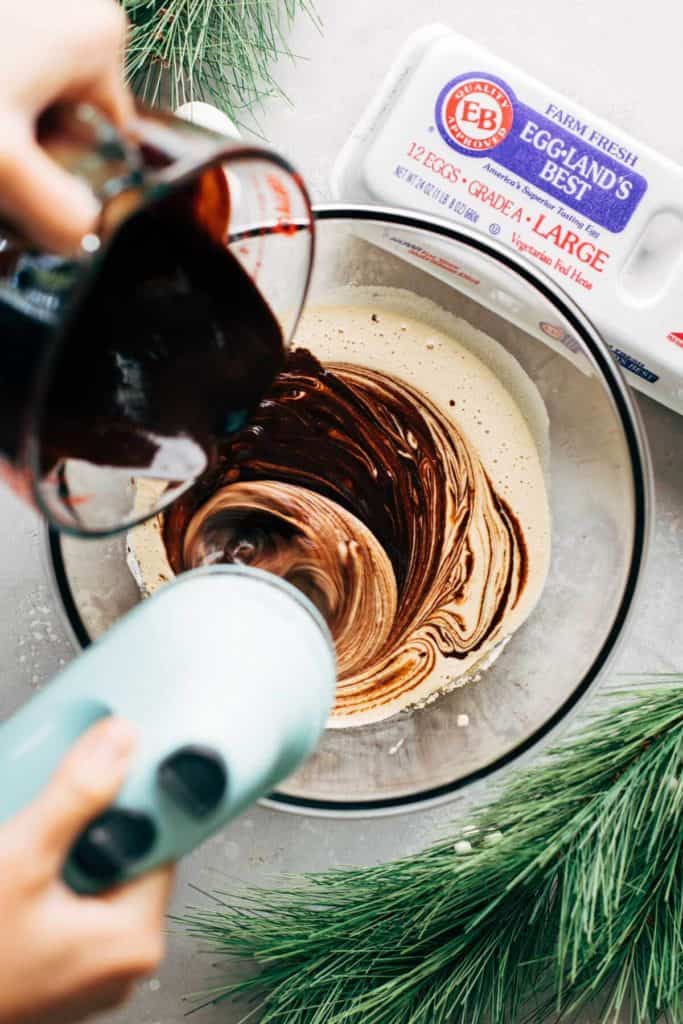
- Use melted chocolate – Adding melted chocolate to the batter, alongside cocoa powder, not only enhances the chocolate flavor but also gives these brownies a rich fudgy texture. Once the brownies have cooled, the chocolate slowly starts to solidify. This helps hold the brownie together in order to create those buttery smooth slices, just like fudge.
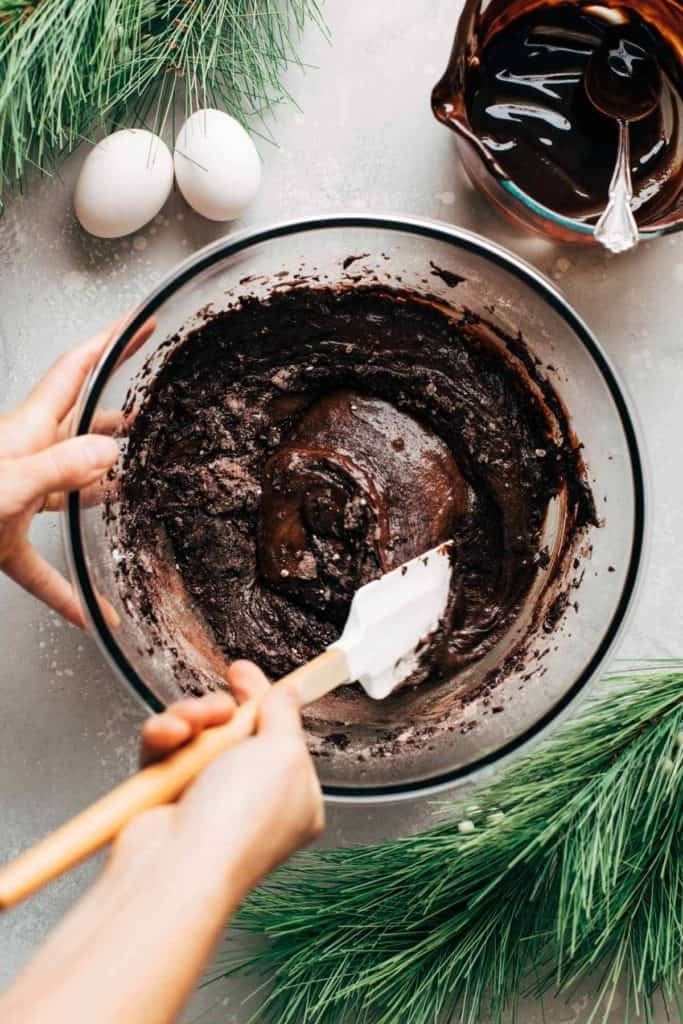
- Don’t over mix – When adding in the dry ingredients, ditch the whisk or electric mixer and switch to a rubber spatula. This is much gentler on the batter, so it’s easier to prevent over mixing. Stop just when the flour is completely absorbed. If a few dry lumps remain, refrain from mixing any further. It’s best to leave the batter a bit lumpy than to keep mixing. Over-mixing will give you a tough brownie, rather than a tender and chewy brownie.
The last step is to be careful and not over-bake the brownies. The sweet spot is between 20-25 minutes. If you’re unsure of their doneness, it’s best to take them out of the oven. Under baking is better than over-baking in this case. As the brownies chill, any under baked portions will solidify to create that sought after fudgy texture.
Peppermint cream topping
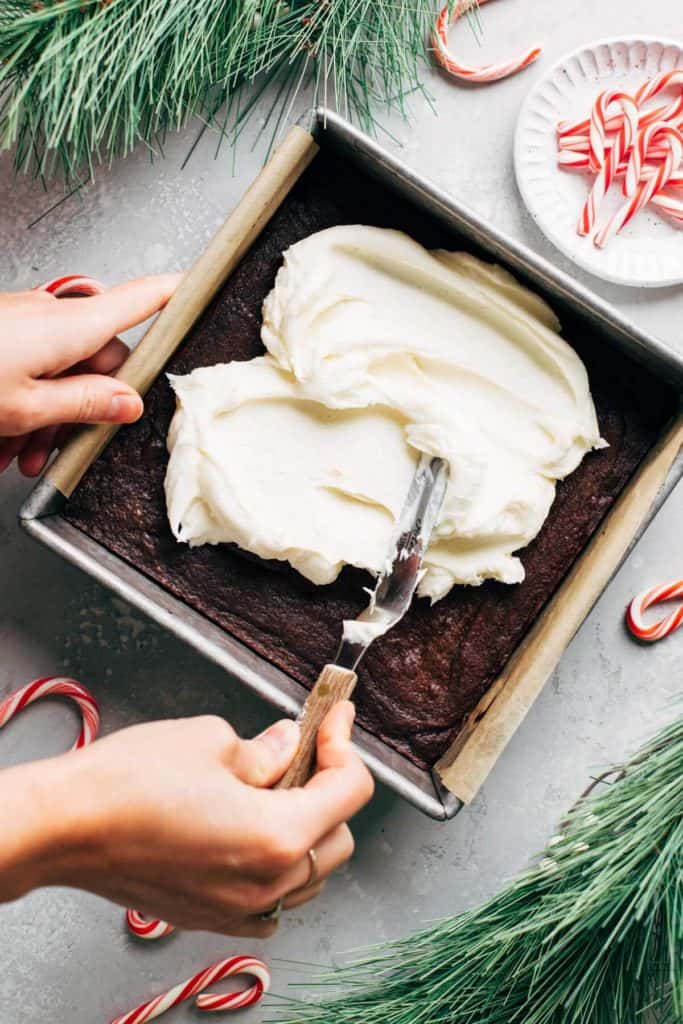
To balance out the dark richness of the brownies, a light and flavorful peppermint cream is spread on top. It’s very easy to make, and only contains a few simple ingredients:
- Cream cheese
- Butter
- Powdered sugar
- Milk
- Peppermint extract
All 5 ingredients are mixed together to create a smooth but sturdy buttercream that holds all of that peppermint flavor.
Most importantly, make sure your cream cheese and butter are softened before you begin mixing. If they’re too cold, the buttercream will turn out hard and lumpy.
As for the peppermint, you can choose to add either 1/4 teaspoon or 1/2 teaspoon to the recipe. I prefer 1/2 teaspoon because I love that strong peppermint flavor, but if you prefer a more subtle peppermint, just use 1/4 teaspoon.
How to make layered brownies
These brownies contain 4 layers: brownie, peppermint cream, chocolate and candy canes. In order to make sure each layer is distinct, it’s important to allow each to cool before adding the next.
For the brownies, you must let them completely chill before spreading on the buttercream. If they’re even slightly warm, the buttercream will slip and slide all over the surface of the brownies.
But because these brownies are dense and chewy, you shouldn’t have any issues with spreading the buttercream. Since they’re made with Eggland’s Best eggs, the high amount of Omega-3’s gives these brownies a rich but firm texture.
Once the buttercream is added, this also must set and chill. If it’s too soft, the next chocolate layer will blend into the buttercream, leaving a mess on top of the brownies.
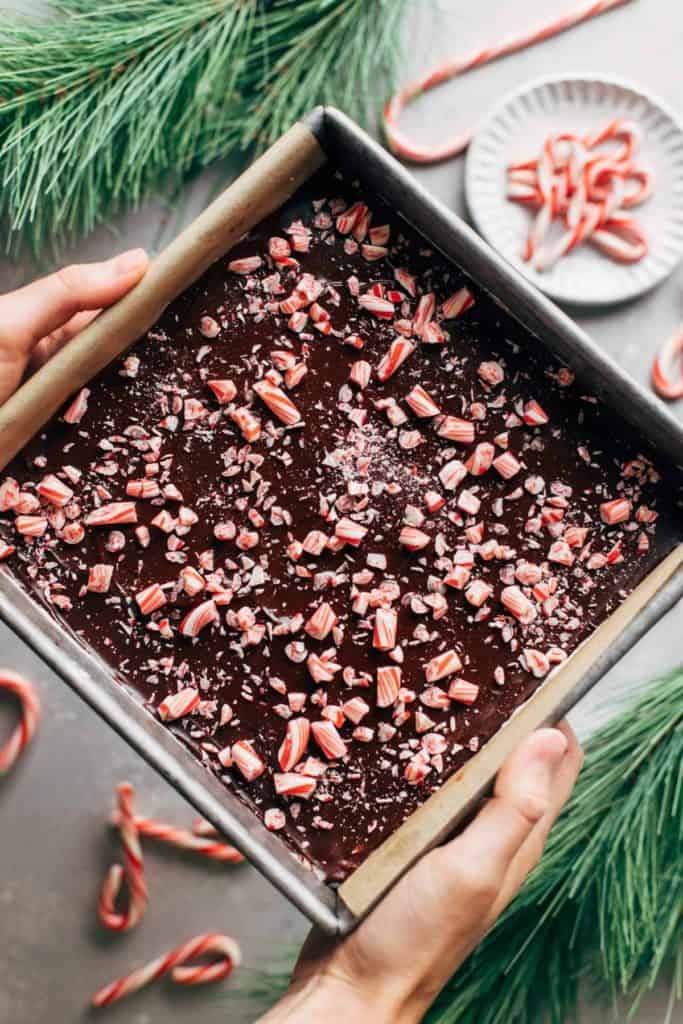
But once the final chocolate layer is on, the crushed candy canes can be added right after. When the chocolate is still wet, it allows the candy canes to stick. If you wait until the chocolate is set, the candy canes will fall right off.
After all the layers have been set, the brownies are ready to slice and enjoy!
The best way to crush candy canes
For this recipe, you will need roughly 4-5 normal sized candy canes, depending on how dense of a topping you prefer.
To crush the candy canes, unwrap then and place into a plastic bag. Using a rolling pin, meat mallet, or anything that’s flat and heavy, hit the bag to crush the candy canes inside.
Try to get some variability in size, ranging from candy cane dust to small candy cane pieces. I find the candy cane “dust” tends to dissolve into the chocolate over time, but the large chunks stay in tact. This will allow you to get much more time out of the brownies.
How to serve your peppermint brownies
Once the final layer of chocolate and candy canes has chilled, simply lift the brownies out of the pan to slice. If they stick, run a knife along the edges to release. Do not try to forcefully pull the brownies out, as they can break.
Once they’re easy to lift out, place on to a cutting board and slice into 16 slices. For the best results, use a very large and sharp knife to make swift one-motion cuts. If you drag along the knife, the layers will smear and muddle.
Can these brownies be made gluten-free?
Although I haven’t tested it, you may be able to swap the flour with a good quality gluten free baking flour. The Eggland’s Best eggs in this recipe are more than enough to help hold the brownies together, especially with their high protein content, but just make sure your flour has xanthan gum in order to mimic that chewy texture you would otherwise get from gluten.
Can the brownie base be made ahead of time?
Yes, you can easily make the brownies the day before. Allow the brownies to cool uncovered in the refrigerator for about an hour, then wrap in plastic wrap and chill overnight. Covering the pan will prevent the brownies from drying out, but wrapping them while they’re still warm can cause condensation.
How to store peppermint brownies
These brownies can be stored in an air tight container at room temperature for up to 2 days, or in the refrigerator for up to 1 week. The only change will be with the candy canes, as they may slowly melt into the chocolate over time.
Make sure to tag me @butternutbakery on Instagram and comment below if you make these Peppermint Brownies. To pin this recipe and save it for later, you can use the button on the recipe card or on any of the photos above. Happy baking!
Watch how to make these peppermint brownies:

Fudgy Peppermint Brownies
- Total Time: 1 hour 20 minutes + 2 hours cooling
- Yield: 16 brownies
Description
These extra fudgy brownies are topped with a peppermint cream cheese buttercream, chocolate ganache, and crushed candy canes.
Ingredients
Brownies
- 10 tbsp unsalted butter
- 4 oz dark chocolate, chopped
- 3/4 cup (150g) light brown sugar
- 1/2 cup (100g) granulated sugar
- 2 large classic Eggland’s Best eggs
- 1 tsp vanilla extract
- 3/4 cup (95g) all-purpose flour
- 1/4 cup (20g) unsweetened cocoa powder (dark cocoa preferred)
- 1/4 tsp salt
Peppermint Cream
- 1/4 cup (55g) unsalted butter, room temp
- 2 oz cream cheese, room temp
- 2 1/2 cups powdered sugar
- 1 tbsp milk
- 1/2 tsp peppermint extract
Chocolate
- 3 oz dark chocolate, chopped
- 2 tbsp unsalted butter
- 1 tsp oil, if needed
- 4–5 candy canes, crushed
Instructions
Brownies
- Preheat the oven to 350F and prepare a square 8×8 baking dish. Grease the inside with nonstick spray and line the bottom and sides with parchment paper, allowing some of the paper to hang over the edges.
- In a heat-safe bowl, add the butter and chocolate. Melt in the microwave in 30 second intervals until smooth (should take about 60 seconds total). Set aside.
- In a small bowl, whisk together the flour, cocoa powder, and salt. Set aside.
- In a large mixing bowl, add the brown sugar, sugar, and Eggland’s Best eggs. Either using an electric mixer or a whisk, whip the sugar and eggs until they are pale and frothy. It will take a bit of extra elbow grease if done by hand.
- Mix in the vanilla.
- While mixing, pour in the chocolate and butter mixture until combined.
- Dump in all of the dry ingredients and mix until just combined. Do not over mix.
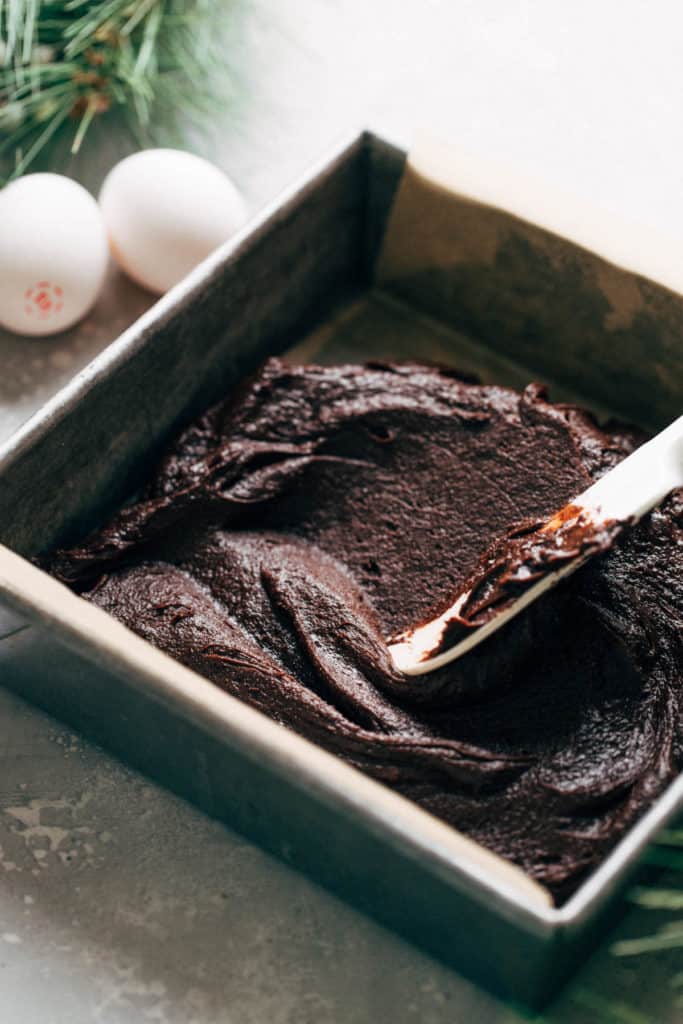
- Pour into the prepared baking dish and spread the batter even. Bake for 20-25 minutes or until the top appears to be glossy and slightly puffed. If you used unsweetened chocolate, the top will be more matte. Don’t over bake.
- Allow the brownies to cool completely. Leave them at room temperature for 20 minutes, then transfer to the refrigerator to continue cooling uncovered for about 1-2 hours. Only spread on the buttercream when the bottom center of the pan is completely cooled.
Peppermint Cream
- Using an electric mixer, cream together the butter and cream cheese.
- Once smooth, mix in the powdered sugar 1 cup at a time. In between cups, mix in the milk and peppermint extract.
- Spread in an even layer on top of the cooled brownies. Place the pan in the freezer for at least 30 minutes to allow the buttercream to set before adding the chocolate on top.
Chocolate
- In a heat-safe bowl, add the chocolate and butter. Melt in the microwave in 30 second intervals until smooth (about 60 seconds total). If it’s still a bit too thick to drizzle on top of the brownies, add 1 teaspoon of oil to help thin it out.
- Pour on top of the set buttercream and spread it even.
- Top with the crushed candy canes and transfer the pan to the refrigerator for about 20 minutes to allow the chocolate to set. Then slice and enjoy!
- Prep Time: 1 hour
- Cook Time: 20 minutes
Join Our Community

Meet Jenna
I’m the creator, baker, and photographer behind Butternut Bakery. Here I share desserts for every diet because I believe everyone should have a chance to indulge!


Amazing! Best brownie I’ve ever baked!
Man we’re these a labor of love! Took a while but worth it
Fantastically decadent!
Made these for Christmas and my family absolutely LOVED them. I was scared the brownie may have dried out because i accidentally left it uncovered overnight but when I cut into it it was SUPER fudgy and moist (I baked it for about 22 min). The cream and ganache were amazing. Cannot stress how good these were.
Jenna these look amazing! Can the recipe be doubled and put into a 9×13 pan? Would that slightly add time to the bake time?
She’s great, just old (15), so she does hydrotherapy once a week to help her muscles and joints. The ladies at the vet also gave the brownies rave reviews!
Made these yesterday to bring to everyone at my dog’s vet (she is there weekly for physical therapy so we try to treat them every now and then). Of course I had to try one (quality control!) – they are delicious!! I ate one right out of the fridge and it reminded me of my childhood days sneaking york peppermint patties out of my grandma’s fridge. They are so fudgy but also creamy with the peppermint buttercream. Will definitely be making these again soon!
My family loved these! I had trouble finding where to add the first chocolate ganache, but the video indicates to add it to the egg and sugar mixture before the flour. The flavor of everything was wonderful. Mine were overdone in 20 minutes, so I made a note to check them earlier next time. These look so fun and festive! Thank you for the recipe!
Thank you for this! Making these now. I think I’m missing where you add the first melted butter and chocolate. Can’t wait to try these!