This post may include affiliate links, please see our privacy policy for details.
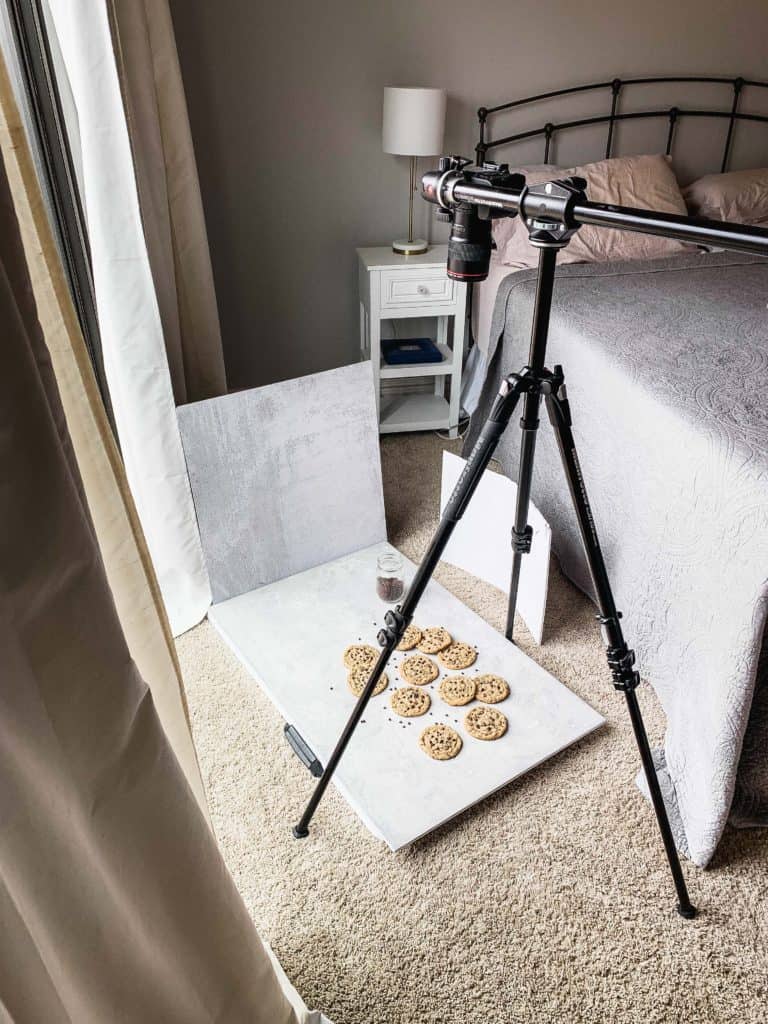
Welcome to my photography studio, AKA the tiny space of natural light between my patio door and the edge of my bed. This is where I bring all of my recipes to life! In this post, I’m sharing all the food photography gear I use to not only take the perfect picture, but to set the scene and create beautiful food images using all natural lighting. It’s minimal, efficient, and all I’ll ever need.

My Favorite Camera for Food Photography
Canon EOS 6D mark ii – I recently upgraded from my 6D to the 6D mark ii. I did this for two main reasons: One, it was becoming too tedious to switch out my lenses using just one camera for my shoots. Two, I needed another camera to make recipe videos. I expected this camera to be second-in-line to my regular 6D, but the flip out screen has me constantly grabbing for my 6D mark ii. The flip screen makes it SO much easier to take overhead shots, as I can flip it out to eye level rather than trying to peak my head over my camera to see if I’m in focus. I’m also able to fully flip the screen all the way around which makes it much easier to frame my action shots. I could honestly go on and on as to why I love this camera so much!
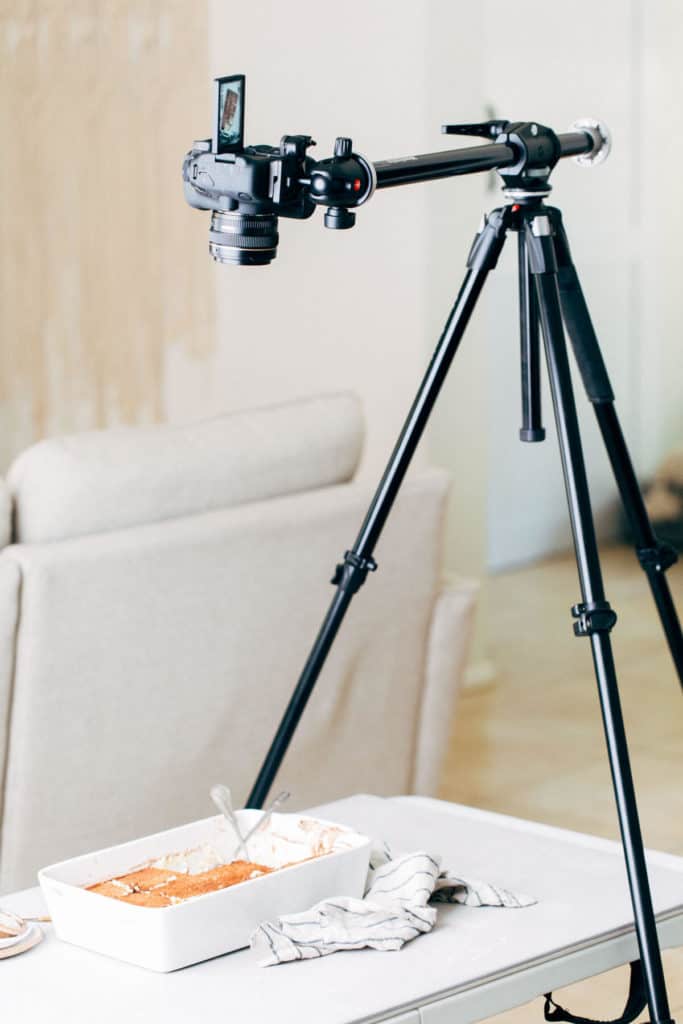
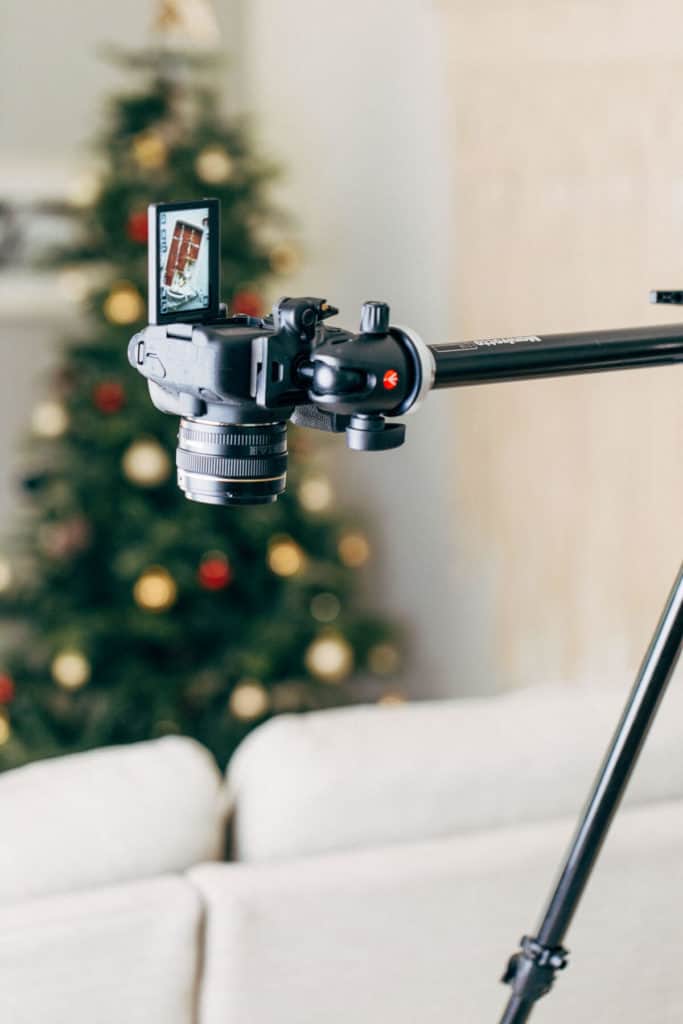
Canon EOS 6D – This little camera gives me the biggest bang for my buck. It’s relativity inexpensive, as far as DSLR cameras go, and delivers crisp and professional photos. It’s also light weight, full frame, and comes equipped with Wifi.
I didn’t use the Wifi feature for the longest time until I discovered the Canon CameraConnect app. I can connect my iPhone to my camera via Wifi for remote shooting. It allows me to see exactly what my camera sees, just through my phone! I use this for pour shots, shots with my hands in the frame, or when my camera is too high for me to see the viewfinder. It’s minimal, wireless, and the easiest remote set up you can have. My 6D mark ii also has Wifi, but I find I don’t use it as often as the regular 6D because of the flip around screen.
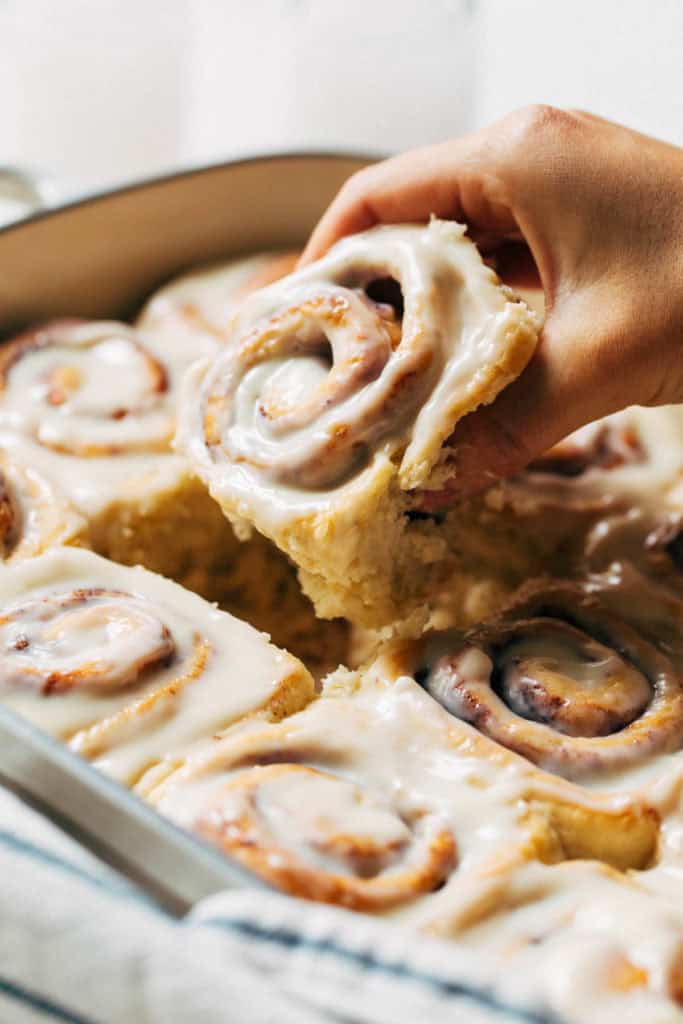
Recipe: BEST Homemade Cinnamon Rolls
The two lenses I use for my food photos
Canon EF 50mm f/1.4 – This is the first lens I ever bought and I haven’t stopped using it since. It’s one of the best food photography lenses for beginners because it’s very inexpensive and is perfect for capturing flat lays or an entire scene.
This is the lens used in the first picture below. Both images where taken at the same distance and in the same setting. You can see this lens captures a much wider angle. It’s also very versatile and can be used for portraits or scenery. The lens is so small and light weight that it’s perfect to travel with.
Canon EF 100mm f/2.8 – This is hands down the best investment I’ve made in my food photography kit. If you’re wanting to splurge on a high quality lens, this is the one to get for your food photos. Since it’s a macro lens, it captures so much detail and makes your subject look sharp and crisp. Using this lens, my desserts look exactly as they do in real life…only better!
This is the lens used in the second photo below. Again, both were taken at the same distance. You can see how it captures the wrinkles and chocolate chips more so than the 50mm.
Both of these lenses serve a specific purpose. I use the 50mm when I need to capture more of the scene. The 100mm is for when I want to get that perfect bite shot or zoom in on the details of a dessert. That being said, these are the only two lenses I ever really need.


Recipe: Peanut Butter Chocolate Chip Cookies
Versatile Food Photography Tripod
Manfrotto 290 Xtra Aluminum 3-Section Tripod Kit with Ball Head – It took me a while to find a decent tripod. There are so many out there at so many different price points that it’s tough to decide which one will work best for you.
But this tripod checked all the boxes for me. It’s sturdy, made with quality materials, relatively inexpensive (as far as good tripods go), and allows me to capture many different angles due to the flexible ball head. I used to despise shooting with a tripod but now I don’t know what I would do without it!
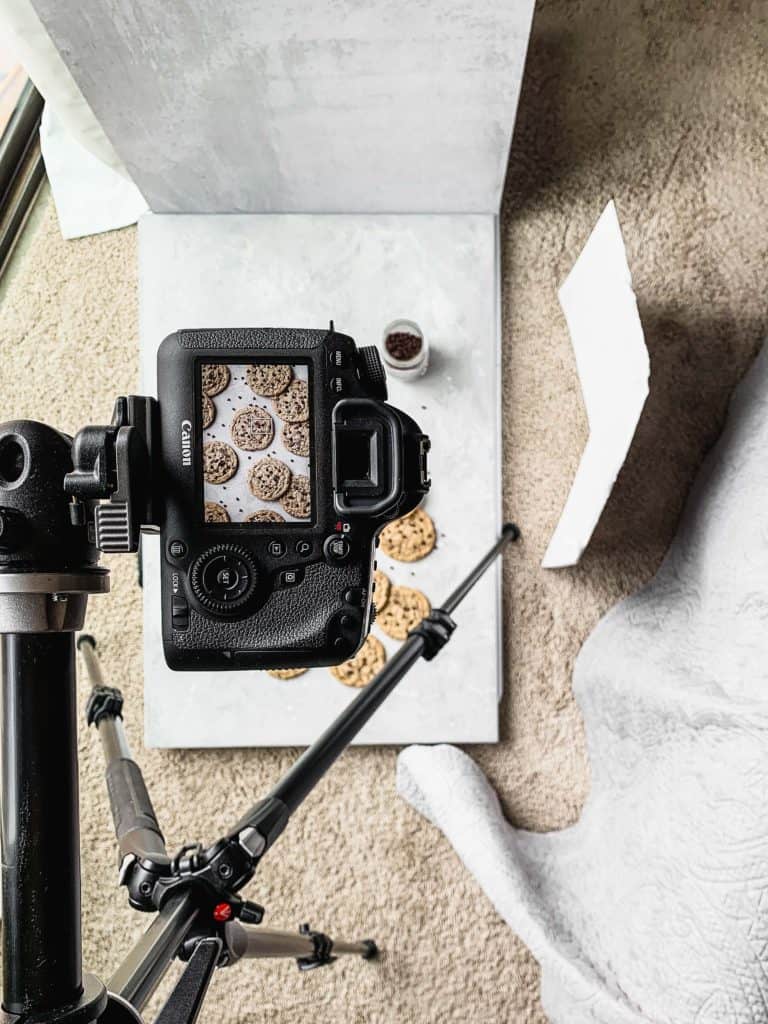
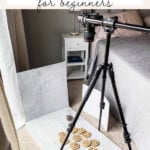
Manfrotto Reproduction Arm – This is an extension to the Manfrotto tripod. It’s what you see in the two pictures to follow as it allows me to take hands-free flat lay photos. You simply remove the ball head of the tripod and twist this on to the top.
This is when I usually whip out the handy CameraConnect app so I can be down below, adjusting the cookies and looking at my phone to see what the camera sees. It allows me to make those tiny adjustments all while my camera remains in the exact same spot.
Food Photography Backdrops
Replica Surfaces – Mandy has a beautiful selection of very inexpensive yet quality backdrops. Cement is the backdrop I use in almost all of my photos (shown as the background in the photos you see here).
Capture by Lucy Backdrops – Lucy captures textures and images from her travels and turns them into beautiful vinyl backdrops. Whether you’re looking for stone, wood, marble, or metal, she has backdrops in so many different colors and textures. And because they’re vinyl, they’re easy to clean and roll up for storage.
Woodville Workshop – These cost a pretty penny but are so worth the investment. All of their backdrops are handmade and no two are the same. Each backdrop also comes with a front and back so it’s two designs in one. They have so many options with beautiful tones, textures, and colors. The one shown as the base board below (and my personal favorite) is called Lima.
All of these backdrops are easy to clean. I’ve dripped caramel, chocolate, honey, you name it all over these backdrops and they’re easy to wipe clean.
Food Photography Editing Software
Lightroom Classic (Adobe Photography Plan) – This is the plan I use and can’t live without. I edit all of my photos in Lightroom Classic on my laptop. It’s equipped with all the knobs and levers I need to make my photos pop.
The plan also comes with Photoshop for desktop as well as Lightroom CC for mobile. I rarely ever use Photoshop (it’s kind of overwhelming to me) but Lightroom CC is great for editing photos on the go.

Additional photo gear
Light Diffuser – I didn’t use this when photographing these cookies as it was a cloudy day, but when the sun in shining (which is ALL the time in AZ) I hang this light diffusing sheet in front of light source. It softens the light so my photos aren’t too harsh or blown out.
Adjustable Table – This is what I place my entire set up on. It’s usually just on the floor, but sometimes I raise it up depending on the lighting. I like it because it’s adjustable to 3 different heights and it’s easy to fold up and store away.
32GB Memory Card – This is compatible with the Canon 6D and has plenty of storage for me. Since I shoot in RAW, I need a memory card big enough to hold all of those large files. This one does the trick.
External Hard Drive – Speaking of storage, I definitely don’t want to overload my computer. I keep an external hard drive and cycle out some files every couple months. It keeps my MacBook running smoothly.

As far as food photography kits go, this one is pretty minimal and I like to keep it that way! I have exactly what I need to create beautiful food photos in my little tiny space. If you have any questions, don’t hesitate to ask. Leave a comment below and I’ll answer as soon as I can.
Also know that most of the links in this post are affiliate links, meaning I make a small commission from each purchase. I myself purchased everything listed here via the links I’ve provided (because my life revolves around Amazon), but you can also purchase some of these items used to help cut costs. I recommend checking out eBay for any camera equipment…just make sure to read the reviews and buy from a reputable seller.

Rate & Review