Toasted Marshmallow Lava Cakes
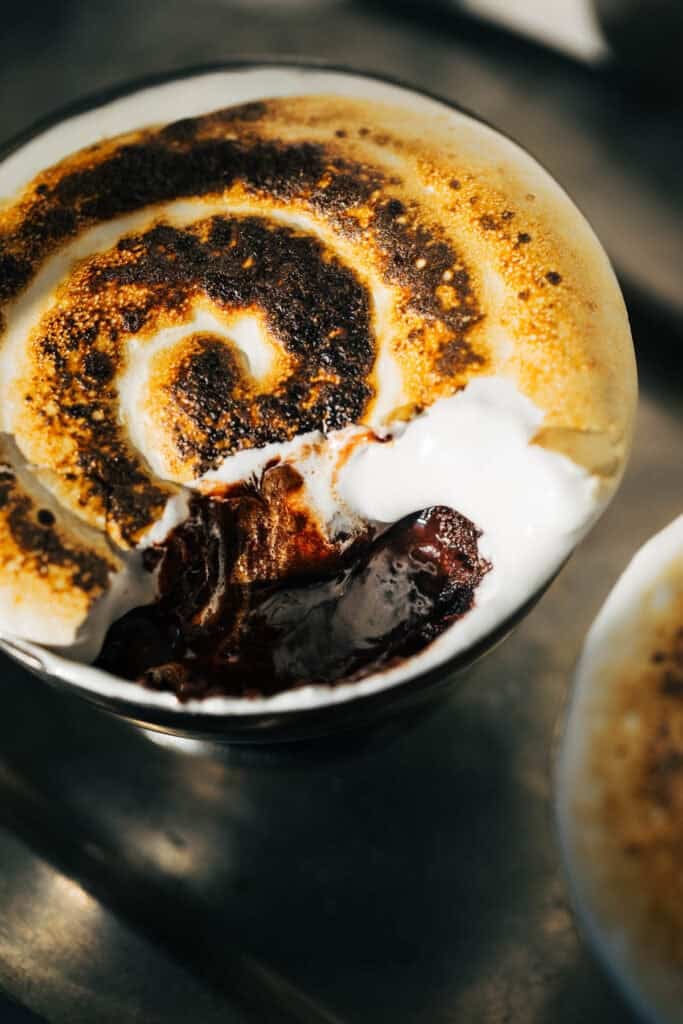
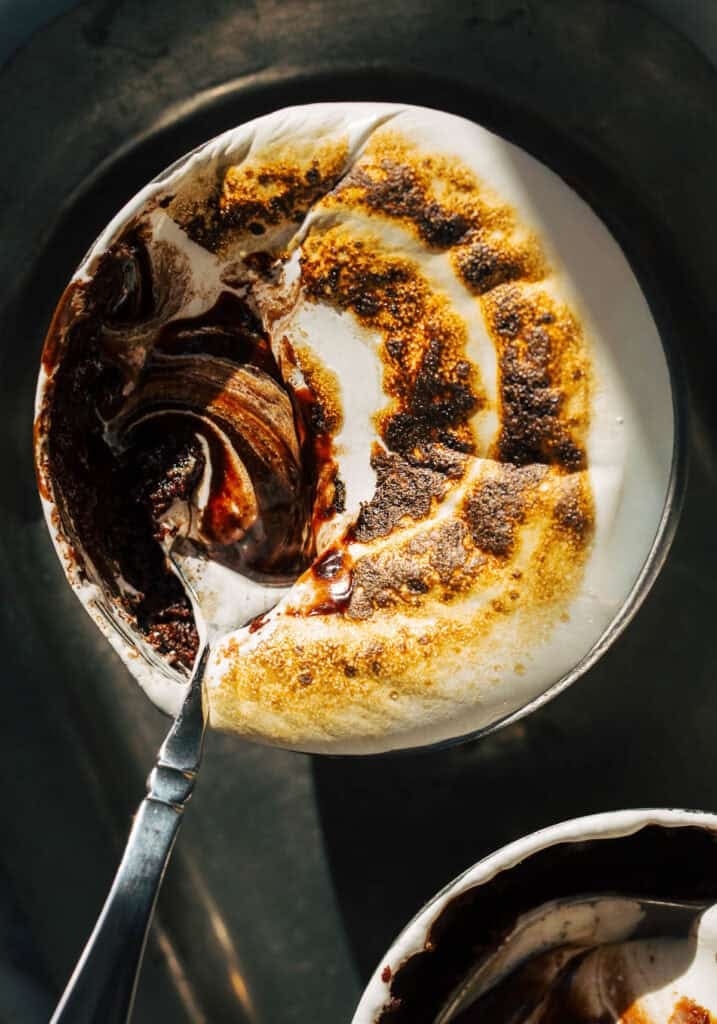
As if lava cakes couldn’t get any better, now they’re topped with fluffy toasted marshmallow! These two are a match made in heaven. This dish is light on cake, heavy on the lava and covered in a layer of marshmallow fluff after baking. Give it a quick torch and dig in to an absolute chocolate dream!
Before You Start
Lava cakes are very easy to make, just as long as you follow a few simple tips!
- Chocolate – Good quality chocolate makes ALL the difference in these cakes. It’s the main flavor, so use chocolate that you would actuallly eat on its own. My go-to is Lindt 70% cocoa chocolate which is found in the candy aisle.
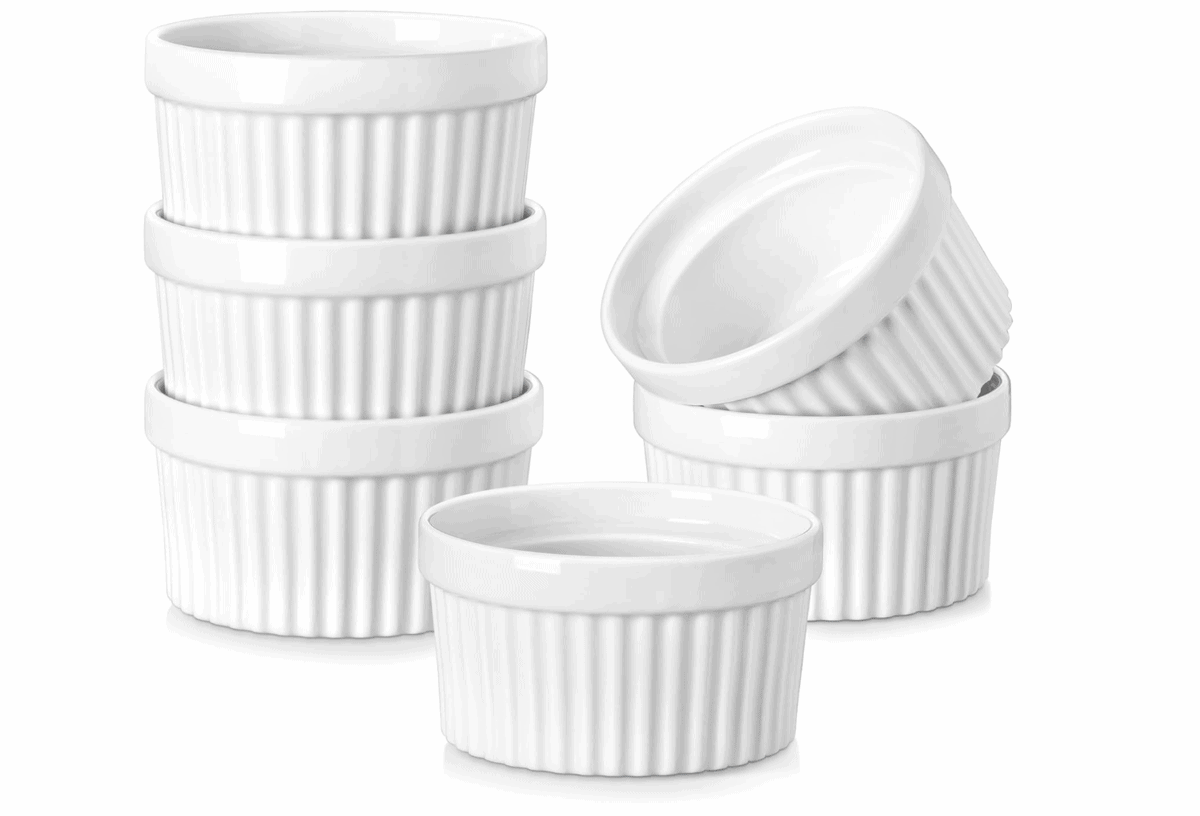
- Ramekins – Use 6 oz ramekins to hold the perfect amount of batter. If your ramekins are too big, the cake will bake through too much and you lose that lava. If they’re too small, your cakes will basically be ALL lava.
- Batter – Bake the batter right away. As soon as it’s mixed, pour into the ramekins and bake.
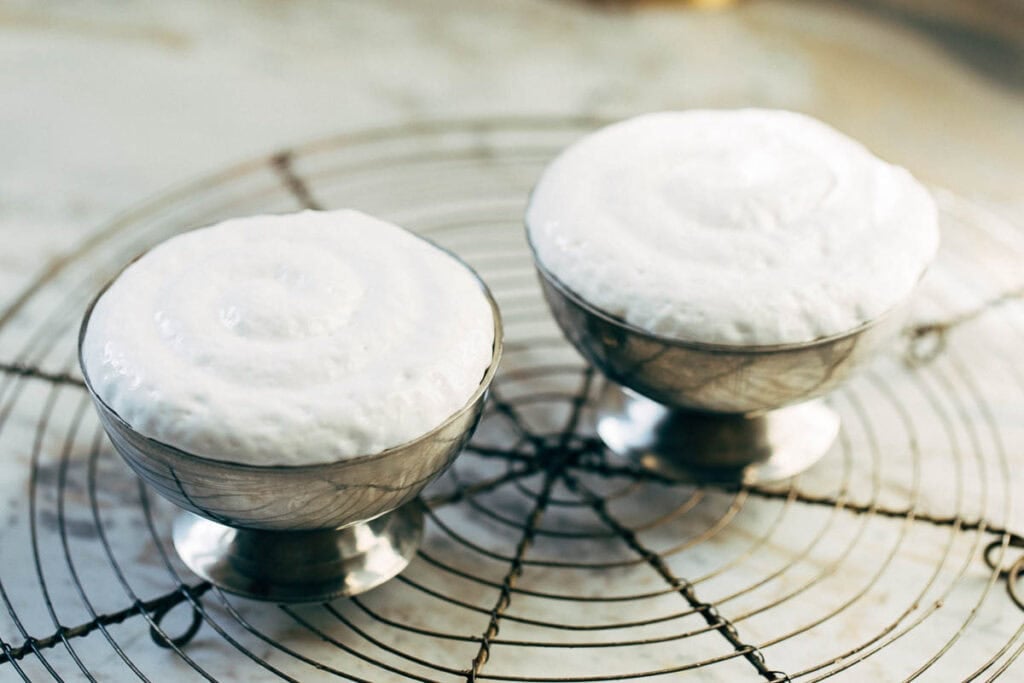
- Marshmallow Fluff – Pipe the fluff on top of the ramekins while they’re still warm. You can go the homemade route if you like, but jarred fluff makes this recipe quick and simple!
- Doneness – Lava cakes go against all rules of doneness. These cakes are done with the edges appear baked but the center will look very underdone and slightly jiggly.
- Serving – Eat right away! These cakes are meant to be served warm as that’s when the fudgy center is at its best.
What makes these lava cakes so good?
Outside of the obvious (aka the toasted cloud of marshmallow on top), this lava cake recipe is absolute perfection.
First and foremost, the batter is mixed all in one bowl. Just melt the butter and chocolate in the microwave and then whisk in the rest of the ingredients. Done!
Speaking of the ingredients, these lava cakes are also flourless. Instead of all-purpose flour, these cakes are held together by cornstarch which, in my opinion, makes them that much better. The fine starch thickens the filling into the perfect pudding-like consistency. It makes these lava cakes so silky smooth.
These cakes also bake into the perfect lava to cake ratio. There’s a tiny bit of cake around the edges with tons of lava in the center. It’s like eating warm chocolate pudding so you can imagine just how good each bite is, especially paired with the toasted marshmallow.
Last, there’s absolutely no stress of having to turn these out. Just eat straight from the ramekin! This is a testament to just how fudgy these are. By not having to remove them from the dish, we get to enjoy extra lava without the risk.
Toasted Marshmallow Lava Cake FAQs:
I don’t recommend this! If the batter sits too long, that chocolate will want to solidify which will make it harder to bake into the delicious lava center. Luckily, this recipe is super quick and ready to eat in under 30 minutes.
I know, marshmallow and chocolate of course calls for graham cracker. However, I don’t think it’s needed here! But if you’d like to indulge, I recommend ditching the spoons and dipping in some graham crackers instead.
Nope! If you just want pure chocolate lava cake, leave out the marshmallow and dust with powdered sugar instead. A scoop of ice cream never hurt either.
Sure! All other instructions are the same.
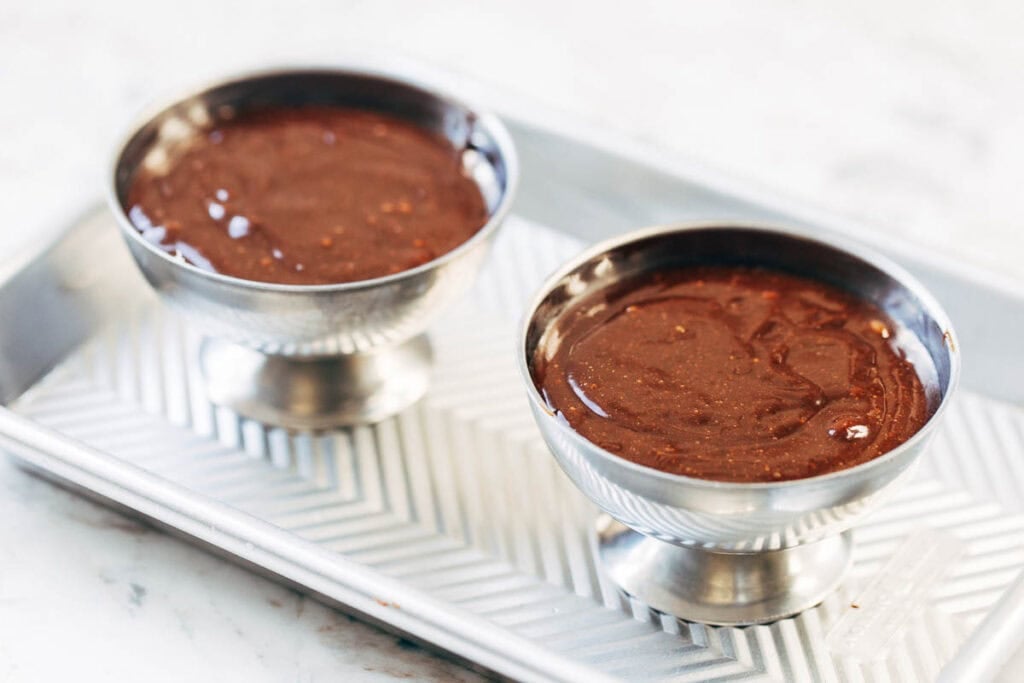
These stainless steel dishes are from a garage sale! I wish I could link similar ones, but I cannot find an oven-safe option like these. But traditional ceramic ramekins will do the trick.
For more date night desserts, check out my:
- Cookie Skillet for Two
- Lava Cakes for Two
- Chocolate Olive Oil Cake
- Skillet Brownies
- Chocolate Mousse Cake
Make sure to tag me @butternutbakery on Instagram and leave a review below if you make this lava cake recipe. To pin this recipe and save it for later, you can use the button on the recipe card, the buttons above or below this post, or on any of the photos above. Happy baking!
Print
Toasted Marshmallow Lava Cakes
- Total Time: 27 minutes
- Yield: 2 cakes
- Diet: Gluten Free
Description
Take your lava cakes to the next level with a layer of toasted marshmallow on top! These lava cakes bake to absolute perfection…aka more lava than cake. When they’re fresh from the oven, the cakes are topped with a layer of marshmallow fluff and toasted until golden brown. It’s the perfect indulgence for two!
Ingredients
Toasted Marshmallow Lava Cakes
- 3.5 oz bar 70% Lindt chocolate, chopped to make 3/4 cup
- 1/4 cup (55g) salted butter, sliced, plus more for ramekin
- 3 tbsp sugar
- 1 large egg + 1 egg yolk
- 1/2 tsp vanilla extract
- 1/2 tsp instant espresso
- 1 tbsp cornstarch
- 7 oz jar marshmallow fluff (about ⅔ of the jar)
Instructions
Toasted Marshmallow Lava Cakes
- Preheat the oven to 425F and butter the inside of two 6 oz ramekins.
- In a medium heat-safe bowl, add the chocolate and butter. Microwave in 30 second intervals until smooth.
- Then whisk in the sugar, egg, egg yolk and vanilla followed by the espresso and cornstarch.
- Divide the batter between the two ramekins and place on a baking sheet. Bake for 10 to 12 minutes or until the edges are puffed and the center is jiggly and underdone.
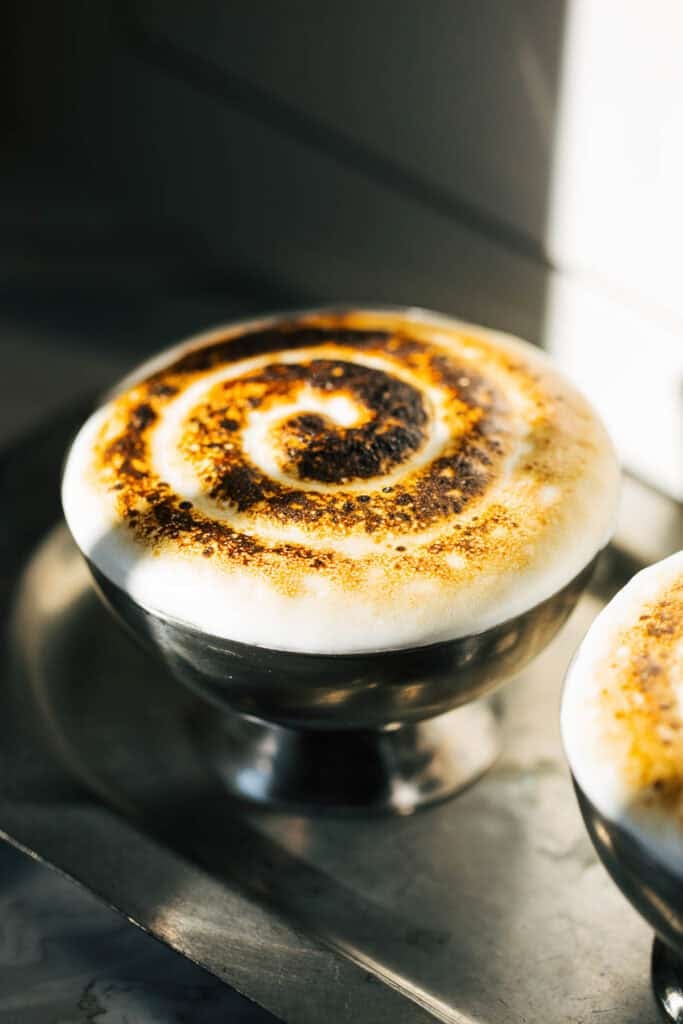
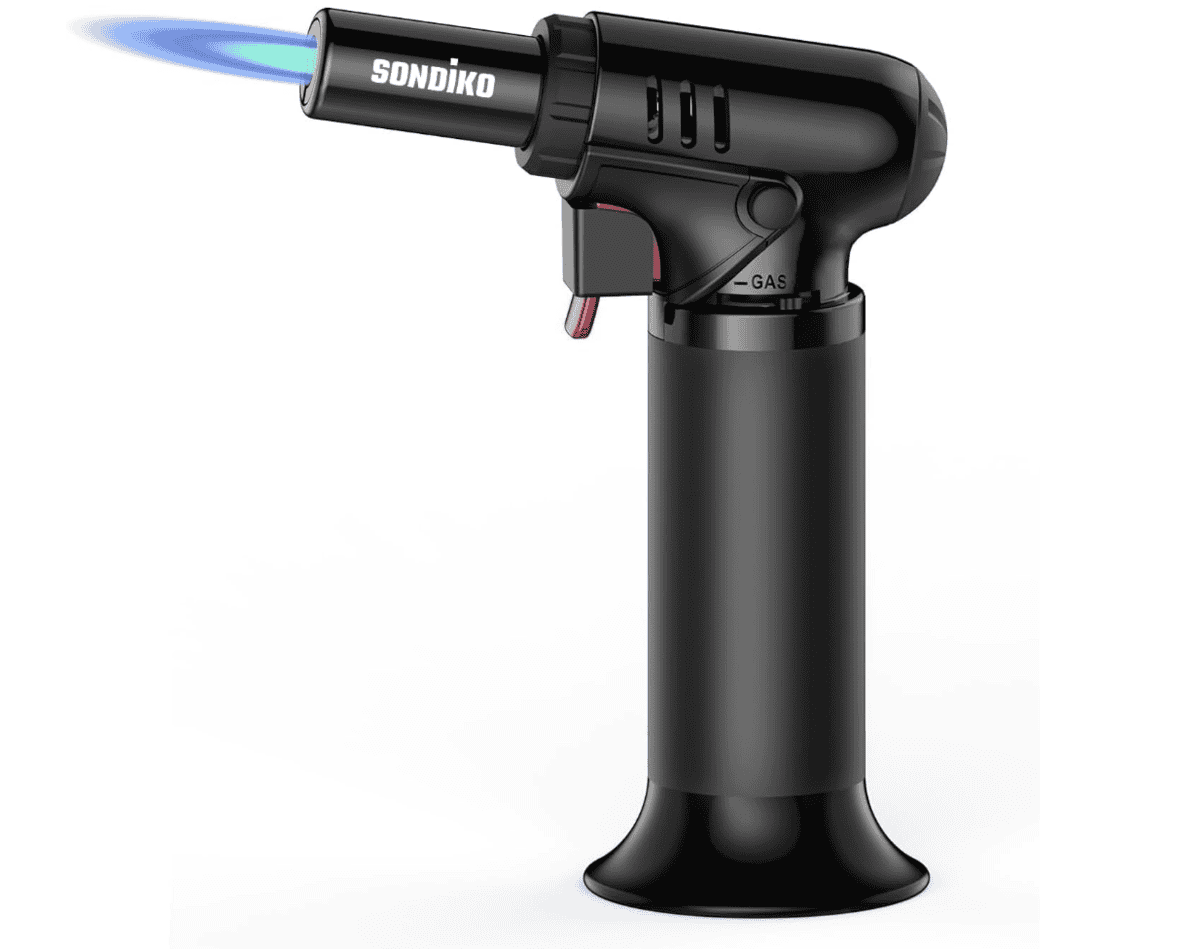
- Allow to cool for about 5 minutes, then pipe the marshmallow fluff on top and toast with a kitchen torch. You can also place them about 6 inches from the broiler and broil on high for about 20 seconds – keep an eye on it and don’t walk away.
- Cool for another 5 minutes, then dig into ooey gooey chocolate heaven!
- Prep Time: 5 minutes
- Cooling Time: 10 minutes
- Cook Time: 12 minutes
- Category: Dessert
- Method: Baking
- Cuisine: American
Join Our Community


Meet Jenna
I’m the creator, baker, and photographer behind Butternut Bakery. Here I share desserts for every diet because I believe everyone should have a chance to indulge!