Description
These are the ULTIMATE bakery style chocolate chip cookies that you can make right at home. They’re large and in charge with a gooey center, chewy edges, and rich flavor using a few secret ingredients.
Ingredients
- 2 1/4 cup (292g) all purpose flour
- 1 tsp cornstarch
- 1/2 tsp baking powder
- 1/4 tsp baking soda
- 1/2 tsp salt
- 1 cup (220g) unsalted European style butter,* room temp
- 3/4 cup (150g) dark brown sugar, packed
- 1/4 cup (50g) granulated sugar
- 1 large egg + 1 egg yolk, room temp
- 1 1/2 tsp vanilla bean paste (or 2 tsp vanilla extract)
- 1 cup (160g) good quality dark chocolate wafers or chips
- 3/4 cup (130g) good quality milk chocolate bar, chopped
- Flaky sea salt for sprinkling
Instructions
- Note: the cookie dough will need to chill for at least 4 hours or overnight.
- In a medium bowl, whisk together the flour, cornstarch, baking powder, baking soda, and salt. Set aside.
- In a large mixing bowl using a hand or stand mixer with the paddle attachment, add the butter and sugars. Beat on medium-high speed until pale and fluffy.
- Scrape down the bowl and add in the eggs and vanilla. Beat on medium-high speed again for about 3 minutes or until pale and creamy.
- Scrape down the bowl and give it a good mix again.
- Dump in the dry ingredients and mix on low-medium speed until it’s almost combined.
- Remove the bowl from the stand and add in the chocolate. Use a rubber spatula to fold it in and work in the remaining bits of dry ingredients. Do not over mix.
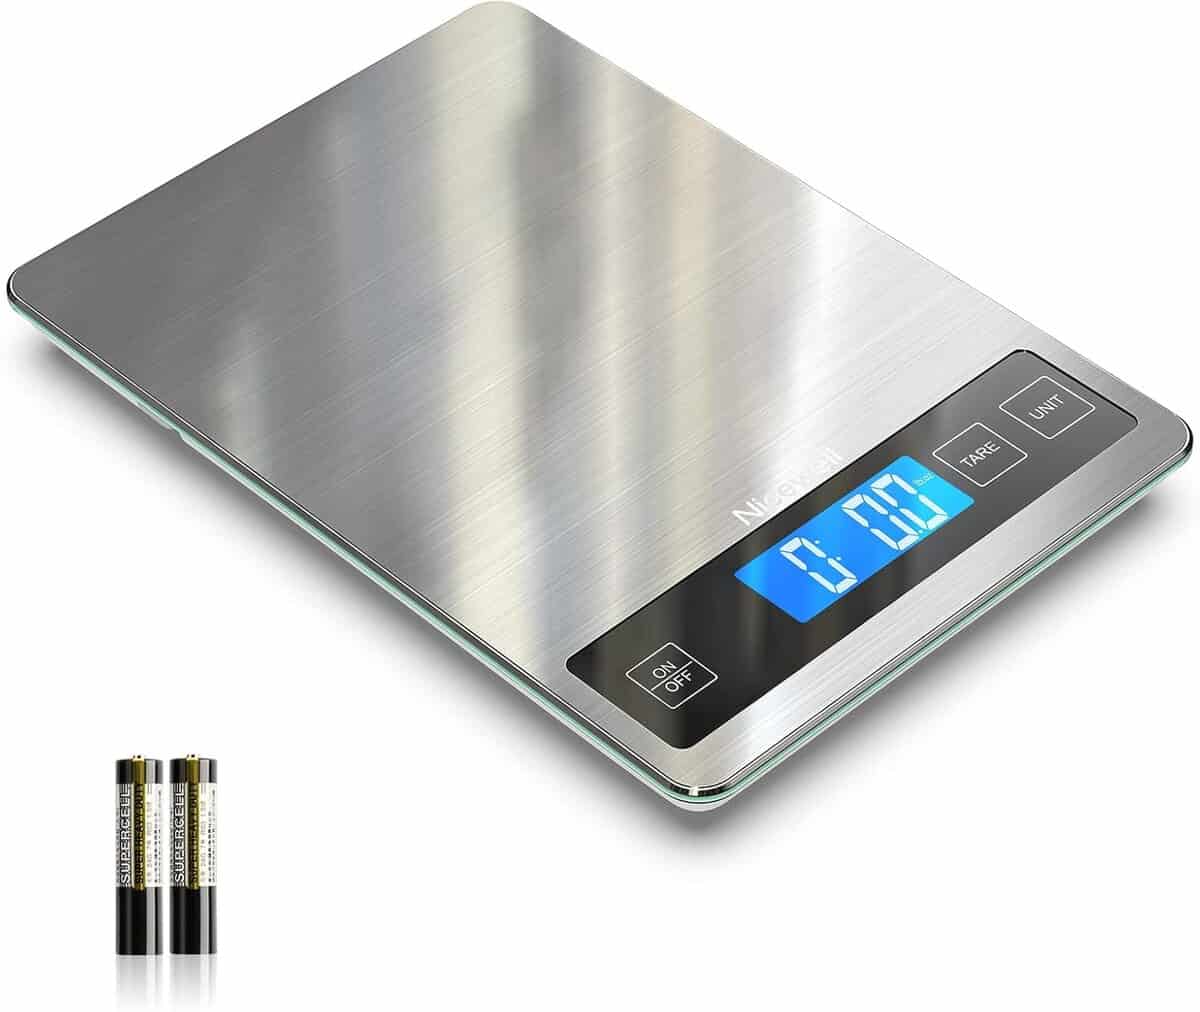
- Add a sheet of wax or parchment paper to a food scale and another sheet to a small cookie tray. Weigh out each cookie to be 6 oz (this is equal to 3/4 cup if you do not have a food scale). Shape the dough so that it’s fairly tall (see picture in post for reference) and place the dough balls side-by-side on the tray. Press a few extra chocolate chips on top if desired.
- Let the dough chill uncovered for at least 4 hours or preferably overnight.
- To bake, preheat the oven to 350F and place 3 cookies on a large baking sheet lined with parchment paper. Make sure they’re well spaced apart.
- Bake for 13-16 minutes, or until the edges are a pale golden color and the center looks dull on the surface but doughy in the middle. If the cookies still have a mound in the center after 13 minutes, keep baking for another 2-3 minutes and it should smooth out.
- Right when you remove the tray, wack it against the surface of your oven or countertop a couple times. This will help flatten out the cookie and give you a rich and dense center. Use a fork to scoot in any edges that look a bit wonky. **If your cookies did not spread properly, see the FAQ section in this post.
- Sprinkle the warm cookies with a bit of sea salt and let them settle on the baking sheet for about 3-5 minutes.
- When they’ve firmed up a bit, transfer to a cooling rack and continue to bake the rest of the cookies. **See notes for freezing instructions.
- Enjoy warm for a more gooey center or cooled for a dense and soft cookie. Enjoy!
Equipment
 Buy Now →
 Notes
BUTTER – I HIGHLY recommend using European style (also known as cultured) butter here in order to get that rich bakery-style flavor. You’d be surprised by how much depth it adds to a cookie. If you can’t get your hands on some, it’s OK to can use standard unsalted butter.
HOW TO FREEZE – Once the dough has chilled overnight, place the firm cookie dough balls into a freezer safe ziplock bag. They will keep in the freezer for up to 3 months. When you want a fresh cookie, place the frozen cookie dough on a baking sheet lined with parchment paper, then preheat the oven to 340F (yes, 340, not 350). Bake for 18-20 minutes or until the edges are golden. Wack the pan against the counter a couple times to help flatten them out, then cool and enjoy!
- Prep Time: 20 minutes
- Cook Time: 15 minutes
- Category: Dessert
- Method: Baking
- Cuisine: American


